
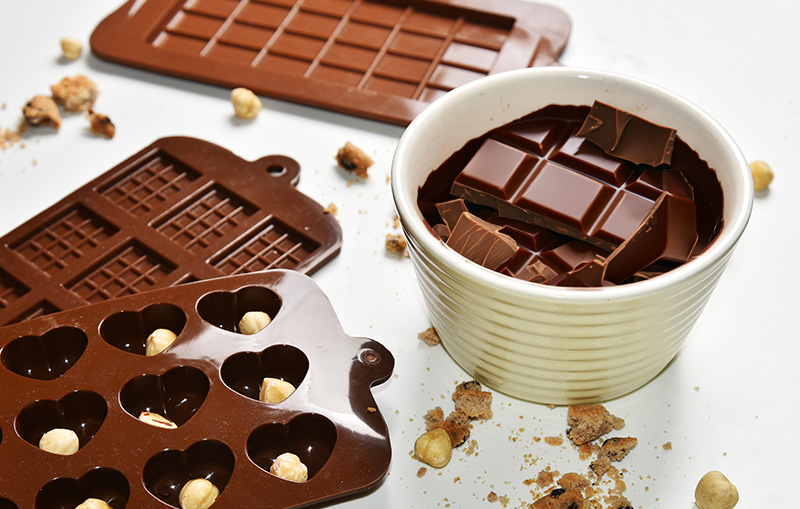
I’m excited to delve into the world of using silicone moulds for chocolate making. Melting chocolate with the right tools and methods can make all the difference in creating mouthwatering treats. Silicone moulds have gained popularity among chocolatiers and home bakers. It’s not hard to see why!
Silicone moulds have become a game-changer in the world of confectionery due to their unique features and benefits. So, let’s explore why these moulds are a must-have tool for every chocolate-making enthusiast.
The Benefits of Silicone Moulds for Chocolate
Advantages over Traditional Moulds
Traditional moulds, often made of metal or plastic, have been used in chocolate-making for ages. However, silicone moulds bring a range of advantages that make them stand out. Unlike rigid metal or plastic moulds, silicone moulds offer exceptional flexibility. This allows you to easily release your chocolates without the risk of breaking them. Their non-stick surface ensures a smooth release, leaving your chocolates with flawless finishes.
Flexibility, Ease of Use, and Durability
One of the key features that make silicone moulds so appealing is their flexibility. The soft and pliable material allows you to bend and flex the moulds without damaging them, making de-moulding simple. No more struggling to get chocolates out of rigid moulds!
Not only are they easy to use, but silicone moulds are also highly durable. They can withstand numerous uses without losing their shape or effectiveness.
Investing in a set of high-quality silicone moulds ensures that you can enjoy crafting chocolates for years to come.
Unique and Creative Designs
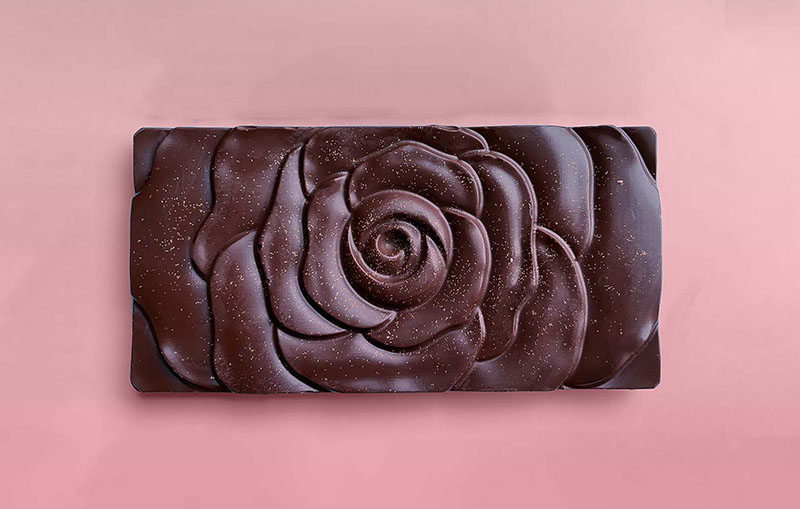
Silicone moulds come in a vast array of shapes and sizes, ranging from classic hearts and stars to intricate patterns and custom designs. Whether you want to create animal-shaped chocolates or personalised treats for special occasions, there’s a silicone mould that fits your vision.
These moulds open up a world of creative possibilities, making it easy to elevate your chocolate-making skills and impress your friends with visually stunning creations.
Creative Ideas and Inspirations
Personalised Chocolate Bars
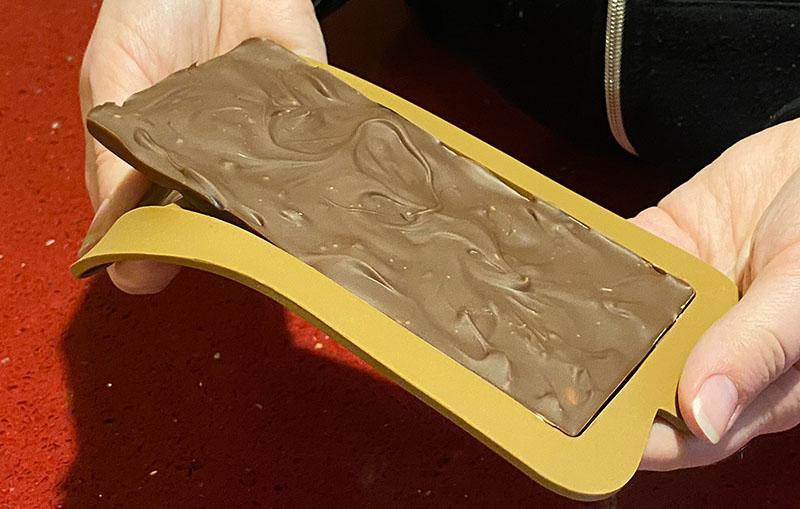
Create custom chocolate bars with names, patterns, or special dates using chocolate bar silicone moulds. Personalised chocolate bars make heartfelt gifts or party favors that show you put thought and effort into every detail.
Themed Chocolates
Tailor your chocolates to suit various occasions and themes. Whether it’s Easter bunnies, spooky Halloween shapes, or festive holiday symbols, themed chocolates add a touch of joy and celebration to any gathering.
Chocolate Lollipops
Experiment with chocolate lollipop moulds. Add sticks to the chocolates before they set to create fun and delicious treats that are great for parties or as treats on the go.
Choosing the Right Silicone Moulds for Chocolate
Selecting the right silicone moulds for chocolate can make a world of difference in the final outcome of your creations. Let’s look at the essential factors to consider when choosing silicone moulds for your chocolate.
Food-Grade Silicone Moulds
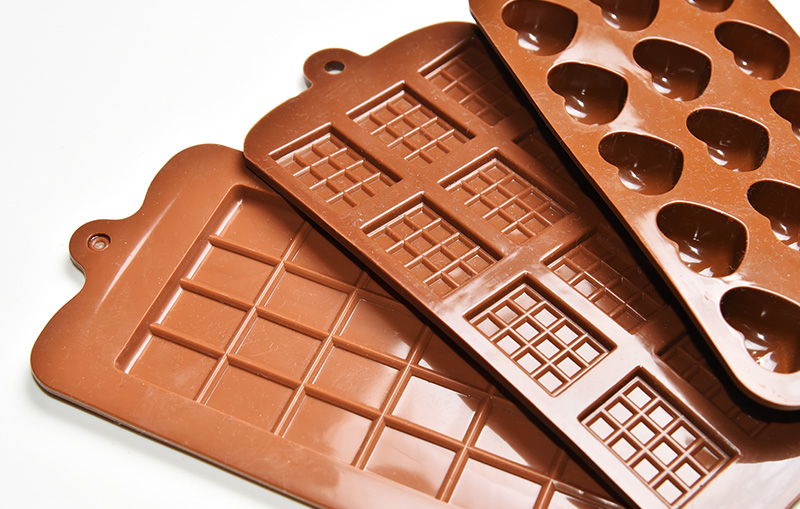
It’s crucial to opt for high-quality, food-grade silicone moulds, such as these Break Apart Chocolate Moulds. These are great for the price and the same size as a standard galaxy bar.
Food-grade silicone is non-toxic, odorless, and won’t interact with your chocolate. This will ensure your creations remain safe to eat.
- Buy now from Amazon (£4.99)
Choosing the Right Size and Shape Moulds
With so many silicone moulds available, it’s easy to get carried away by the range of options. To make the best choices for your chocolate-making projects, consider the following:
- Think about the types of chocolates you want to create. Are you aiming for bite-sized chocolates, large bars, or intricate themed shapes? Understanding your chocolate vision will help you to choose the right mould
- Consider the occasions or themes for which you plan to make chocolates. Silicone moulds for chocolate come in a wide variety of designs, from seasonal shapes like Easter eggs to festive holiday designs. Finding moulds that match the occasions adds a special touch.
- Practicality is key when selecting silicone moulds. Ensure that the moulds you choose fit into your available space and are easy to store. Moulds with compact designs are ideal, especially if you plan to build a collection.
Explore Custom Silicone Moulds for Chocolate
If you want to stand out, consider making your own custom silicone moulds for chocolate. Designing personalised moulds will bring your unique ideas to life and craft chocolates that reflect your style and personality.
I’ve put together a step-by-step tutorial on making your own silicone moulds. Create moulds that make your chocolates truly one-of-a-kind.
Preparing the Chocolate
Now that you have the perfect silicone moulds for chocolate selected, it’s time to prepare the chocolate mixture. This step is vital as it lays the foundation for creating amazing chocolates.
Let’s look at the different types of chocolate suitable for moulding and the proper techniques for melting chocolate for silicone moulds.
Best Types of Chocolate for Moulding
There are several types of chocolate you can use for moulding, each with its unique characteristics. Here are the most common ones:
Pure Chocolate:
Pure chocolate/dark chocolate contains a higher percentage of cocoa butter. It provides a smooth and rich flavour, making it an excellent choice for moulding chocolates.
Compound Chocolate:
Compound chocolate is a blend of cocoa powder, vegetable fat, and sweeteners. It is a good option for beginners when time is limited and makes a tasty choice for moulding.
Flavoured Varieties:
For an extra burst of flavour, you can experiment with flavoured chocolate varieties. From mint and orange to hazelnut and caramel, there’s a wide range of flavoured chocolates available that add a twist to your creations.
Melting Chocolate Properly
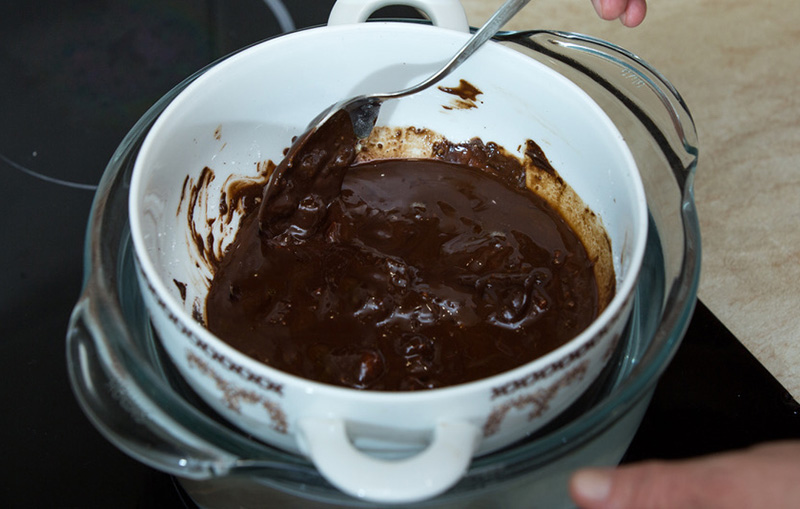
To achieve smooth and velvety chocolate, proper melting is essential. There are two common methods for melting chocolate:
Double Boiler Method:
Using a double boiler is a traditional and foolproof way for melting chocolate. Place a heatproof bowl over a pot of simmering water, making sure the bottom of the bowl doesn’t touch the water. Add the chocolate to the bowl and stir gently until it melts evenly.
Microwave Method:
The microwave method is quicker and more convenient. Place the chocolate in a microwave-safe bowl and heat it in short bursts of 15-30 seconds, stirring in between each burst. Be cautious not to overheat the chocolate, as it can scorch or seize.
Perfecting the Chocolate Mixture
Whether you choose pure chocolate or compound chocolate, it’s essential to achieve the right consistency for moulding. Stir the melted chocolate gently until it’s smooth and free of lumps. The chocolate should flow smoothly, making it easier to fill the silicone moulds.
Once your chocolate mixture is prepared, you’re all set to start filling your moulds.
Filling the Silicone Moulds
Properly filling the moulds ensures that your chocolates come out with precise shapes and smooth finishes. Let’s look into the art of filling silicone moulds with melted chocolate.
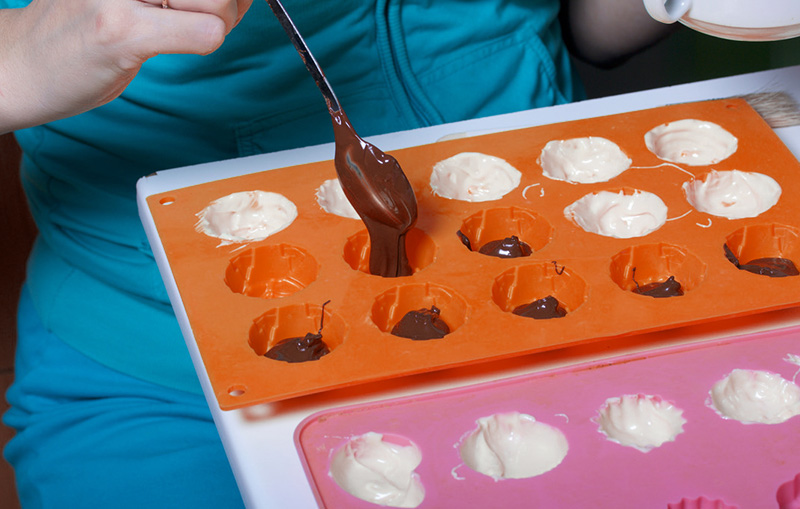
Taking Your Time and Being Precise
Filling silicone moulds with chocolate is a task that requires patience and precision. Take your time to pour the melted chocolate into each cavity, ensuring that it reaches all the edges and corners. A small offset spatula or the back of a spoon can be helpful in spreading the chocolate evenly and removing any excess.
If your silicone mould has multiple cavities, consider filling them all at once rather than one by one. This method helps maintain a consistent temperature for the chocolate, which contributes to a more uniform finish in your chocolates.
Once you’ve filled the silicone moulds and tapped them to remove air bubbles, it’s time to let the chocolate set. The setting time varies depending on the type of chocolate you used and the ambient temperature. On average, chocolate usually takes around 30 minutes to an hour to set completely.
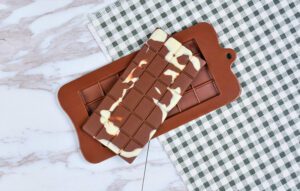
De-moulding Your Chocolates
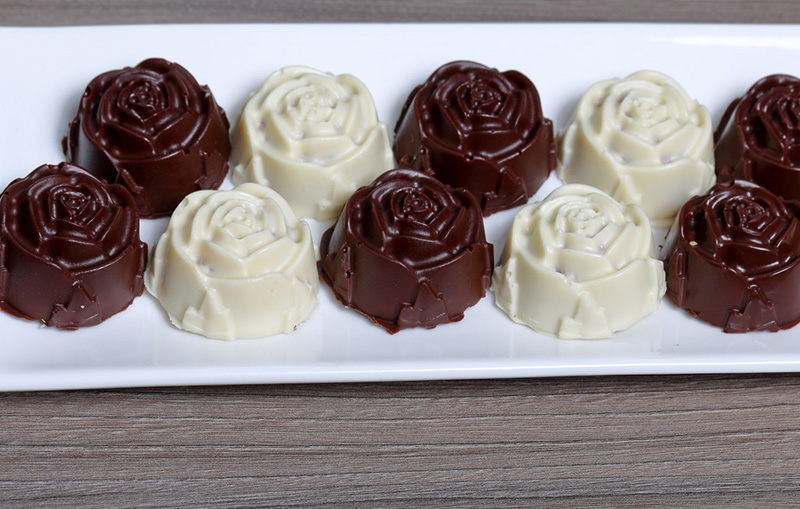
De-moulding your chocolates is a moment of anticipation and excitement! Properly de-moulding chocolates from silicone moulds ensures that they maintain their shape and presentation.
Begin by Pushing from the bottom of each cavity to avoid smudging the surface. Be patient and avoid forcing de-moulding if there is resistance; instead, allow the chocolate to warm up slightly and try again.
Tips and Tricks for Using Silicone Moulds for Chocolate
Achieving professional-looking chocolates using silicone moulds requires a mix of skill, creativity, and attention to detail. Here are some additional tips and tricks to elevate your chocolate-making game:
1. Experimenting with Colours and Flavours
Use food-grade colouring to create eye-catching chocolates or add a touch of extract for exciting flavour variations.
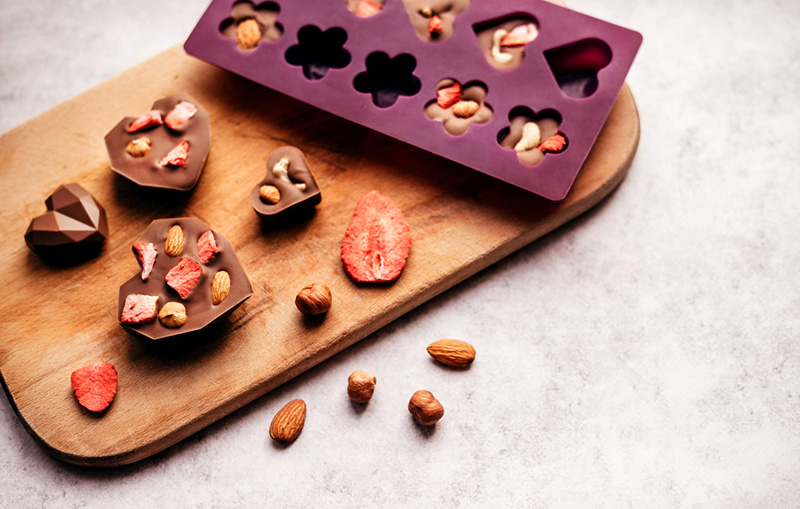
2. Adding Textures and Inclusions
Try adding chopped nuts, dried fruits, or crispy rice to your chocolates.. These additions not only add a burst of flavour but also elevate the visual appeal of your chocolates.
3. Avoiding Moisture and High Temperatures
Keep your chocolate-making area dry, and avoid exposing your chocolates to direct sunlight or warm environments. High humidity can cause the chocolate to bloom, resulting in a whitish coating on the surface.
5. Patience and Practice
Don’t be disheartened by early failures; instead, view them as learning experiences. As you practice and gain experience, you’ll become more confident in working with silicone moulds and achieving consistent, stunning results.


