
If you enjoy crafts, baking, or any type of creative activity, you may be wondering how to make silicone moulds. Custom silicone moulds can be used for a wide range of applications, from making resin crafts, chocolate moulds or even air fryer accessories. In this post, we’ll provide a step-by-step guide to making your own silicone moulds, answer common questions about materials and costs, and offer tips for achieving the best results. By the end of this post, you’ll have all the information you need to start making custom silicone moulds for your own projects.

Materials Needed for Making a Silicone Mould for Resin
To make your own silicone mould, you’ll need a few key materials. Here’s a list of the necessary supplies:
- Silicone rubber
- Hardener
- Mixing container and mixing tool
- Release agent
- Object to make a mould of
Each of these materials serves an important purpose in the mould-making process. Silicone rubber is the main component of the mould, and it is what gives the mould its flexibility and durability. Hardener is added to the silicone rubber to initiate the curing process and harden the mould. A mixing container and tool are used to mix the silicone rubber and hardener together thoroughly.
A release agent can be applied to the object you’re making a mould of to prevent the silicone from sticking to it. There are several options for release agents, including petroleum jelly, cooking spray, or a specially designed release agent for silicone mould making.
When selecting your materials, it’s important to choose products that are compatible with each other and appropriate for your specific project. For example, some types of silicone rubber are better suited for high-temperature applications, while others are more flexible and ideal for making moulds of complex shapes. If your project involves food, ensure you use a food grade silicone rubber for your mould.
Tip: Always follow the manufacturer’s instructions for your specific materials to ensure the best results.
How to make Silicone Moulds
Now that you have your materials, it’s time to start making your silicone mould. Follow these steps for the best results:
Preparation
- Clean and dry your object to be moulded.
- Apply a release agent to the object.
- Prepare your workspace and gather all necessary materials.
Mixing the Silicone Rubber and Catalyst
- Measure out the appropriate amount of silicone rubber and catalyst according to the manufacturer’s instructions.
- Mix the silicone rubber and hardener thoroughly in a mixing container.
- Stir the mixture until it is completely uniform. Preferably with minimal bubbles
Pouring the Mould
- Pour the mixture into a moulding box, covering the object to be moulded.
- Allow the silicone to cure according to the manufacturer’s instructions.
- Once cured, carefully remove the mould from the box.
De-moulding and Finishing
- Gently remove the object from the mould.
- Trim any excess silicone from the mould.
- Wash and dry the mould before use.
Tip: If you’re making a multi-part mould, repeat these steps for each part of the mould.
Making Silicone Moulds, Frequently Asked Questions
We’ve covered the basics of making a silicone mould, but you may still have some questions. Here are the answers to some frequently asked questions:
Can you make a silicone mould of a silicone item?
Yes, it is possible to make a silicone mould of a silicone item. However, you will need to use a release agent specifically designed for use with silicone to ensure that the mould releases properly.
What material does silicone not stick to?
Silicone does not stick to many materials, including plastic, glass, metal, and some types of rubber. However, it’s still important to use a release agent to prevent the silicone from sticking to your object.
How long do homemade silicone moulds last?
Homemade silicone moulds can last for several years with proper care and storage. Be sure to keep your mould clean and dry between uses to extend its lifespan.
What do you fill silicone moulds with?
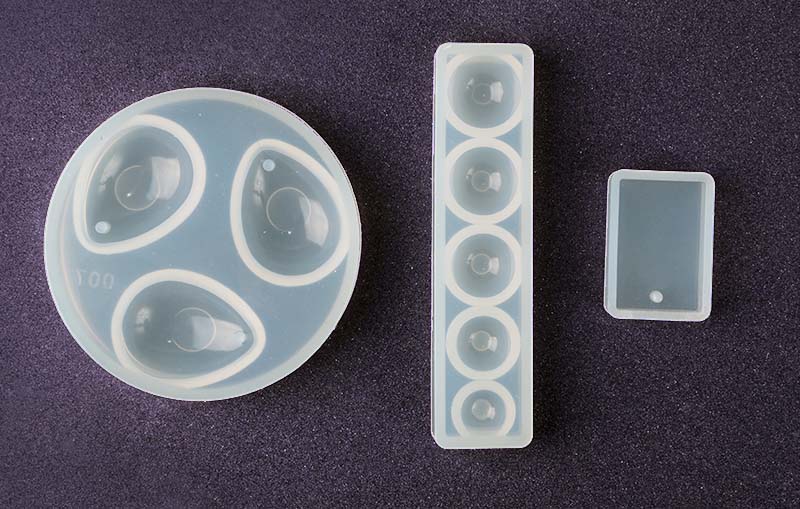
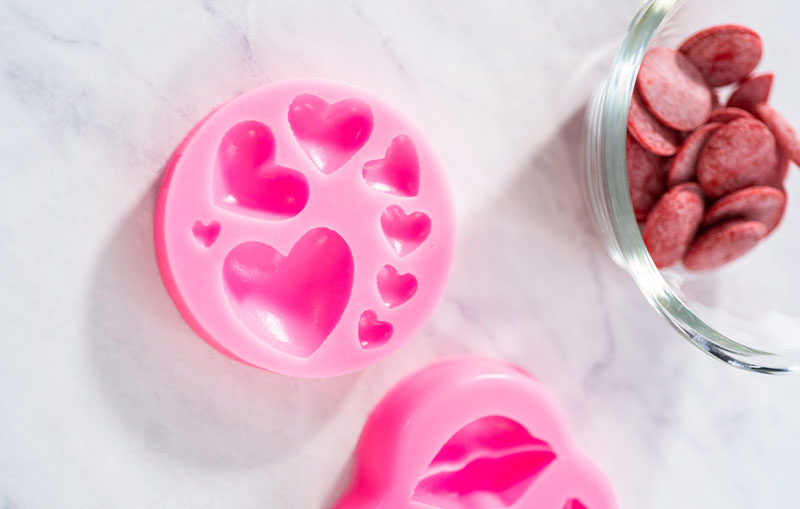
You can fill silicone moulds with a variety of materials, depending on your project. Some popular options include resin, plaster, soap, and chocolate. You can even use silicone moulds to create custom accessories for your air fryer.
Making your own silicone moulds can open up a world of creative possibilities. Whether you’re making custom resin crafts, creating chocolate moulds for a special occasion, or designing your own air fryer accessories, silicone moulds offer a versatile and cost-effective solution.
With the right materials and a little bit of practice, you can create custom silicone moulds that will last for years to come. So why not give it a try and start creating today?


