
If you’re looking for a fun and creative way to recycle crayons while still making something unique and special, then look no further! With a few simple steps, you can easily turn some old crayons into something truly remarkable – personalised crayons! Ready to get started? Read on to find out how to make your crayon creations!
The great thing about crayons is that you don’t need much to make them – just crayons, a few small tools, a silicone mould and your imagination. Gather up all the old crayons lying around the house. If you don’t have any crayons to recycle I recommend getting hold of some small crayons. Smaller ones are much easier to break.
Getting Started
Heres what you will need for this super fun and simple project:
- A variety of old Crayons (or new)
- Baking Tray
- Access to an Oven
- Silicone Mould (Oven Proof)
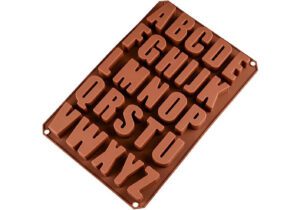
(TIP: Aim to use a silicone mould dedicated to making crayons as they can sometimes be hard to clean and you may lose the shine)
Personalised Crayons Instructions
1
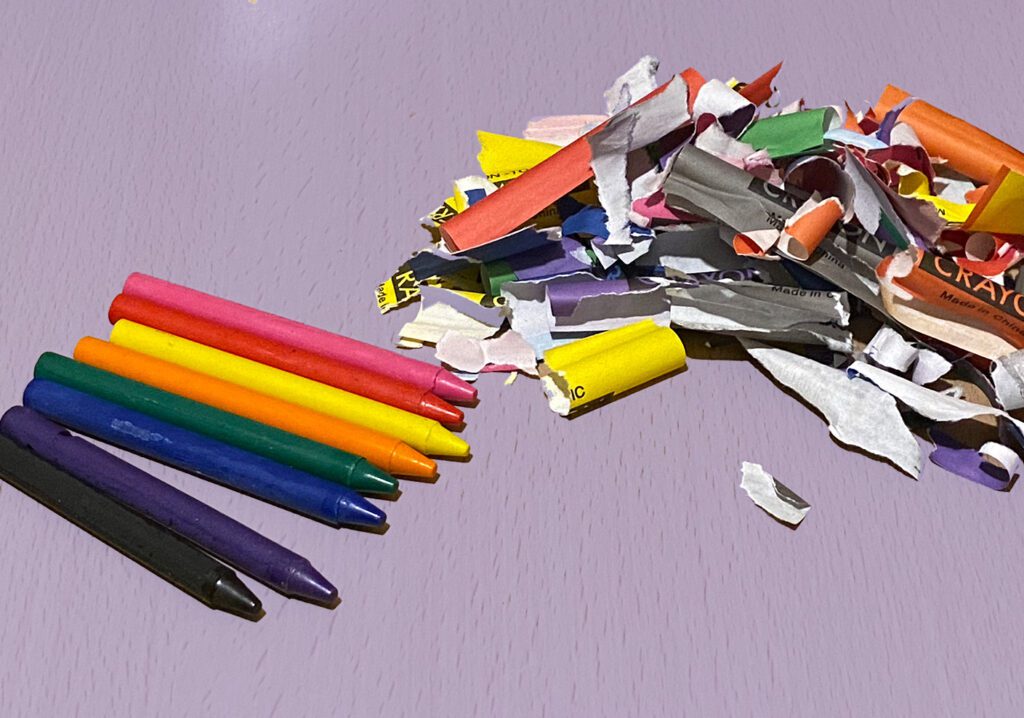
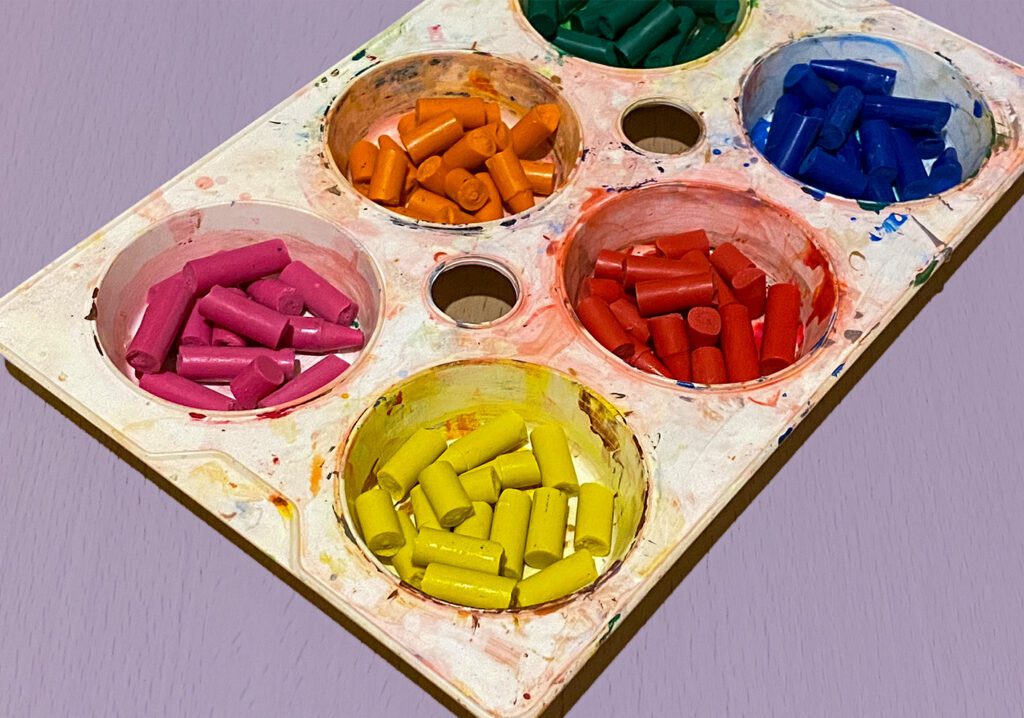
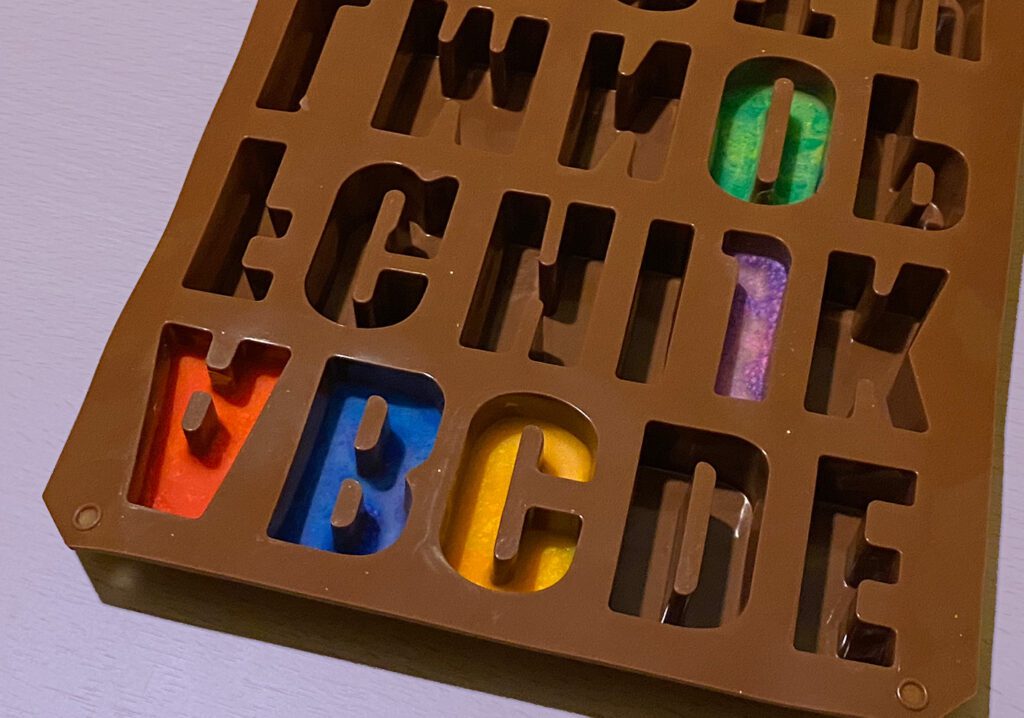
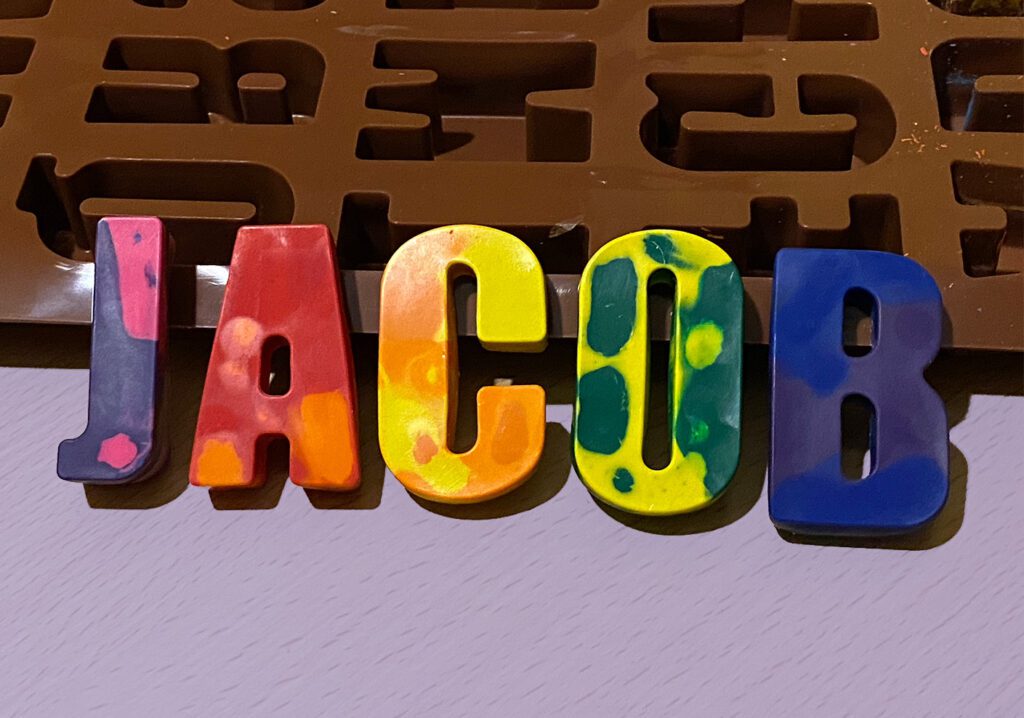
To start, you’ll want to sort the crayons into different colours or shades. Remove any paper from around the crayons and break into small pieces. Ideally the pieces should be small enough to fit into your mould. I found that 2 whole crayons broken up would fill a letter cavity in the mould. Fill each of your desired letters with the crayon pieces.
At this point you may choose to make crayon sets with a specific theme in mind, like a set of rainbow crayons or crayons all in shades of blue. Here I’ll be using two colours for each letter.

2
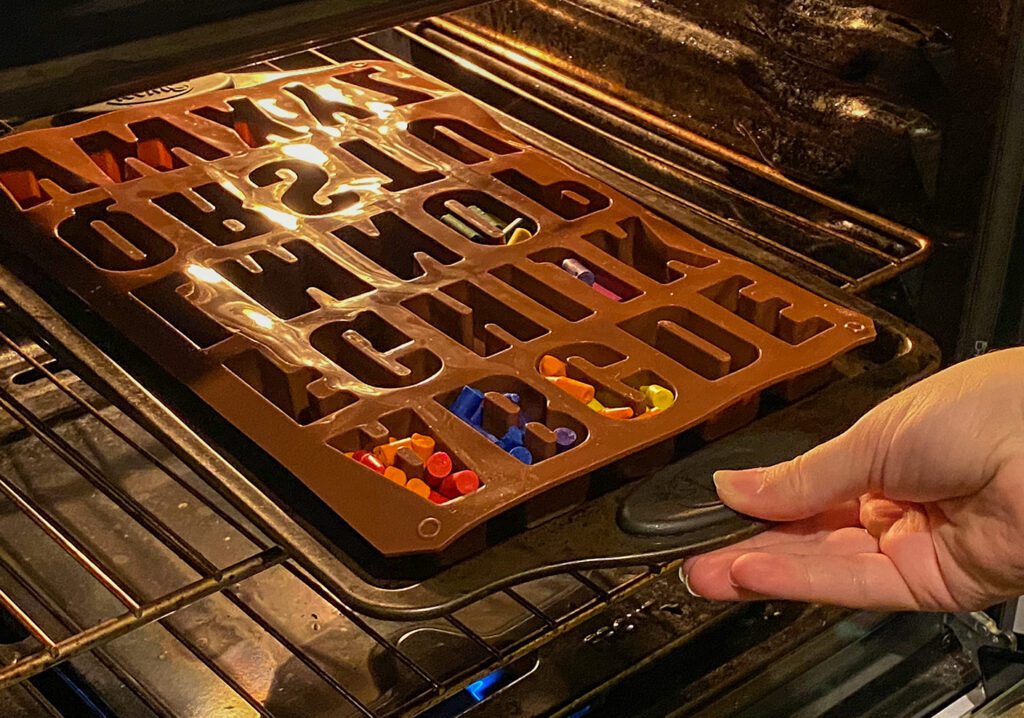
Preheat your oven to Gas 4, 180°C, 356°F. Put your silicone mould onto a tray then pop it into the oven.
Allow the wax to melt for around 10-15 minutes or until fully melted, but keep an eye out as the wax will melt quickly.
3
Remove the tray from the oven and then allow to cool. I recommend leaving them for 1-2 hours to fully cool down.
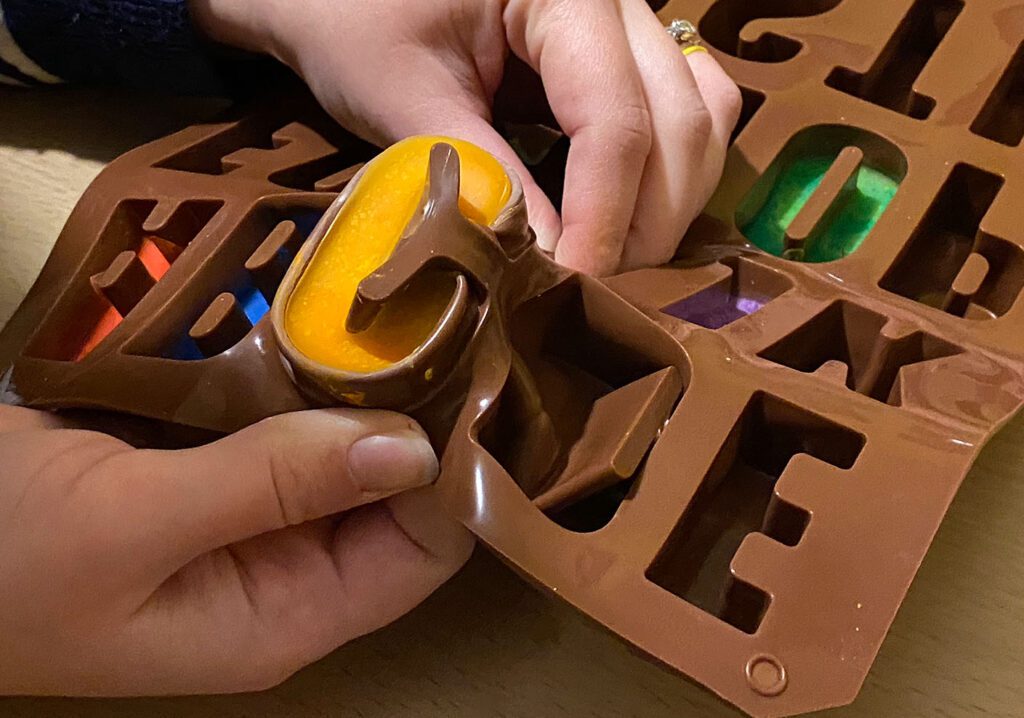
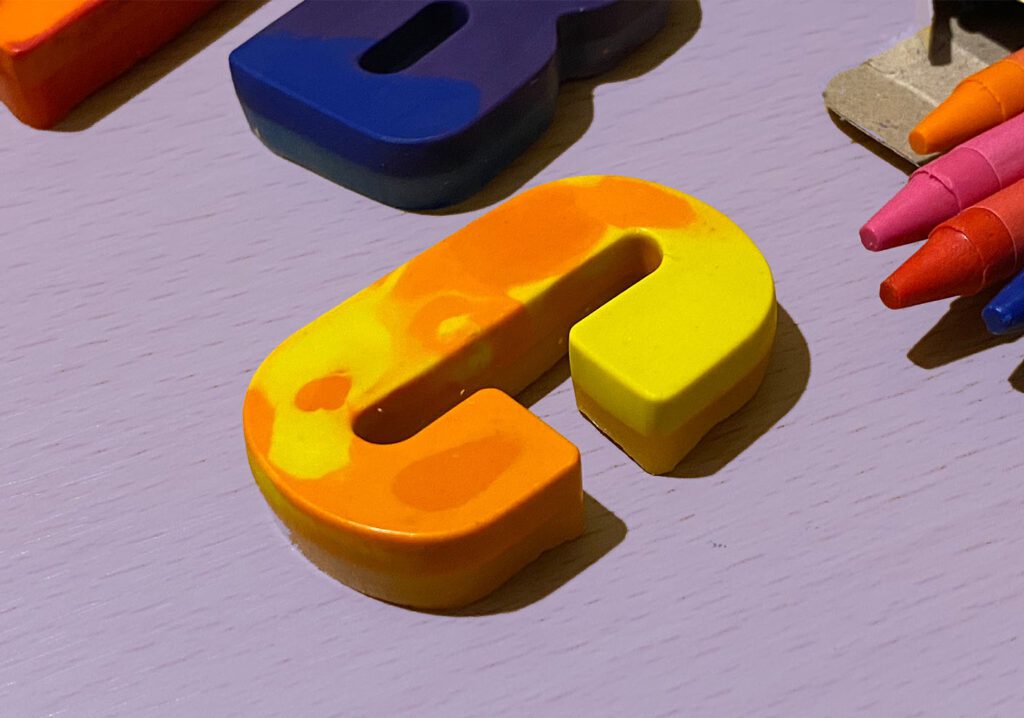
Once the wax has fully set again, pop your personalised crayon letters out of the mould. You may find some of the wax will have a slight white layer on the top but that’s okay.
4
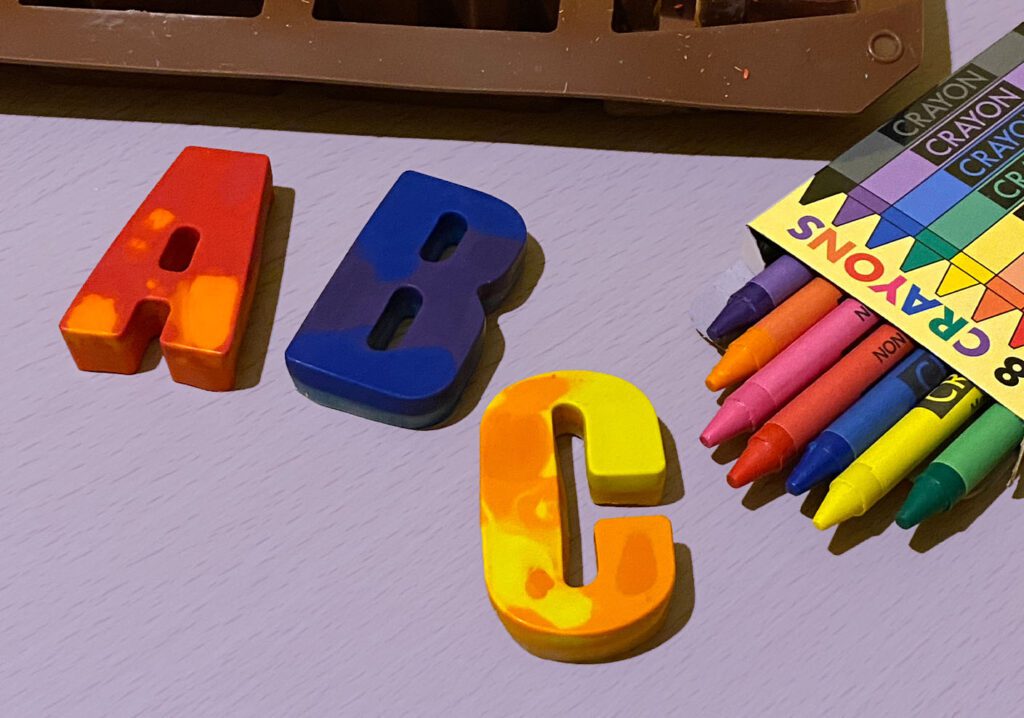
Now your crayons are ready for creating master pieces with or to gift to a friend or relative. Thank you for following along.
If you’re feeling even more creative, try these seed bombs for the garden. This is another great project for children to get involved.


