
If you like small and miniature crafts, these little cement houses are a really fun project.
I love how you can be so creative with these little houses, especially when it comes to painting and taking photos of them afterwards.
You can make them with multipurpose cement or mastercrete and just add sand; in this tutorial, I used mastercrete and sand.
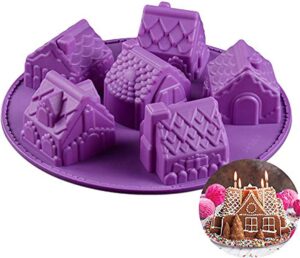
I chose this silicone mould with six different house designs for this tutorial.
Equipment list
Heres what you will need to make these mini houses:
- Bag of cement
- Bag of sand
- Scissors
- Measuring cup
- Newspaper
- Container (Large enough to mix in)
- Water
- Respirator
- Goggles/Glasses
- Spoon/Spatula
- Silicone mould
Cement houses Instructions
1
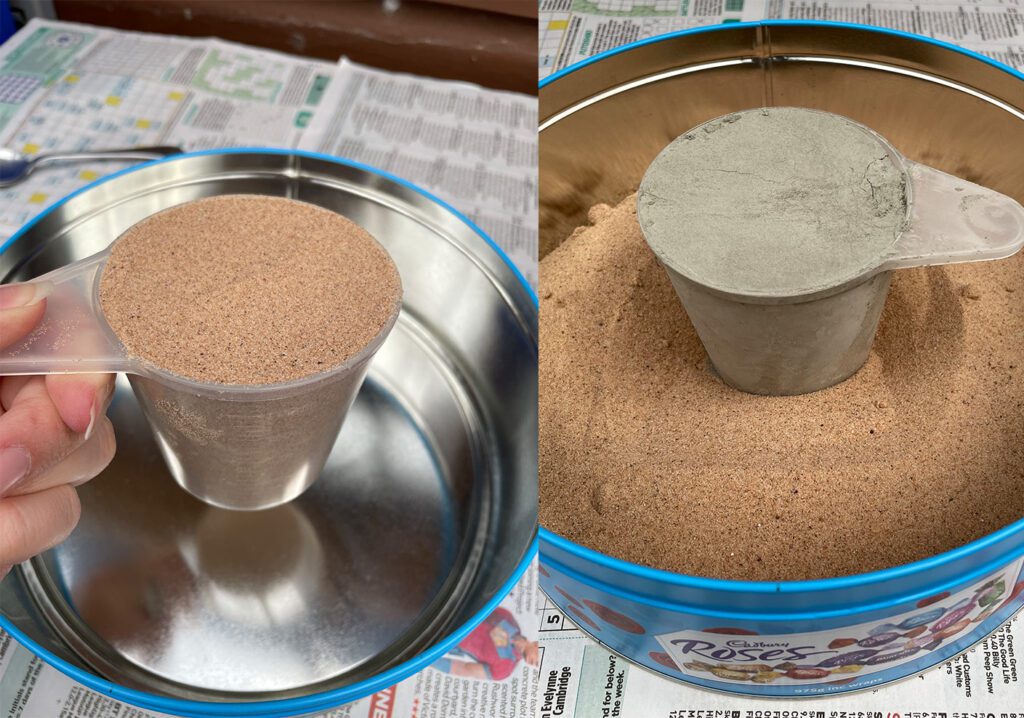
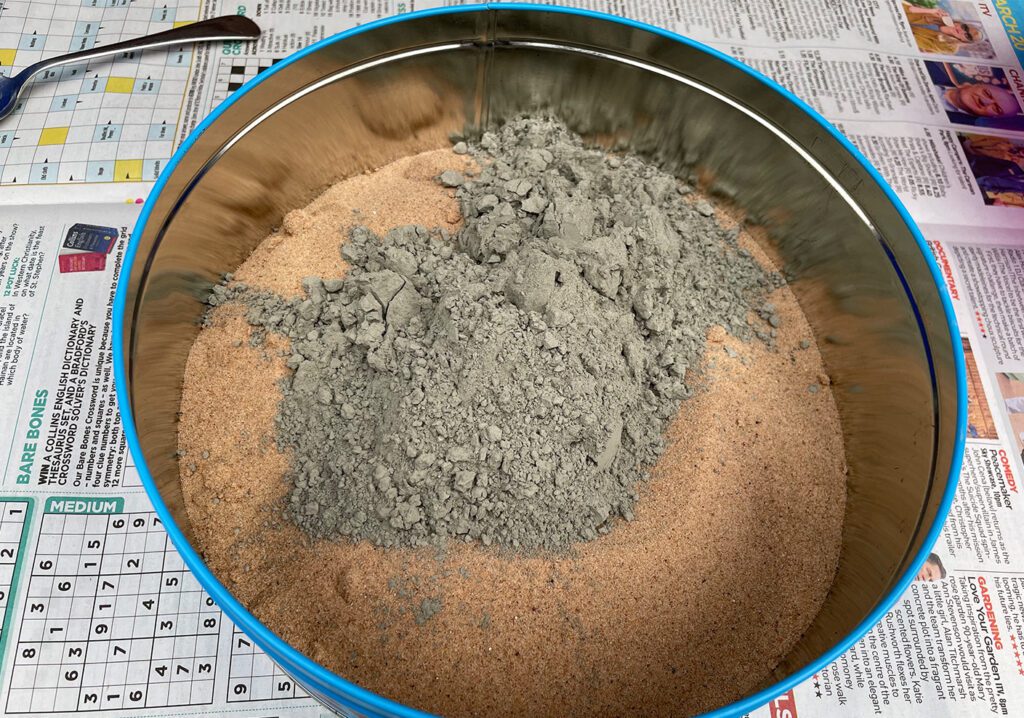
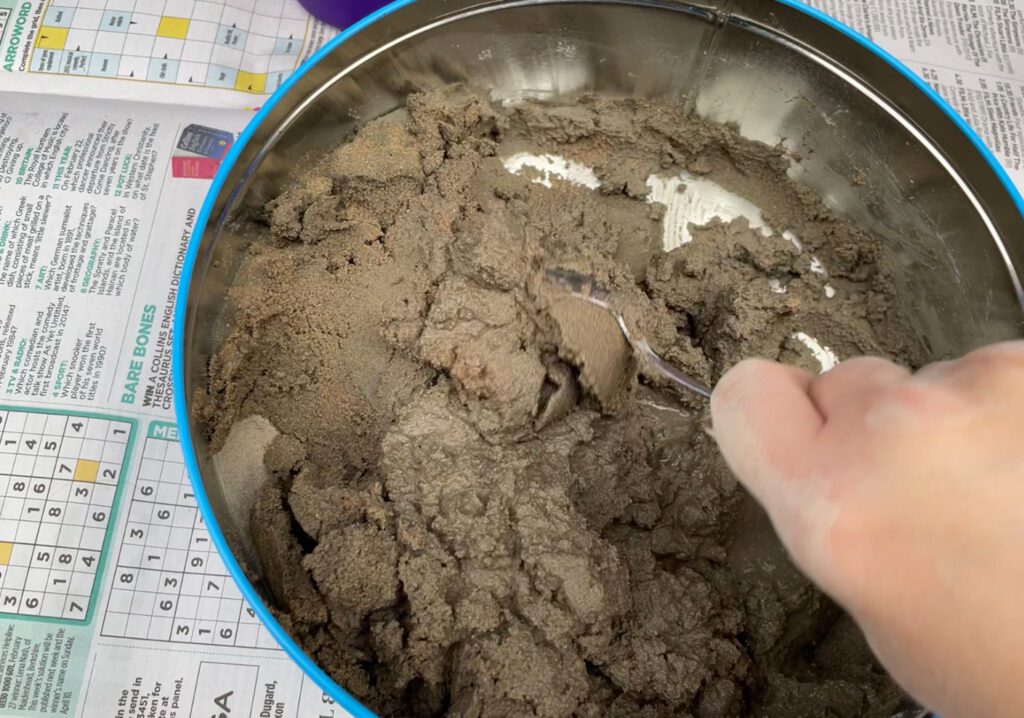
Add 3 cups of sand and 1 cup of cement to a mixing container, and then give it a good mix before adding any water.
Tip: you don’t have to use a cup as long as what you use is the same size for both sand and cement measurement
As long as the ratio is 3:1 you don’t have to use a cup.
2
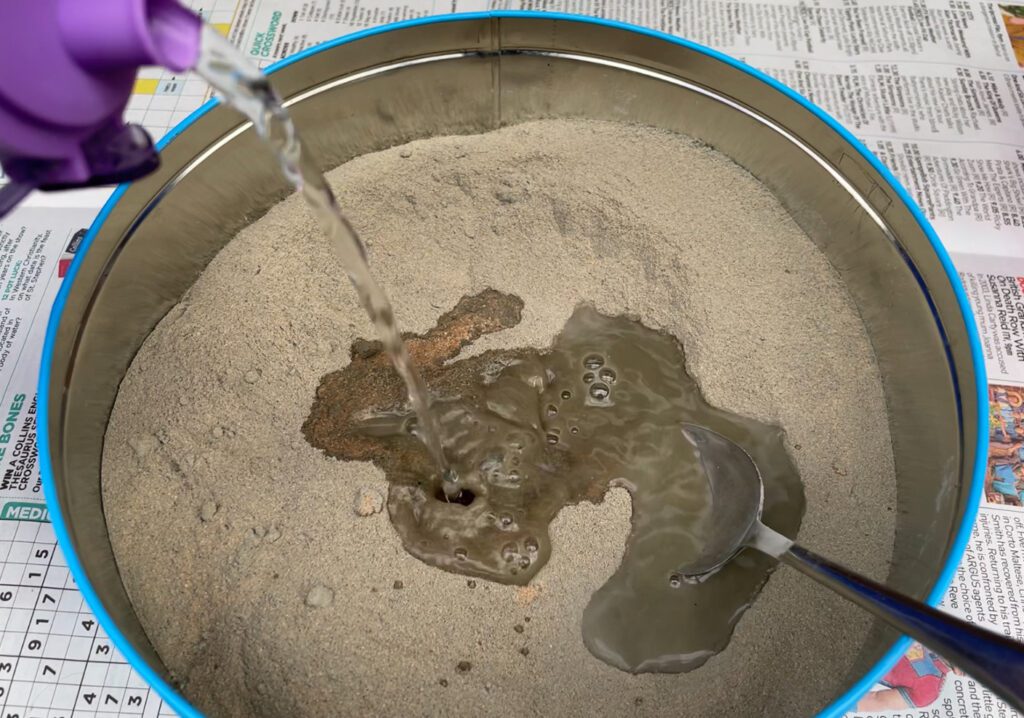
Add water slowly as you go, constantly stirring and mixing until you have the right consistency (you don’t want it too runny or too wet).
Tip: Ensure that the silicone mould is sitting on something like a board or tray because you may have to move it after it’s filled.
Warning; It gets rather heavy.
3
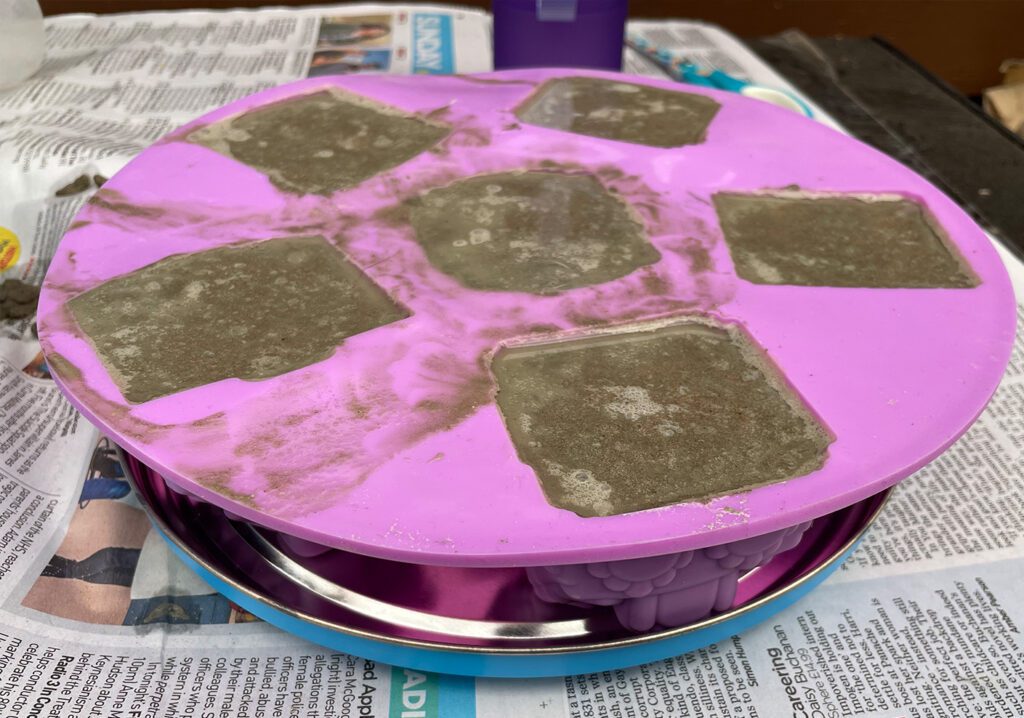
Scoop the cement into each cavity of the silicone mould, particularly press down as you go.
Note: You may end up with some excess water sitting on the top of your cement which you can just soak up or scoop out.
4
Now it’s time to let the mould dry, and therefore you want to place it somewhere it can be left undisturbed for between 24-48 hours.
Note:The drying time will depend on the mould size, how wet it is and air temperature.
5
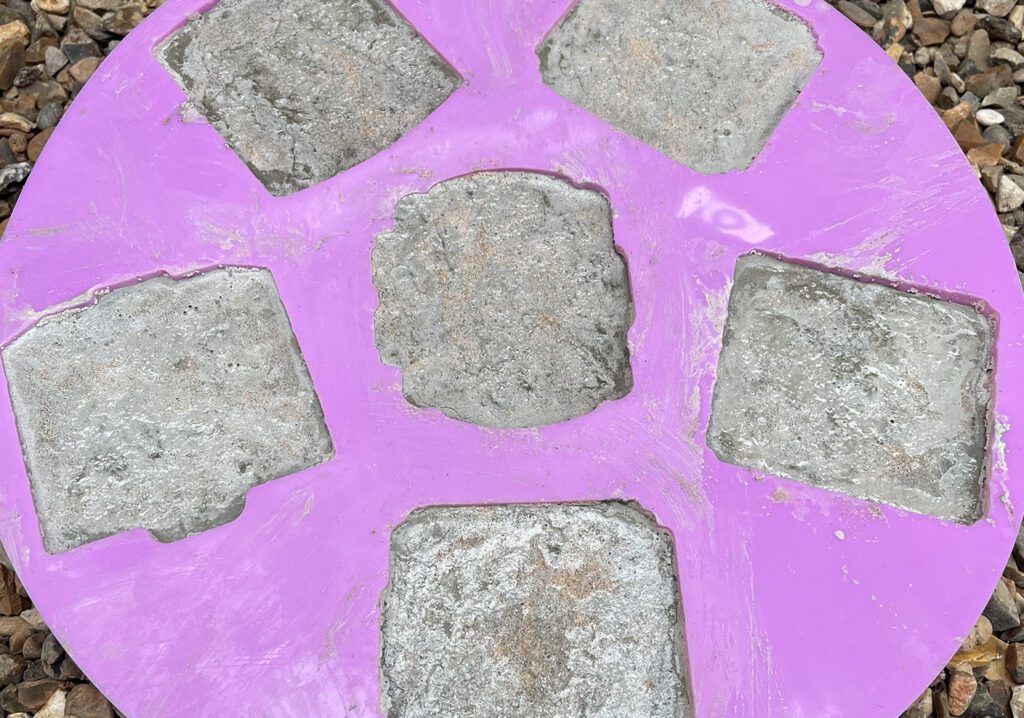
Once the cement is completely dry remove each casting from the mould.

6
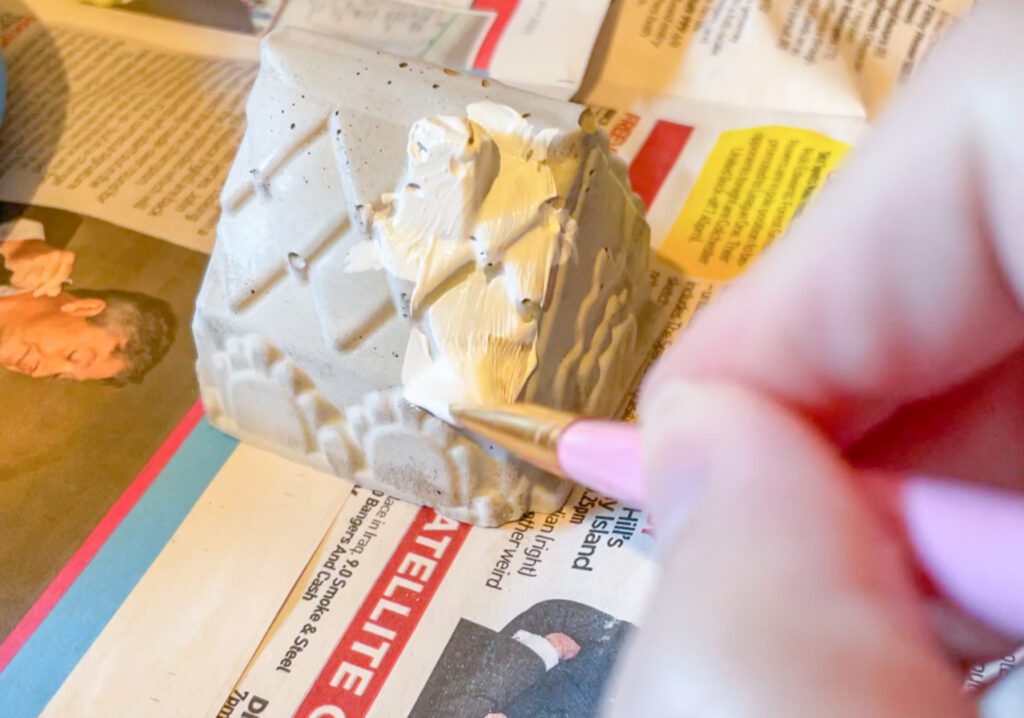
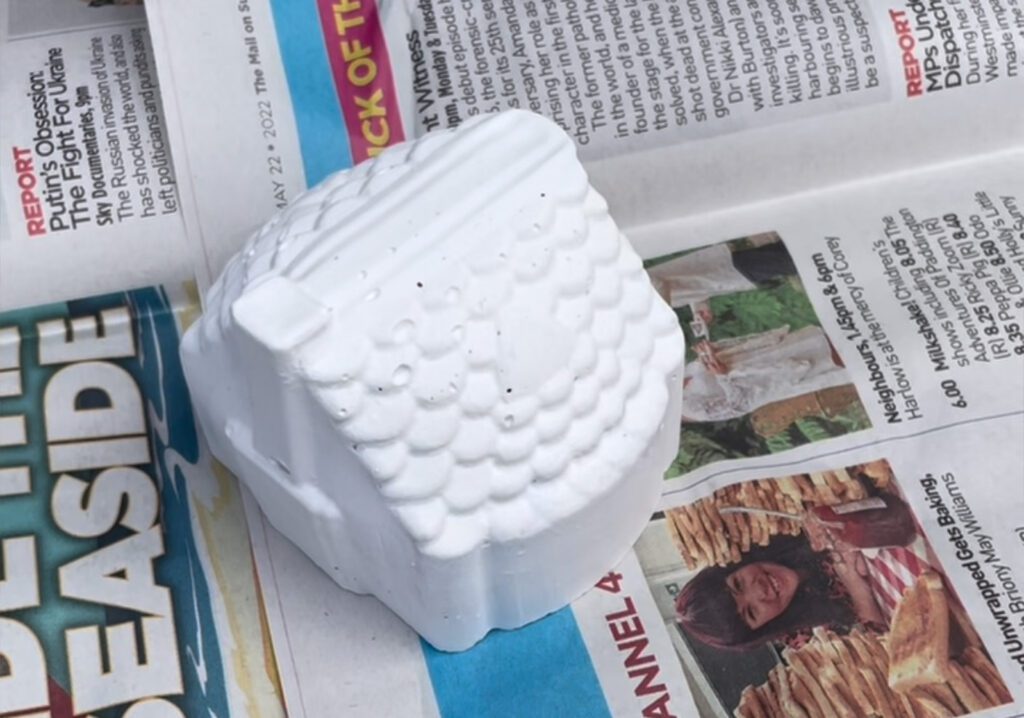
Once all the castings are out of the mould it is important to give all the little cement houses a coat of white primer, to ensure the next layer of paint goes on easier and comes out brighter.
This all means the paint isn’t being absorbed into the cement, thus applying much less paint to get the right finish.
7
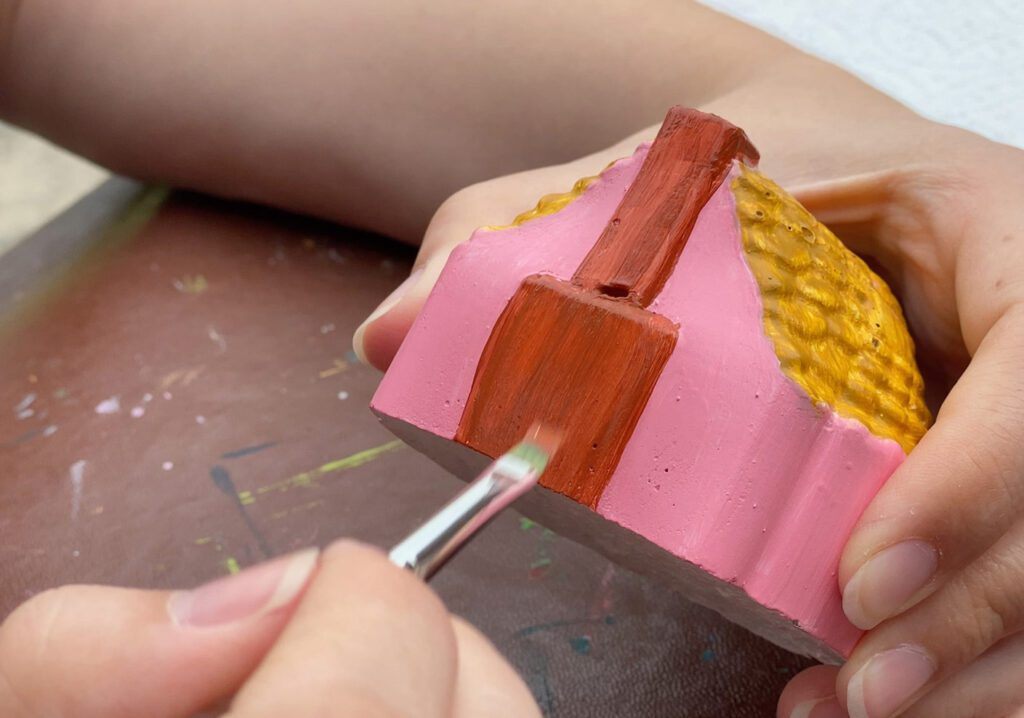
Finally, get creative and decorate your cement houses.
Aim to use acrylic paints to colour the houses plus any extra little detail. For finer lines I have used permanent marker pens.
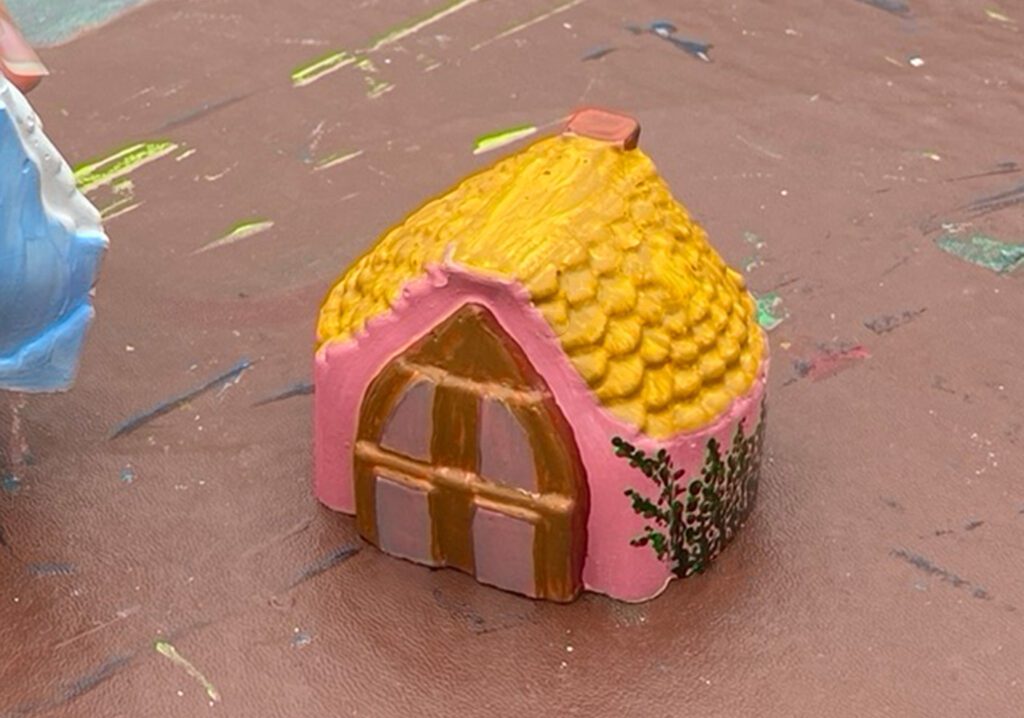
I hope you enjoy these little cement houses. I love to create mini versions of my dream houses and often pretend to my little girl that fairies live in them.
You can be so creative when it comes to painting and then building little village scenes surrounded by garden flowers.
Thanks for following along with this tutorial. If you’re feeling even more creative, try these decorative resin letters or these Seed bombs.


