
Here’s a cute little resin craft tutorial for you to try out. This is a fun and creative tutorial making a stunning Resin PeaPod with Alcohol Ink and a craft silicone mould.
This DIY resin project is both enjoyable and visually captivating. So, let’s gather our materials and get started!
Contents:
- Materials you need
- Getting Started
- Making the Resin PeaPod
- Method 1 – White Alcohol Ink
- Method 2 – Gold Alcohol Ink
What You Will Need for This Resin Craft Tutorial:
- Mask (resin is toxic, safety first!)
- Goggles/glasses (protect those precious eyes!)
- Gloves (keep your hands safe and clean)
- Bottles of resin (part A and part B)
- Mixing cup
- Lollipop stick (to expertly mix the resin)
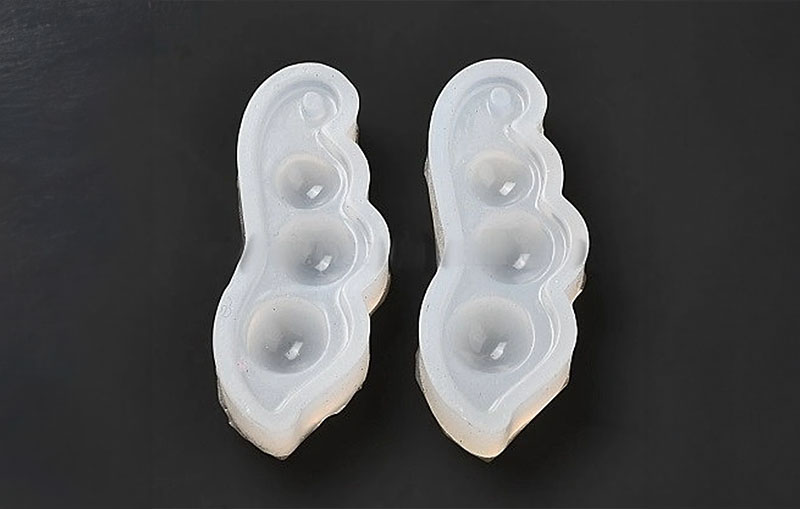
- PeaPod Silicone mould
- Alcohol inks in any color of your choice
- Gold or White alcohol ink
Getting Started
Ensure you have all your equipment for this resin craft tutorial, Safety should always be a priority when working with resin, so don’t forget to wear your mask and goggles.
I personally love my PeaPod silicone mould and use it for various resin crafts. This is the mould I use for this tutorial:
Get it here from ETSY
Making A Resin PeaPod
For this resin craft tutorial I have two methods, each producing a slightly different end result. It’s completely up to you which method you choose to follow. You only need a small amount of resin, which is a great.
Method 1 – Using White Alcohol Ink
1. Prepare, Mix and Pour
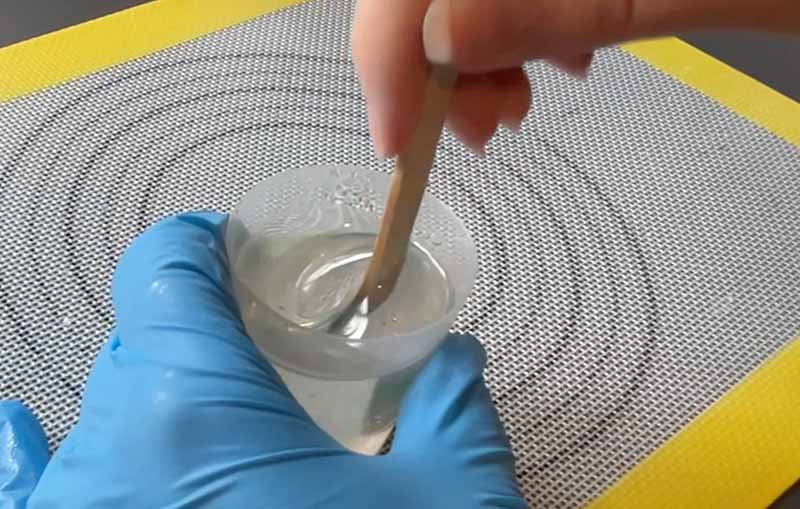
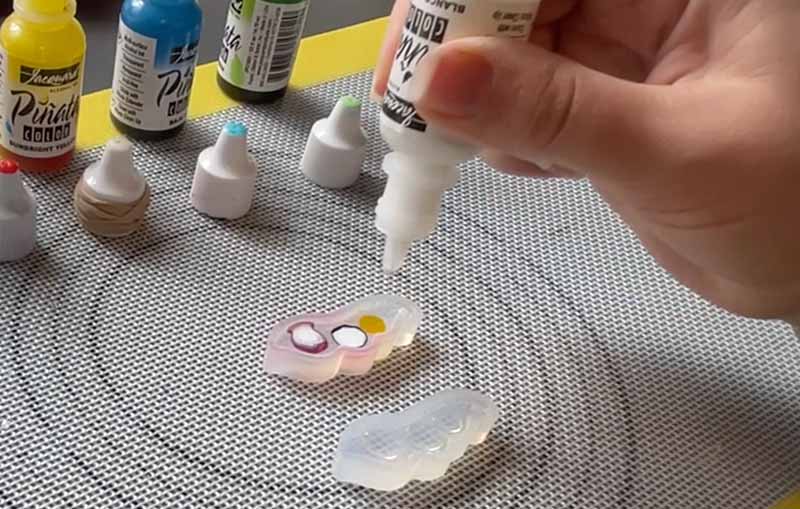
Begin by getting your PeaPod mould ready. For the resin mixing process, I prefer a 1:1 ratio, combining 1 part A with 1 part B of the resin. While mixing, be mindful of minimising bubbles, although the alcohol ink we’ll add later should help with this.
However you can also use a vacuum chamber for bubble free flawless resin Unlike most resin crafts, avoid using a torch to remove bubbles when working with alcohol ink and resin.
Gently pour the resin into the three individual peas within the mould.
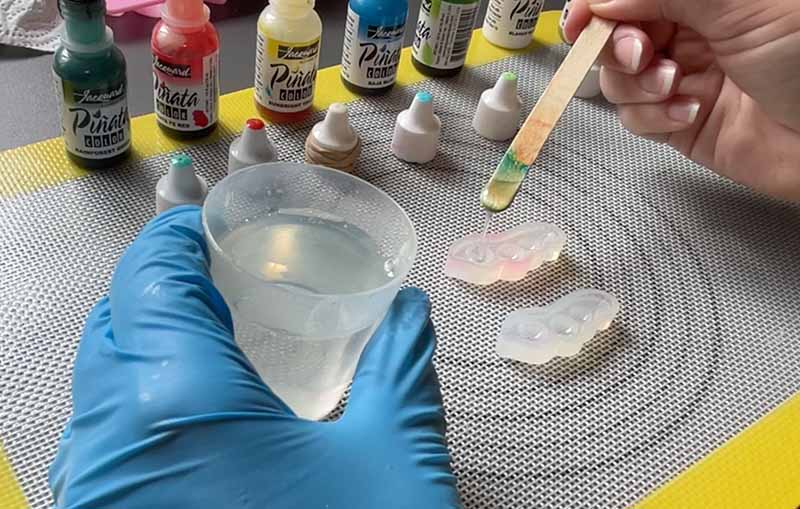
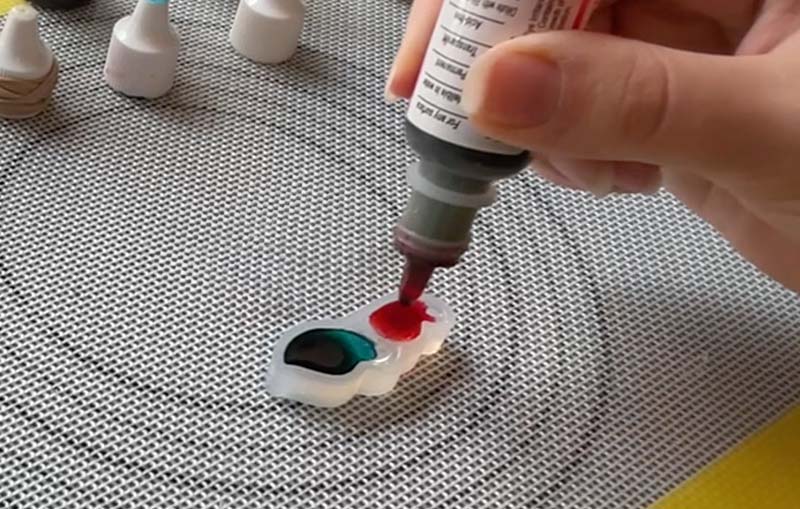
2. Add the Alcohol Ink
Now, add one drop coloured alcohol ink to each of the individual pea grooves, followed with one drop of white alcohol ink on top of each colour.
Make sure your inks are shaken well before use especially your white ink. Now leave the resin to set.
3. Cover the back of the PeaPod
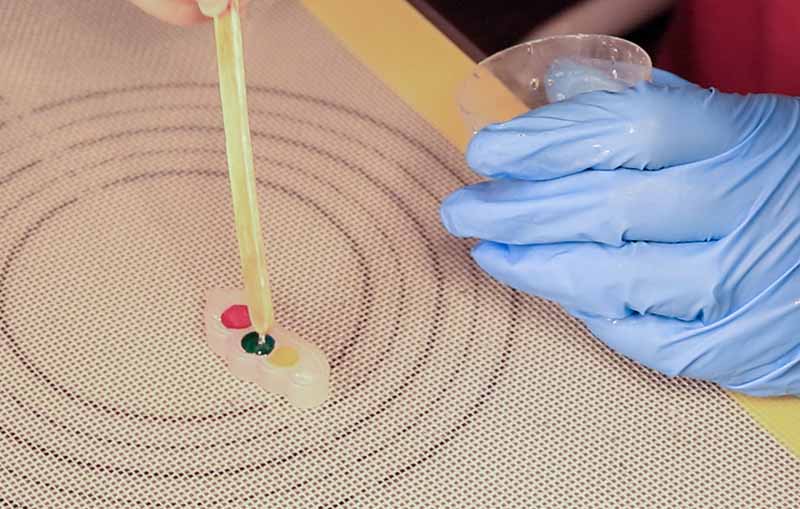
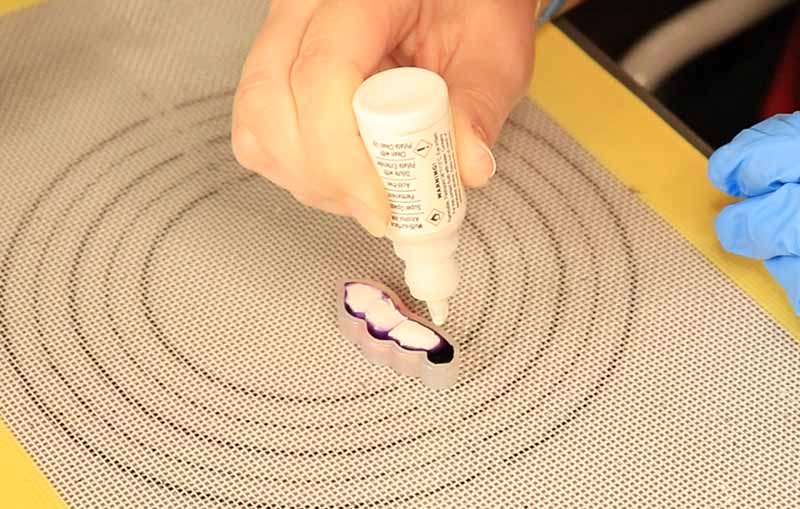
Once the resin in your mould is set enough you can add fresh resin on top, add some coloured alcohol ink to cover the whole of the back followed by at least one drop of white alcohol ink to every coloured drop.
Keep in mind that curing time varies depending on the type of resin you use. You resin does have to be fully cured to do this step

4. Curing the Resin
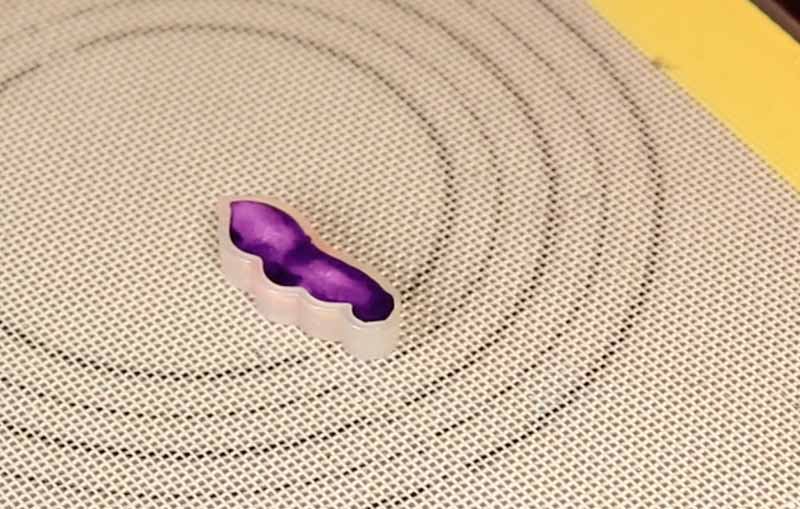

Allow the piece to cure for as long as possible; I usually wait 24 hours. However, if you need to bend the piece, it may be ready after 12 hours.
The ink on the back may still be soft and might require some additional time to set. This can also depend on how much ink you use.
The beauty of this project lies in the limitless colour combinations you can explore to create unique and captivating pieces.
Method 2 – Using Gold Alcohol Ink
1. Prepare, Mix and Pour
Prepare your PeaPod silicone mould
As per method 1, Pour the resin into the mould, ensuring it is filled almost to the top, remember you will be adding to it.
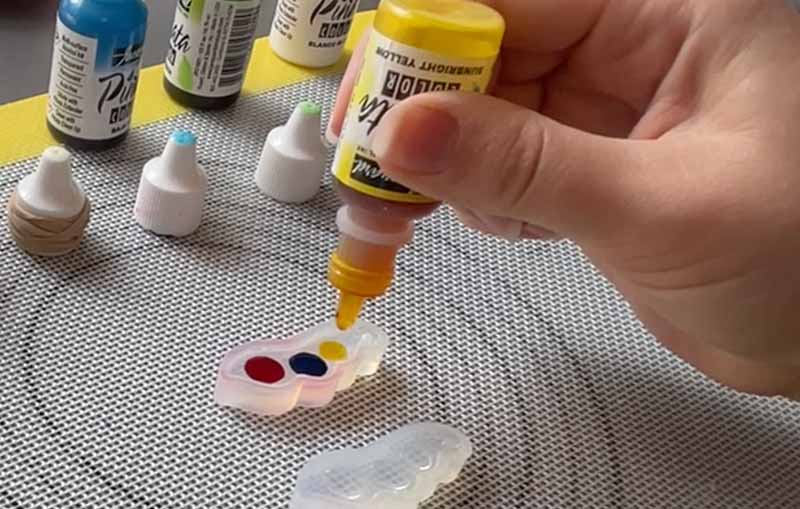
2. Add the Alcohol Ink
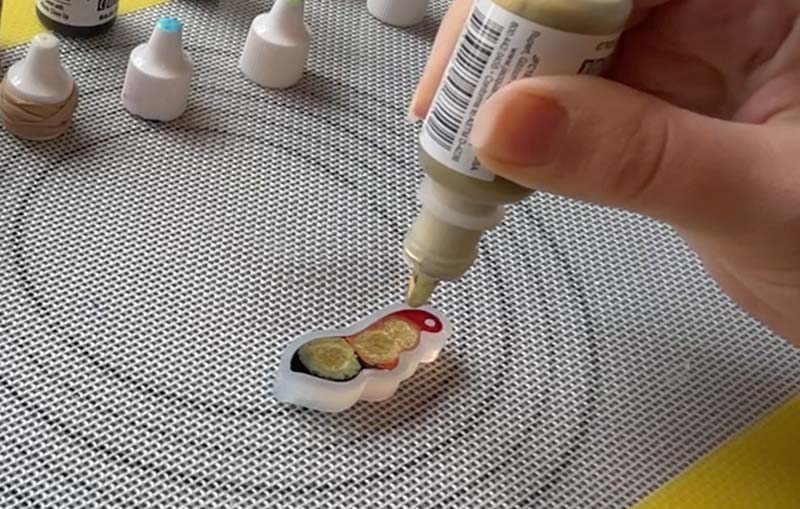
Now comes the creative part! Add a few drops of alcohol ink in your chosen colours. Feel free to use a single colour or experiment with multiple colours—I personally use two to three colours.
On top of the alcohol ink, apply the gold ink.
3. Cover the back of the PeaPod
Make sure to add enough resin drops to cover the back of your piece.
As the resin and ink work their magic, you’ll witness a shimmering effect from the top of the mould.
4. Curing the Resin
Allow the piece to cure for as long as possible, preferably 24 hours. However, if you’re eager to see the result sooner, you might be able to take it out after 12 hours for bending purposes.
Just remember, the gold ink on the back may need additional time to set.
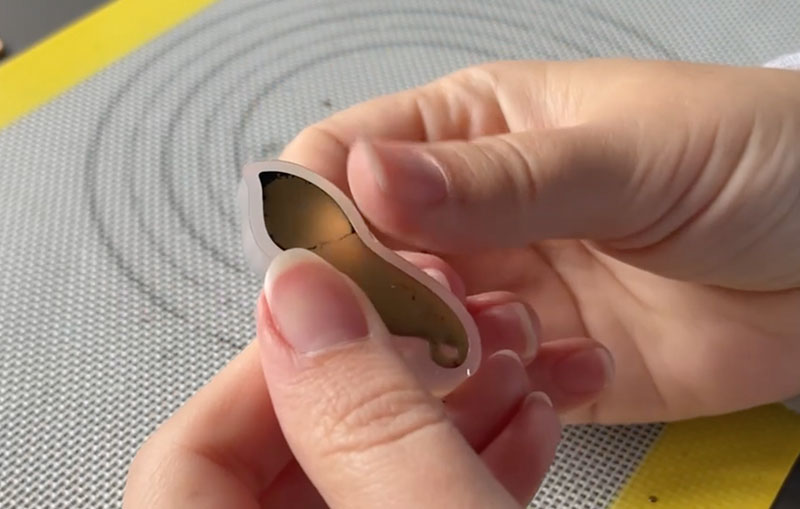

With the chosen colour combination, you’ll be amazed by how the end result looks, reminiscent of a Christmassy charm.
Resin Craft Tutorial
Get creative and enjoy the process of crafting your own Resin PeaPod with Alcohol Inks! Turn these stunning pieces into sets of earrings or even a pendant
Remember, resin crafts offer endless possibilities, and with the right use of alcohol inks, you can achieve beautiful and mesmerising results.
Happy crafting!


