
If you’re looking for a fun and creative activity to do with your kids, why not discover how to make sidewalk chalk? Not only is homemade sidewalk chalk an easy project that you can do at home, but it’s also a great way to keep your kids entertained and engaged with the outdoors.
With this 3 ingredient, non-toxic sidewalk chalk recipe, you can create your own colourful chalk in any colour you want. This method uses simple ingredients that are safe for your kids and the environment.
In this post, I’ll show you how to make your own DIY sidewalk chalk, step-by-step, and share some tips on how to use it to create easy chalk drawings that will brighten up any sidewalk or driveway. So let’s get started and have some fun!
Sidewalk chalk ingredients
Heres what you will need for this super fun and simple homemade sidewalk chalk project:
- Plaster of Paris
- Cold water
- Tempera (poster paint)
- Mixing Jug
- Cups
- Spoon
- Mould or ice tray
No products found.
Make your own sidewalk chalk instructions
Step 1:
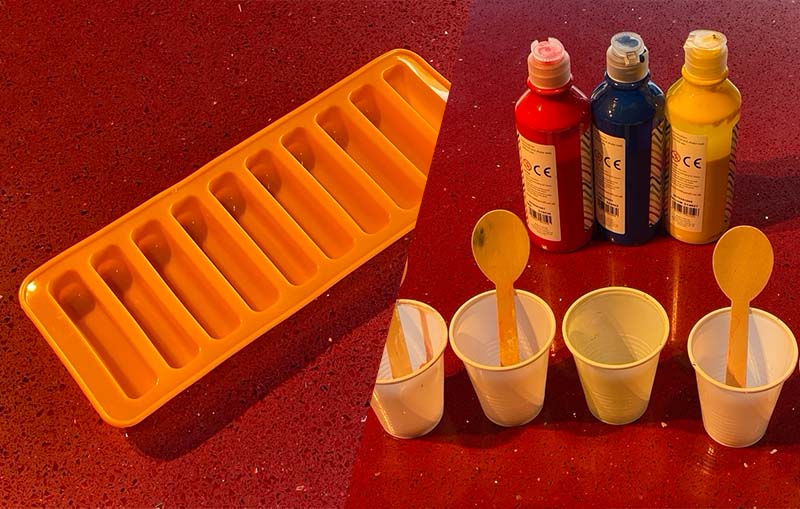
Gather your materials and prepare your workspace. You’ll need a mixing jug, a silicone mould, a set of cups, a spoon, plaster of paris, Tempera poster paints, and some water. Make sure your workspace is clean and clear, and cover it with newspaper or a drop cloth to protect your surfaces.
Step 2
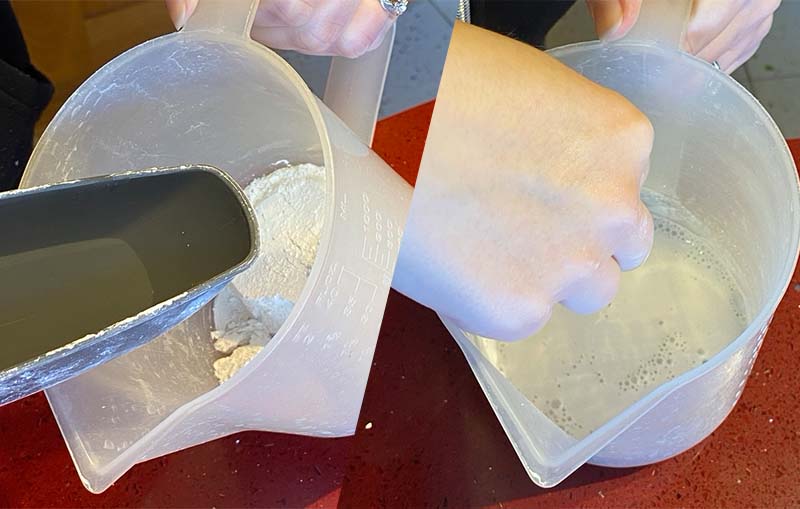
In a mixing bowl, combine 1 cup of plaster of paris and 1 cup of cold water. Mix well until the ingredients are evenly combined. The mixture will become thick and pasty.
Give it a good mix by scraping the sides and bottom to make sure there is no unmixed or lumps of plaster.
Step 3
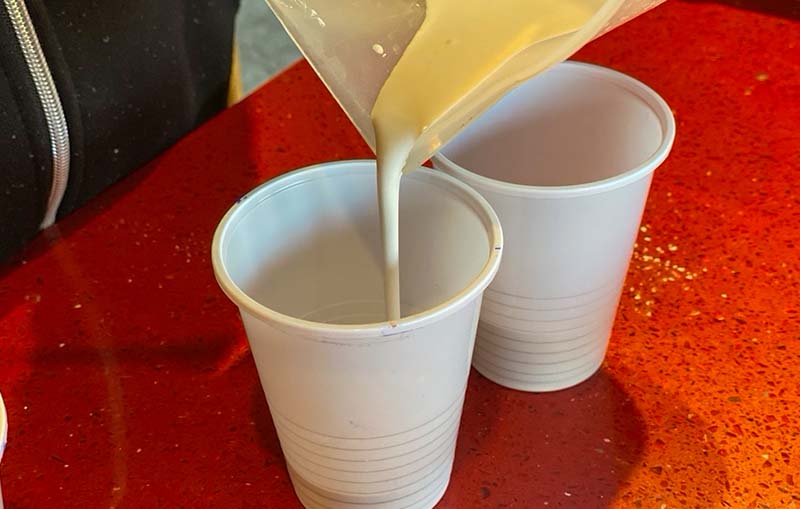
Separate your mixed plaster into cups, use the same amount of cups to how many different colours you wish to make. For this tutorial I’m using 5 different colours.
Step 4
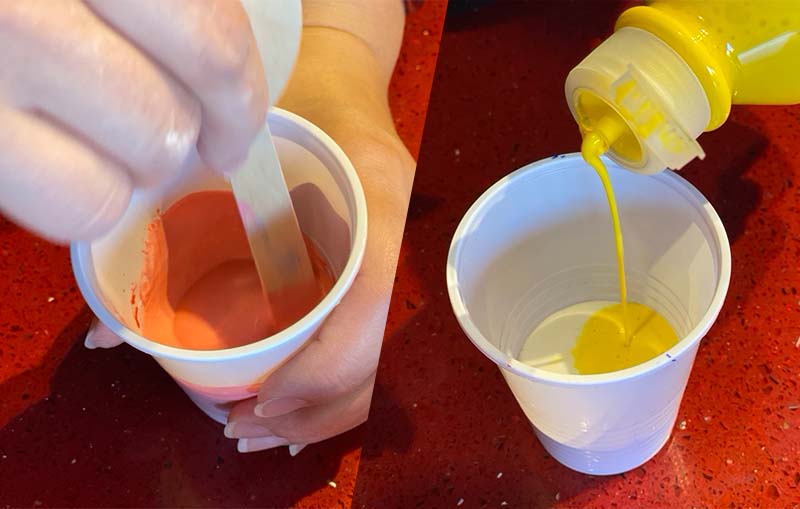
Add a small amount of Tempera (both liquid or powder works) to each of your cups. A small amount will go far for colouring the plaster and mix well.
You need to work fast because the plaster starts to get thick really quickly.
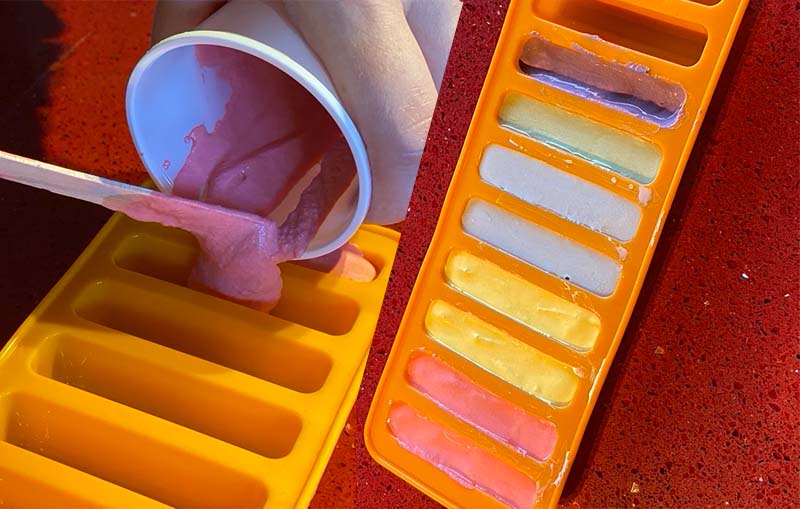
Step 5
Spoon or pour each colour mixture into your chalk mould. Make sure to pack the mixture tightly into the mold to prevent air bubbles.
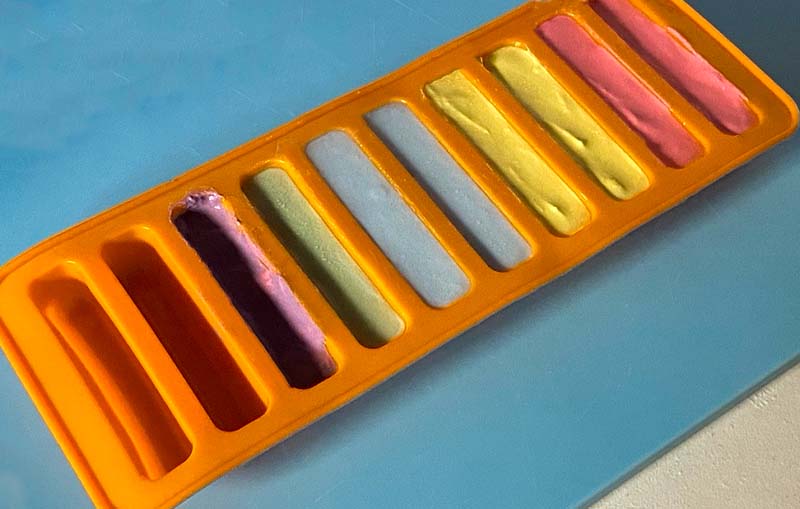
Step 6
Let the moulds sit for about 24 hours to allow the chalk to dry and harden completely. You can speed up the drying process by placing the moulds in a warm, dry place, but avoid exposing them to direct sunlight as it can cause the chalk to crack.
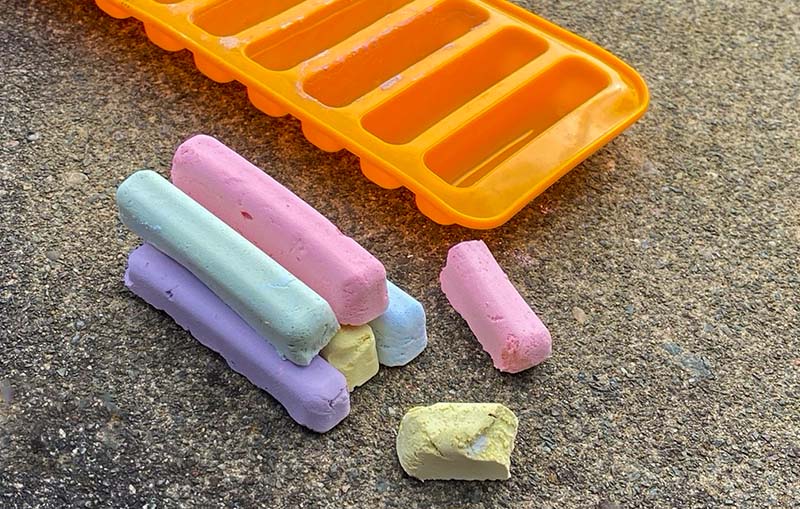
Step 7
Once de-moulded let the chalks continue to dry for at least another 24-48 hours before using.
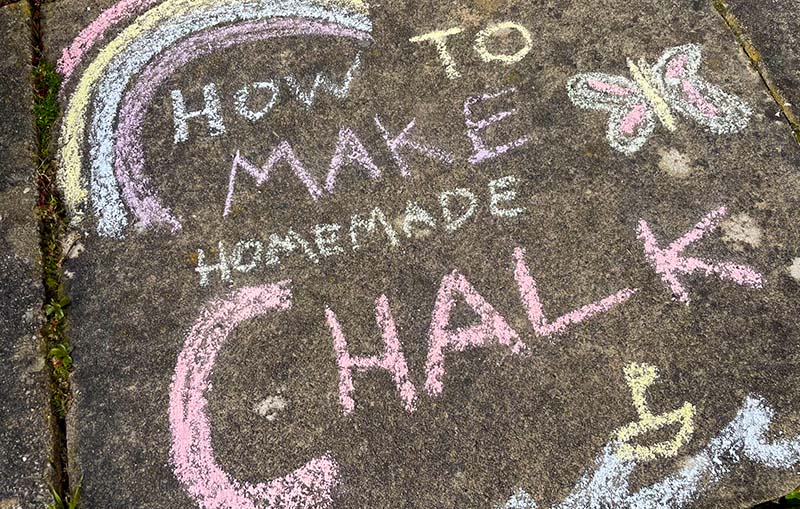
Now you can use your homemade sidewalk chalk to create colourful drawings and designs on any pavement surface.
Homemade Sidewalk Chalk Tips
Remember to handle the plaster of paris with care as it can cause irritation or burns if it comes into contact with your skin or eyes. Always wear gloves and protective eyewear when working with plaster of paris.
Store your homemade sidewalk chalk in a dry and cool place. You can wrap the chalk in tissue paper or store it in a container with a lid. Avoid exposing it to moisture or humidity as it can cause the chalk to become soft or crumbly.
With these simple steps, you can create your own non-toxic sidewalk chalk that will provide hours of fun and creativity for your kids. So gather your materials, get creative, and enjoy this easy and fun project with your family!
If you’re feeling even more creative, try these DIY personalised crayons. This is another great project for children to get involved in.
Sidewalk Chalk FAQs
Can the homemade sidewalk chalk be used on surfaces other than sidewalks, such as blackboards or paper, and how well does it perform on these surfaces?
Homemade sidewalk chalk can be used on various surfaces, but its effectiveness might vary. For example, it may not adhere as well to blackboards or paper compared to sidewalks.
How long does the homemade sidewalk chalk last compared to store-bought chalk, both in terms of shelf life and usage duration?
The durability of homemade chalk compared to store-bought versions can depend on the ingredients and storage conditions, but typically, homemade chalk may have a shorter shelf life and usage duration.
Are there any alternative ingredients that can be used if someone is allergic to or wants to avoid using Plaster of Paris or Tempera paint?
If you’re avoiding Plaster of Paris or Tempera paint, you could explore using cornstarch and water or other natural pigments, but the texture and consistency might differ. Always test alternative recipes for safety and effectiveness.


