
In this guide to using a pressure pot for resin, you’ll discover:
- The fundamental role of the pressure pot for resin.
- Key benefits that make resin pressure pots popular.
- Tips for selecting the perfect pressure pot for resin casting.
- How to use a pressure pot.
- Advanced techniques to elevate your resin artistry.
- Essential safety practices for a smooth crafting experience.
What is a Pressure Pot for Resin?
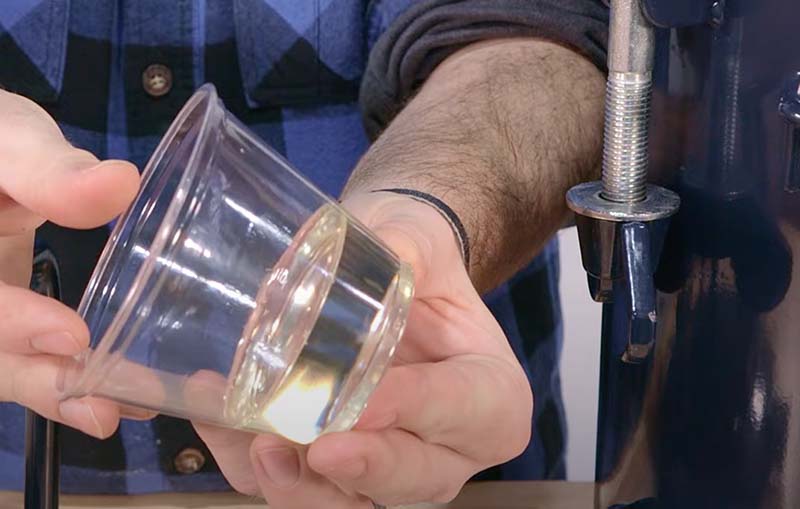
Pressure Pots are designed to eliminate bubbles from materials like resin. By increasing atmospheric pressure, it pushes out trapped air, ensuring a flawless finish. But when compared to its counterpart, the vacuum chamber, which reigns supreme? In resin artistry, it can come down to personal preference, but the pressure pot can be preferred thanks to its consistent results, especially when it comes to resin casting.
Benefits of Using a Pressure Pot in Resin Art
Using a pressure pot for resin can be a game-changer for resin artists. Whether you’re a hobbyist like me or a professional, understanding the advantages of this equipment can elevate your creations. Here are some of the key benefits to using g a pressure pot for resin:
Bubble-Free Resin
One of the most common challenges in resin art is the formation of bubbles. These can ruin the clarity and beauty of your piece, but here’s where the pressure pot comes in. By increasing atmospheric pressure, it effectively eliminates bubbles, ensuring a crystal-clear, pristine finish every time.
Quick Curing Resin
When inspiration strikes you don’t want to be held back by long curing times. A pressure pot for resin casting accelerates the curing process, allowing you to move swiftly from one project to the next. It’s all about maximising creativity and minimising the wait.
Consistency
Every artist strives for consistency. With a pressure pot, you’re not leaving the outcome to chance. Whether it’s your first piece or your hundredth, this tool ensures each creation boasts the same high-quality finish. It’s like having a guarantee of excellence with every pour.
Enhanced Durability
Resin pieces crafted using a pressure pot tend to be more robust and durable. The increased pressure ensures a more solid bond between the resin molecules, resulting in a sturdier final product. Whether it’s jewelry, home decor, or art pieces, you can be confident they’ll stand the test of time.
Versatility in Crafting
Using a pressure pot for silicone molds opens up a world of possibilities. From thin, delicate pieces to thicker, more substantial creations, this tool handles it all with finesse. Its versatility makes it the pressure pot perfect if you love to experiment and push boundaries.
Cost-Efficiency
While there’s an initial investment involved in purchasing a pressure pot for resin, the long-term benefits make it cost-effective. Think of the reduced wastage due to fewer errors, the time saved with quicker curing, and the potential for creating more pieces in less time. It’s an investment that pays for itself in no time.
Related Reading
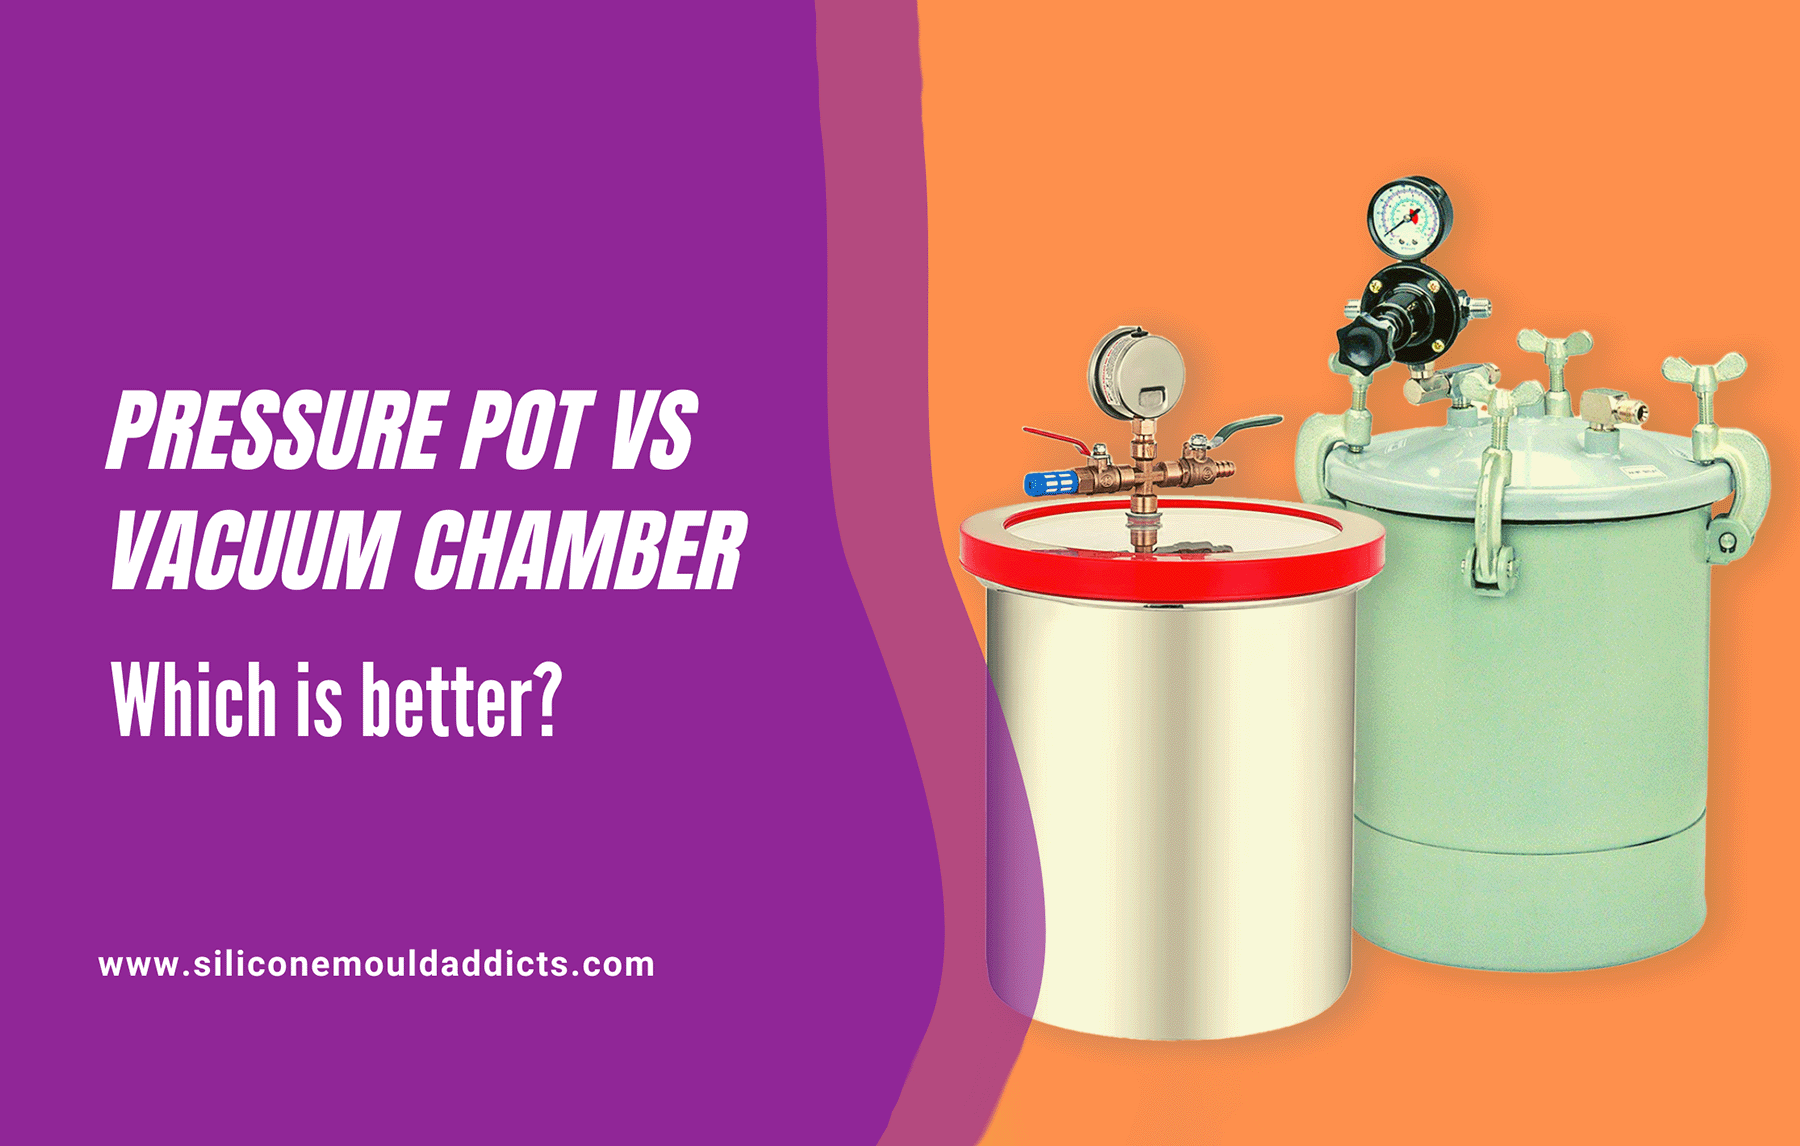
Pressure Pot Vs Vacuum Chamber, which is better?
Using a pressure pot or a vacuum chamber are two popular methods for removing air bubbles from resin, but which method is better?
Selecting the Right Pressure Pot for Resin
Picking the right pressure pot for your resin art can be tricky. Here’s a simple guide to help you:
- Size: Think about what you want to make. Small things like rings? A small pot is okay. Big things like tables? You’ll need a bigger pot. It’s good to get one that’s a bit bigger than what you think you need, just in case.
- Pressure: Different projects need different pressures. Make sure the pot you pick can handle the pressure you need. Some pots are good for easy projects but not the hard ones. Always check the highest pressure it can handle.
- Quality: A good pot will last longer and work better. It might cost a bit more, but it’s worth it. You don’t want it breaking or leaking.
- Safety: Safety is super important. A good pressure pot will have safety valves to let out extra pressure, strong seals so nothing leaks, clear gauges to show the pressure, and locks to keep the lid shut tight.
- Easy to Use: Your pot should be easy to use. It should be simple to connect to air, come with clear instructions, and have easy-to-use settings. If it’s easy to use, you’ll have more fun making your art!
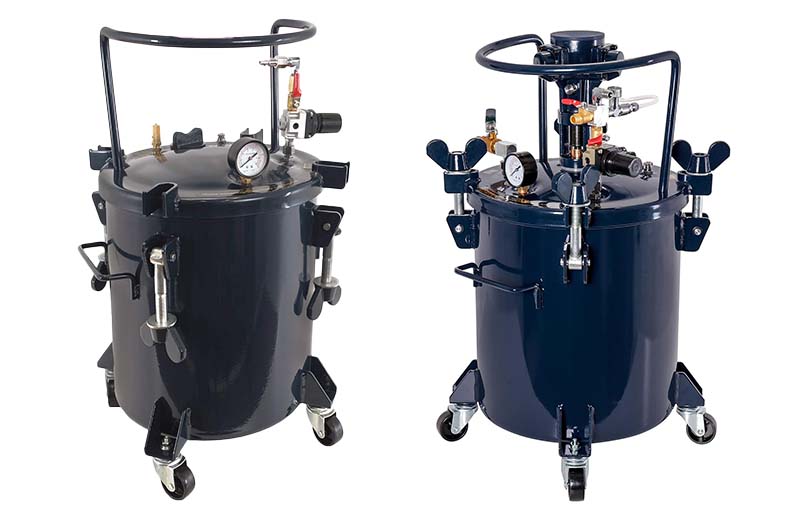
The TCP Global 5 Gallon (20 Litres) Pressure Pot is ideal for a variety of project sizes. Make high quality virtually bubble-less resin castings.
How to use a Pressure Pot for Resin
Ever thought using a pressure pot for resin might be tricky? Think again! Here’s a quick glimpse into how simple it really is:
Quick Prep: Just like setting up a new gadget, start by giving your pressure pot a quick clean. Then, it’s as easy as connecting it to an air compressor, much like plugging in a charger.
Safety, Simplified: No fancy gear needed. Just pop on some goggles and gloves, and you’re all set. Remember, when working with tools like the resin pressure chamber, safety is always a priority.
Pour and Place: Mix your resin, add your favorite colours, and pour it into your chosen mold. Then, place the mold inside the pressure pot. It’s like putting a dish in the oven!
Set and Forget: Turn on the compressor, adjust the pressure, and let the magic happen. It’s a bit like setting the right temperature for baking.
The Big Reveal: After a short wait, release the pressure, open the pot, and voilà! Your bubble-free, smooth resin creation is ready to shine.
In a nutshell, using a pressure pot for resin is straightforward and hassle-free. This video by TotalBoat perfectly demonstrates how to Cast Epoxy Resin in a Pressure Pot.
Mastering Advanced Resin Techniques
Unlock the full potential and make the most out of using a pressure pot for resin:
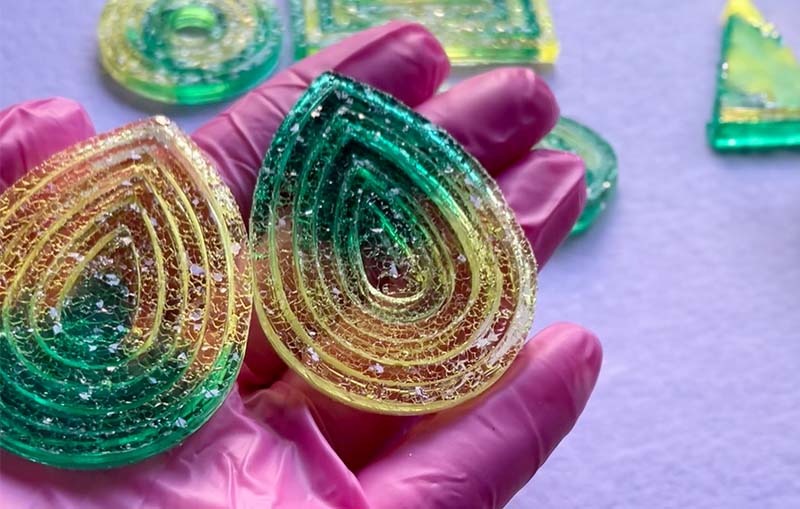
– Making Layered Pieces
Want to create something with depth? Just pour one layer of resin, let it set a bit in the pressure pot, then add another layer. Repeat this, and you’ll have a beautiful piece with multiple layers.
– Adding Special Touches
Think of your resin like a clear treasure box. You can place little things inside, like dried flowers or sparkly glitter. With the pressure pot, they’ll look like they’re floating perfectly inside.
– Fun with Colours and Designs
Get creative! Mix different colours or add fun patterns. Pour a layer, let it set a bit, then add more colours or designs. The pressure pot makes sure everything sets just right.
Trust me, with these techniques and the pressure pot, you can create resin art that’ll leave everyone in awe!
Safety First: Best Practices and Precautions
Alright, let’s talk safety. When using a pressure pot for resin, it’s super important to stay safe. First off, always check your pressure pot. Look for any signs of damage or wear.
If something seems off, it’s best to fix it before using it. Next, remember to never go above the recommended pressure levels. It’s like filling a balloon; too much air and it might pop!
Always work in a place with good airflow. This way, any fumes from the resin can easily escape. And when you’re done, store your pressure pot in a cool, dry spot, away from direct sunlight.
Think of it as giving your pot a cozy home. By following these simple steps, you can enjoy crafting while staying safe and sound!


