
Silicone moulds have become an increasingly popular tool in the world of baking and crafting. They offer endless possibilities for creating unique and intricate designs, and their flexibility makes them easy to use. However, after several uses, these moulds can become coated with a stubborn layer of residue that can be difficult to remove. Cleaning silicone moulds is an important step in ensuring their longevity and maintaining their quality. In this article, we’ll discuss the best methods for cleaning silicone moulds and provide tips to help you keep them in pristine condition.
Ultimately caring for your moulds isn’t difficult, however there are a few things to remember:
I will cover:
- 1. Equipment you need
- 2. Using your Silicone Moulds
- 3. How to clean your Silicone Moulds
- 4. Storing your Silicone Moulds
- 5. Getting a piece out the Mould
1. Equipment you need
Here is a list of useful things to have at hand to help look after your moulds:
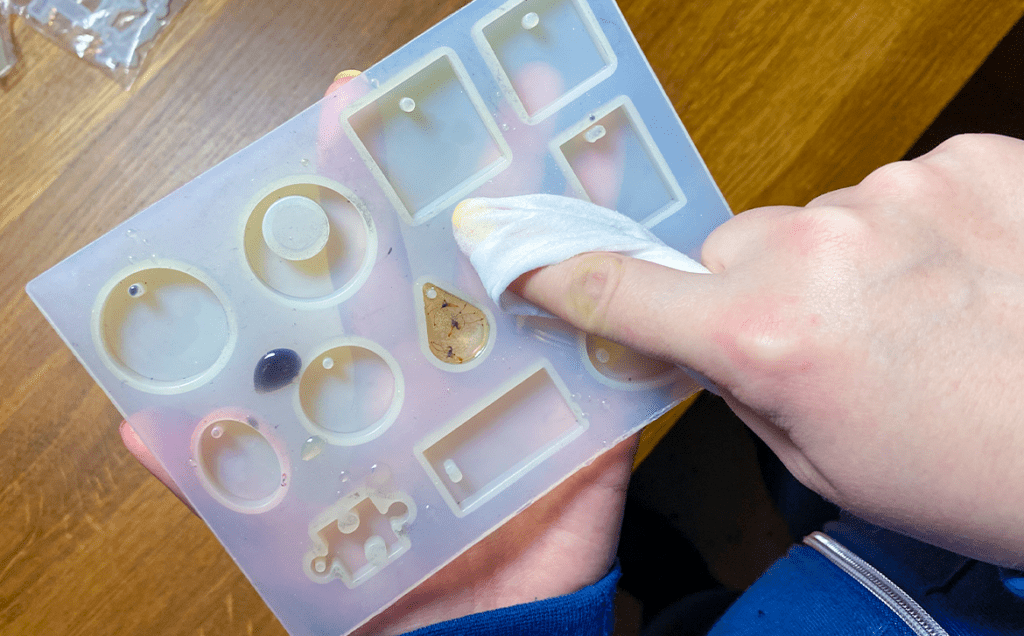
- Baby wipes
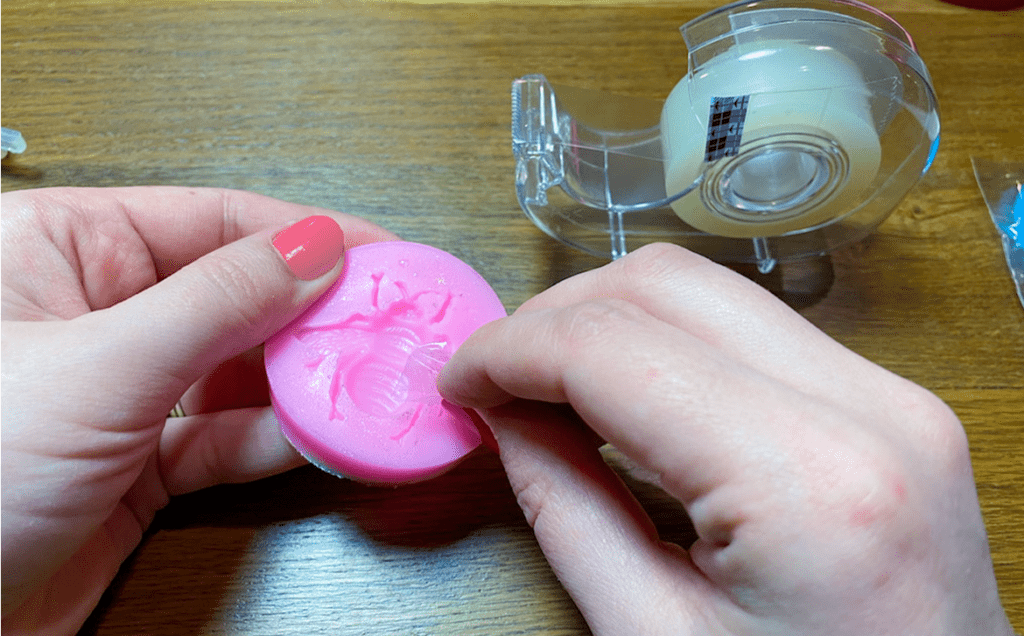
- Sticky Tape
- Sponge
- Cotton buds
- Zip lock bags
- Washing up bowl
- Mild soap
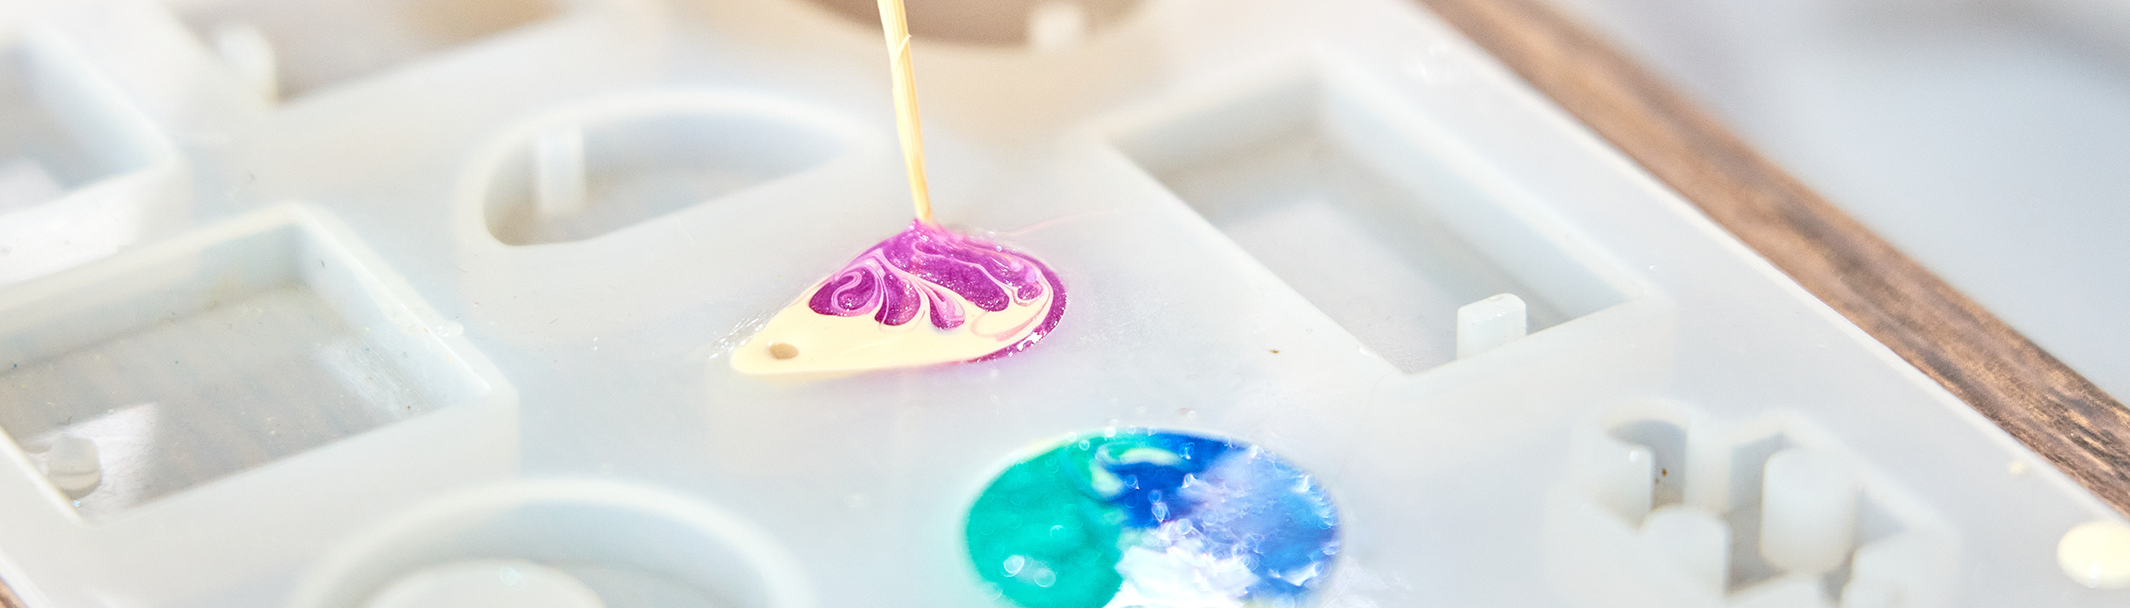
2. When using your moulds
I use sticky tape inside my moulds to get rid of any dirt or dust that may have got in it first.
Use mould release before each use if you want to prolong your moulds life. I advise wearing a mask when doing this, therefore please follow the manufacturer’s instructions.
Be careful when using items like toothpicks as these can SCRATCH or mark your mould. Otherwise you may end up with a permanent mark on every future casting.
Be careful when using a gas torch as excessive heat can cause your resin pieces to stick to the mould, consequently damaging them when you try to take them out. The excessive heat from a gas torch can potentially warp and burn your moulds.
When removing your pieces from be careful not to over-stretch the mould.
3. How to clean your moulds
Use sticky tape to take off any old cured resin bits or glitter.
Baby wipes are really useful for wiping your moulds or equipment. However, DO NOT use alcohol as it removes the shine.
Leave your moulds in a bowl of WARM MILD soapy water to soak for a bit. Use a bowl and don’t do it in the sink. Don’t put them in a dishwasher or use hot water.
You can use the soft side of a sponge, however I use a baby wipe as they are really strong and I know it won’t damage the moulds.
Leave them to DRY thoroughly upside down. or dab gently with some kitchen roll. However DO NOT RUB, with kitchen roll as it could damage your mould and remove its shine.
4. How to store your silicone moulds
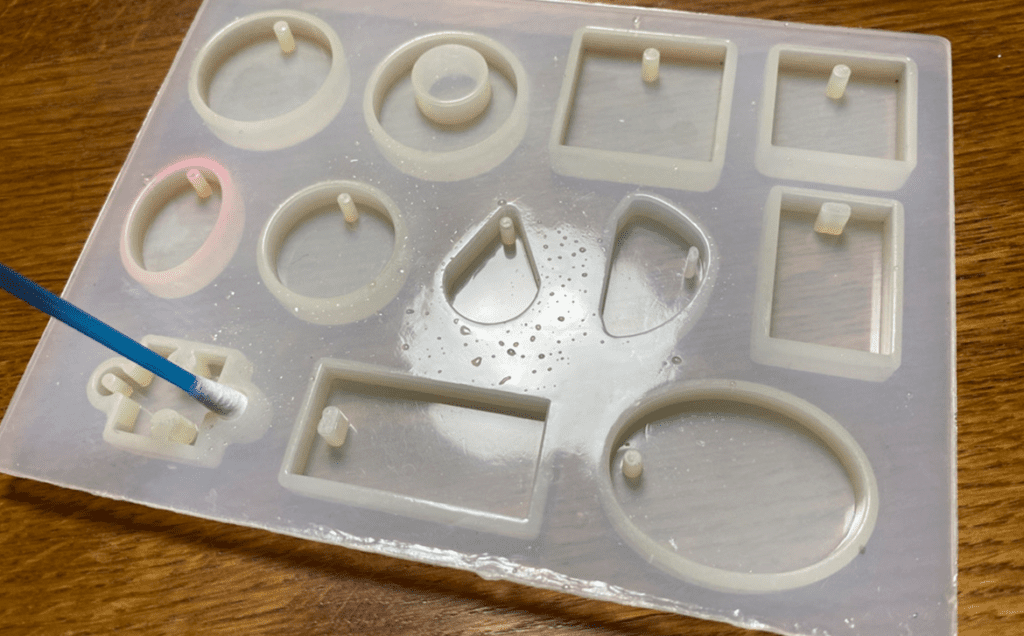
Make sure your moulds are completely DRY before putting them away. Use cotton buds to help you clean and dry those hard to reach places. DO NOT RUB with kitchen roll.
Put your moulds somewhere COOL and out of direct sunlight.
Keep moulds FLAT and don’t stack them on top of each other, as once a mould has misshapen it’s almost impossible to get flat again.
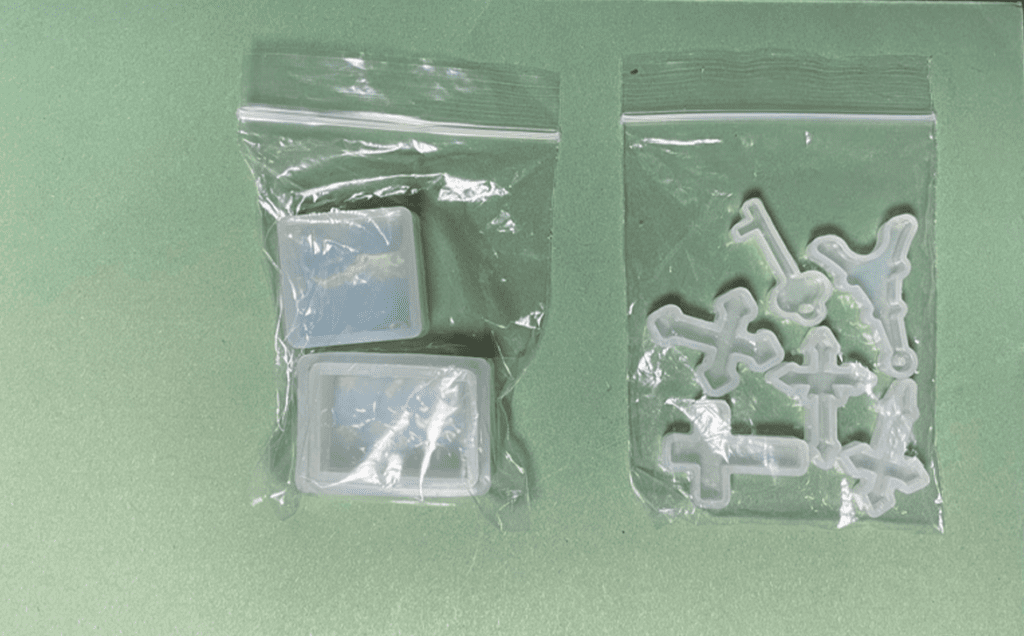
You can also put your moulds into ziplock bags, as this will help keep them clean and dust free.
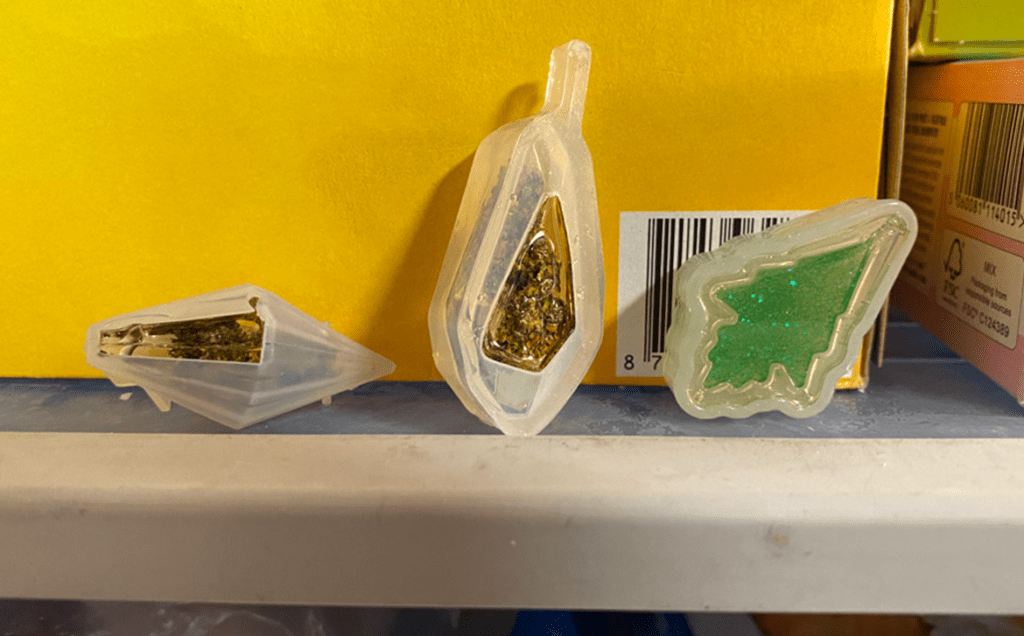
5. Getting your piece out the mould
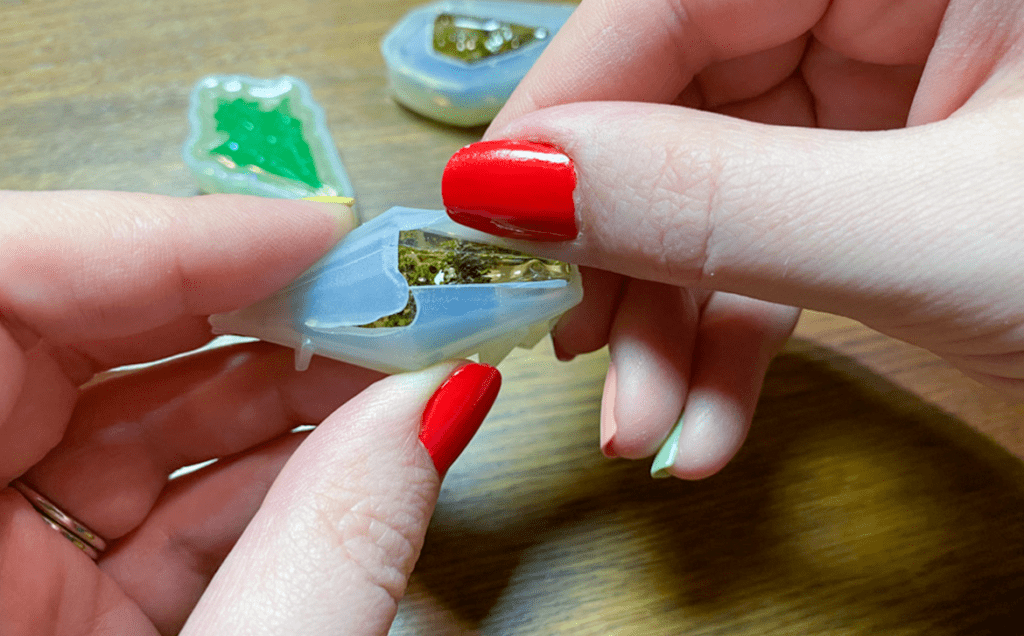
Firstly, don’t panic if your piece becomes stuck in the mould.
Make sure your piece is FULLY CURED. If your pieces are curing in a cold room this can slow down the curing process. Put them somewhere warm.
If it is fully cured and not coming out, try putting it in the freezer for about an hour before trying again too remove. Don’t worry the freezer will not damage your mould.
Still not coming out? Put it in warm soapy water, ensuring you get air or water down the gaps between your mould and your piece.
Still not coming out? As a last resort try to wedge an item in around the edges between the mould and the piece, however be warned this could mark your mould or piece, so don’t use anything sharp.
I hope these tips help you look after your moulds and reduce the amount of replacement moulds you may need in future.
If you have any of your own tips that you would like to share on this subject, please pop them in the comments below this post, or please come and share them in the silicone mould addicts Facebook group. If you haven’t already joined, click here and come say hello.


