One thing that often frustrates both beginners and resin artists is the pesky formation of resin bubbles. Achieving that pristine, glass-like finish is every artist’s goal, and knowing how to remove bubbles from resin is the secret to achieving that goal.
In this guide, we’ll delve into the reasons bubbles form, plus:
- The best tools to remove resin bubbles
- How to prevent bubbles when mixing resin
- Resins less prone to bubble formation
- How long to wait before removing resin bubbles
Why do bubbles form in resin in the first place?
Bubbles in resin can form due to various reasons. The most common is the entrapment of air during the mixing process.
Additionally, pouring resin too quickly or in a thick layer can also lead to bubble formation.
Temperature plays a role too; if the resin or the environment is too cold, it can increase the viscosity of the resin, making it harder to release trapped air.
What tools or equipment are best to remove bubbles from resin ?
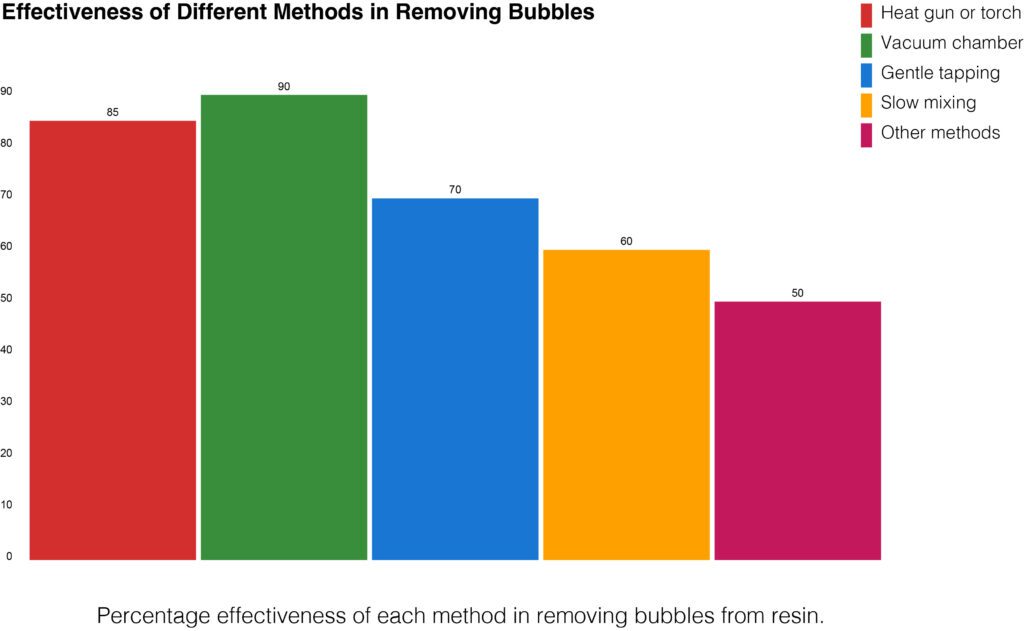
Achieving a bubble-free resin artwork often requires the assistance of specialised tools. Here are three of the most effective tools for both removing and preventing resin bubbles:
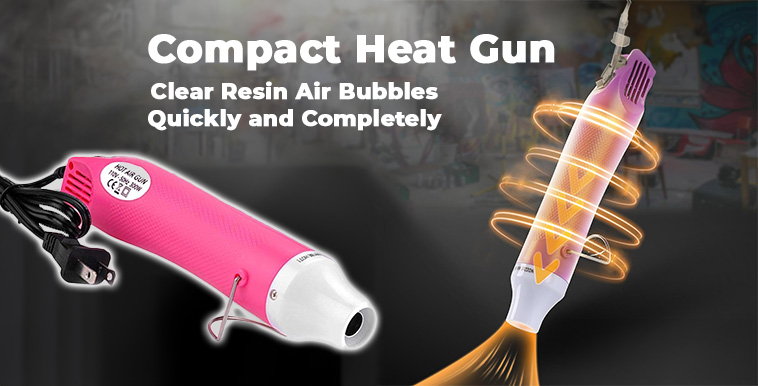
- Heat Guns or Torches: These are perhaps the most commonly used tools in the resin art community. When passed gently over the surface of the resin, the heat causes the bubbles to expand and rise to the surface, where they pop. It’s a quick and effective method, but it’s essential to use it with caution to avoid overheating or burning the resin.
- Vacuum Chambers: A vacuum chamber is a device that removes air from the resin mixture. By placing your mixed resin inside and turning on the vacuum, it creates a low-pressure environment. This causes the bubbles to expand and rise to the surface. Once the bubbles are gone, you can pour the resin into your mold or onto your work surface. It’s a more advanced tool but highly effective, especially for larger batches of resin.
- Resiners Airless Bubble Removal Machine: This innovative machine offers a more automated approach to ensuring your resin projects remain bubble-free. Designed specifically for resin artists, it uses a combination of vibration and rotation to help release trapped air, making it an excellent tool for both beginners and professionals.
While each of these tools has its unique advantages, the key is to choose the one that best fits your specific needs and the scale of your projects.
Experimenting with different tools and techniques will help you find the perfect solution for how to remove bubbles from resin in your artwork.
How can I prevent bubbles from forming when mixing resin and hardener?
To help remove bubbles from resin, mixing is a crucial step in achieving a flawless finish. Here are five professional tips to help you ensure a bubble-free result:
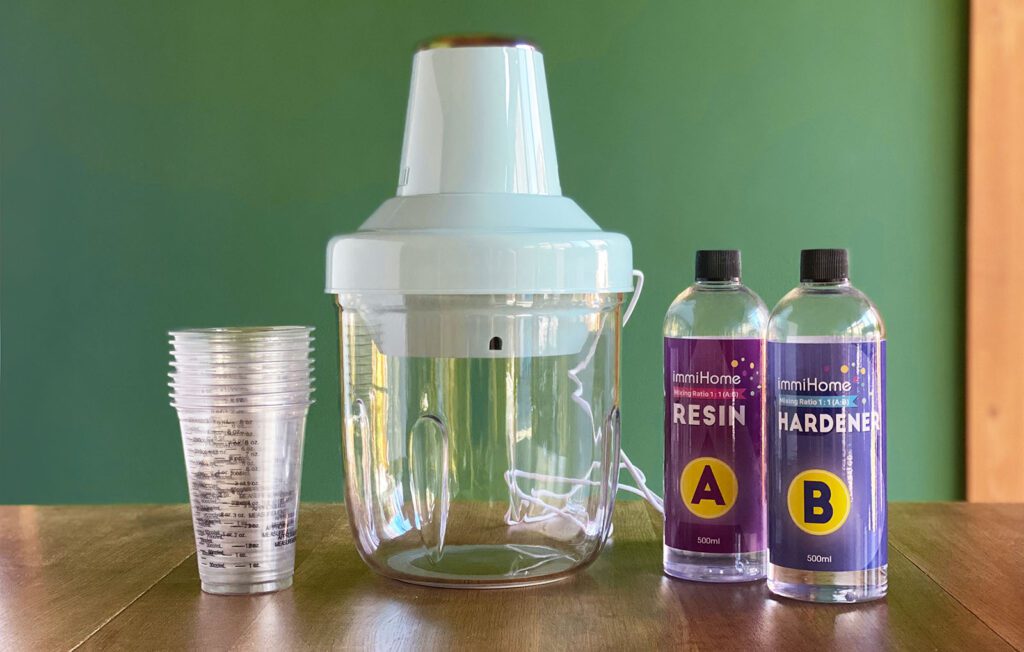
Warm the Resin
Before mixing, gently warm the resin and hardener bottles in a warm water bath.
This reduces the viscosity of the components, making them easier to mix without introducing air.
Ensure the water isn’t too hot, as extreme temperatures can alter the resin’s properties.
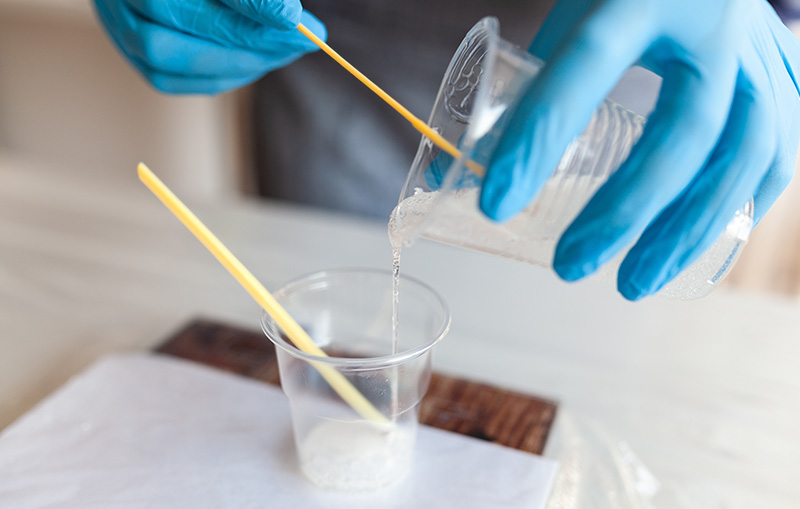
Use a Stirring Technique
Instead of vigorously stirring, use a gentle folding method. This reduces the amount of air that gets trapped during the mixing process.
Also, scrape the sides and bottom of your mixing container to ensure thorough blending without introducing bubbles.
Invest in Quality Mixing Tools
Avoid using wooden sticks, which can introduce moisture and air into the mixture.
Opt for silicone or plastic stirrers that are specifically designed for resin mixing.
Their smooth surfaces reduce the chances of trapping air.
De-gas the Resin Mixture
After mixing the resin and hardener, let the mixture sit for a few minutes in the container.
This allows any trapped bubbles to rise to the surface.
You can then pop them using a pin or by gently exhaling over the surface.
Pouring Technique Matters
When pouring the resin into molds or over surfaces, do so in a thin, slow stream.
This gives any trapped air a better chance to escape.
If pouring in layers, ensure each layer is free of bubbles before adding the next.
By following these professional tips and the previously mentioned preventive measures, you can significantly remove resin bubbles.
Is there a specific type of resin that is less prone to bubble formation?

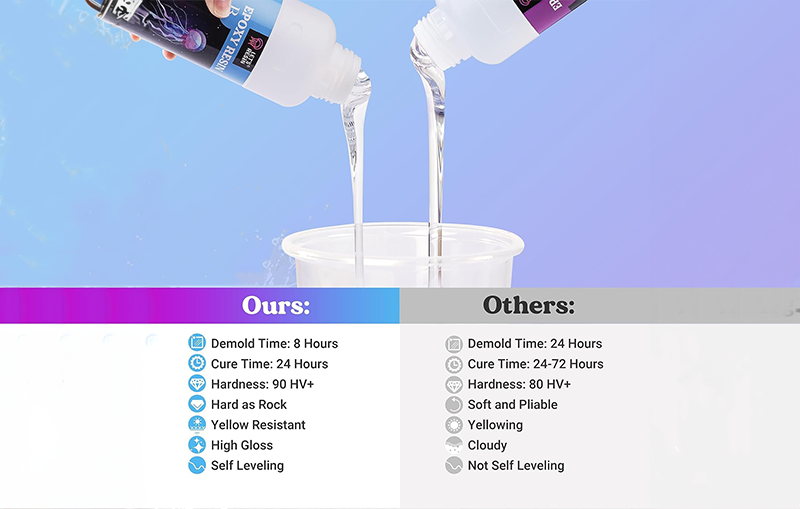
While all resins can potentially form bubbles, some formulations are designed to be less prone to this issue.
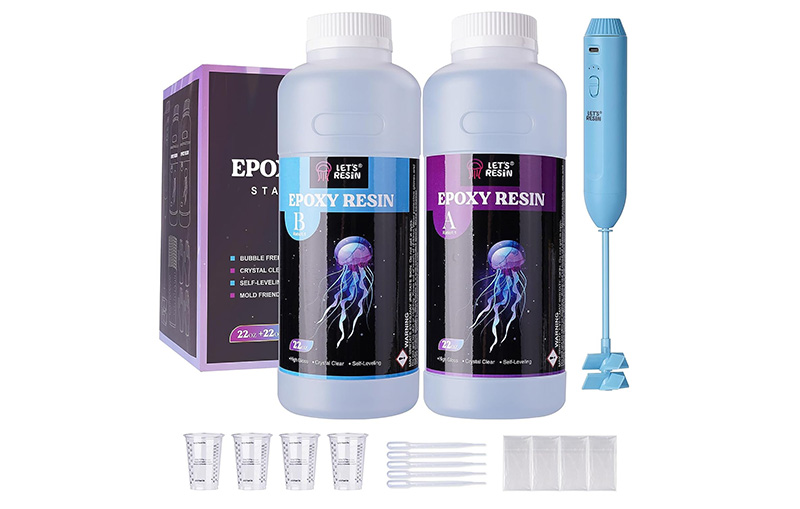
For beginners, it’s essential to choose a resin that’s user-friendly. Epoxy resin is often recommended as the best resin for beginners due to its ease of use and fewer tendencies to form resin bubbles.
How long should I wait before addressing bubbles, and what’s the best method if they’ve already set?
It’s best to address resin bubbles as soon as you notice them, preferably while the resin is still in its liquid state. Using the aforementioned heat gun or torch method is effective.
If the bubbles have already set, you might need to sand the area and pour a thin layer of resin over it to achieve a smooth finish.
Understanding how to remove bubbles from resin is essential for any resin artist. With the right techniques and tools, you can ensure that your creations are always smooth and bubble-free.
Remember, practice makes perfect, and with time, you’ll master the art of creating flawless resin pieces.
- Epoxy Resin Kit from ‘Let’s Resin’ – Buy now from Amazon