Using silicone to make moulds is a great choice for mould-making because it offers such a diverse array of benefits. You can use custom silicone moulds to shape everything from complex components to jewellery pieces, candles or ice cubes.
One of the best materials for making a mould is Room Temperature Vulcanising (RTV) mould-making rubber, which is an excellent silicone material for creating detailed, high quality moulds. As a two-part liquid silicone, a key benefit of RTV silicone rubbers is that once the materials are mixed, they do not need to be cured in an oven.
RTV Silicone Rubber Advantages:
- Best release properties of all mould rubbers
- No release agents are required
- Ideal for detailed reproduction of figures, art objects and similar items
- Flexible, with low deformation
- Easily cleaned
- High temperature resistance
RTV Silicone Rubber disadvantages:
- Can be quite expensive
- Prone to attracting dirt and residue.
- Needs to be applied to a surface rapidly, which can be difficult.
- The silicone is very thick and porous, so take care to remove air bubbles which could affect application.
What Silicone Rubber do I use?
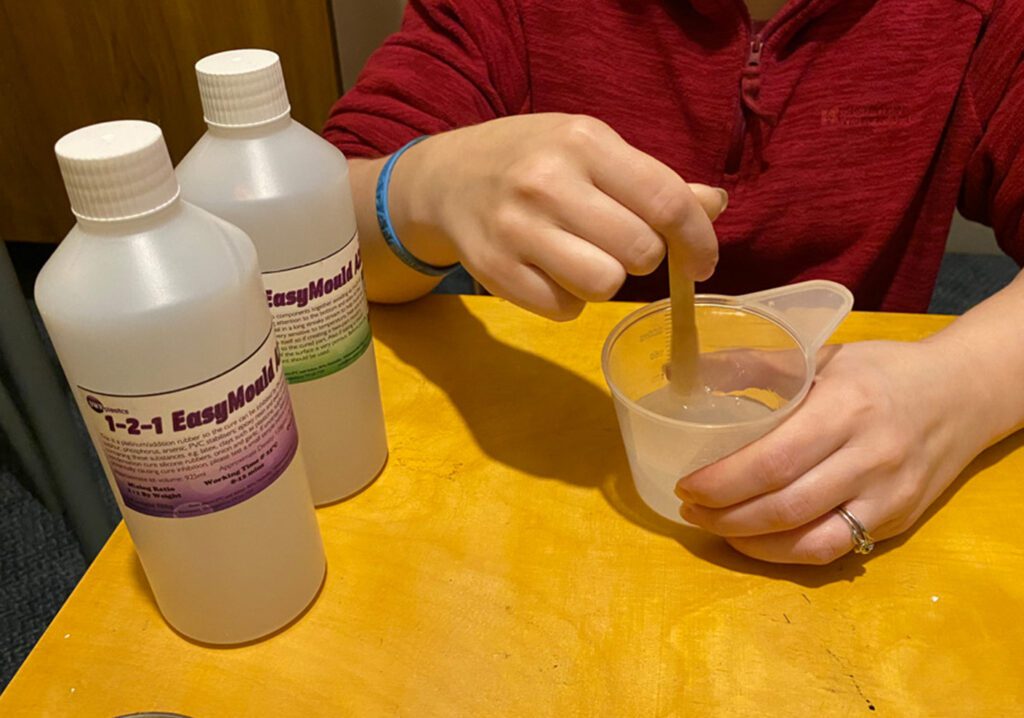
The liquid silicone I use to make my moulds is 1-2-1 Easy Mould, a two part liquid silicone, available from DWR Plastics in 250grams up to 20kg amounts. The two parts mix easily with a simple 1:1 ratio and therefore react to form a translucent off white coloured flexible, elastic material with high tensional and tear strength. The cure time, depending on the hardness is typically between 1 to 4 hours.
If you want to see the results of this silicone rubber, I used 1-2-1 Easy Mould in a recent tutorial showing How to make a Silicone Mould.
Understanding the terminology:
- Master: The original piece you’re trying to duplicate. Also called the “prototype” or “model.”
- Mould: The form produced by the master.
- Casting Material: The material used to fill the mould with in order to make a part.
- Part: The copy that comes out of the mould.
The process of making a silicone mould
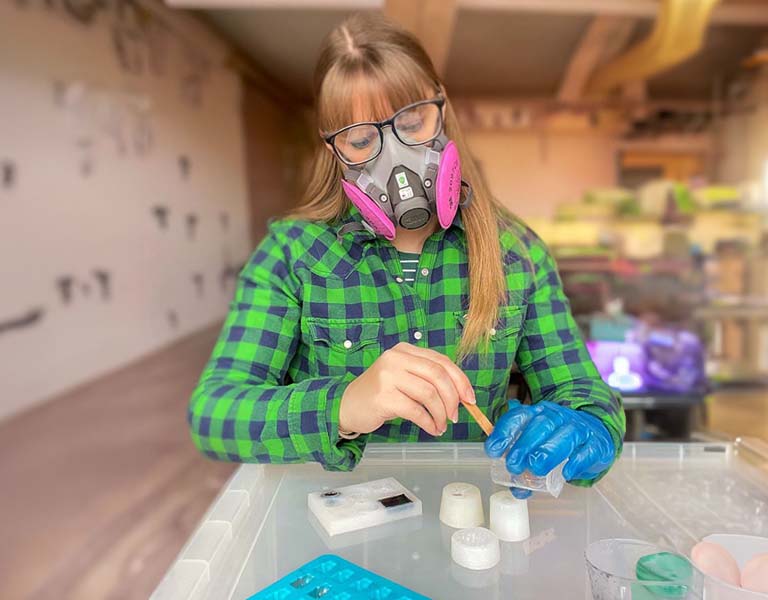
When you’ve mixed the two part silicone rubber, the simplest method to start creating your mould is to pour the silicone into a container that includes your master object.
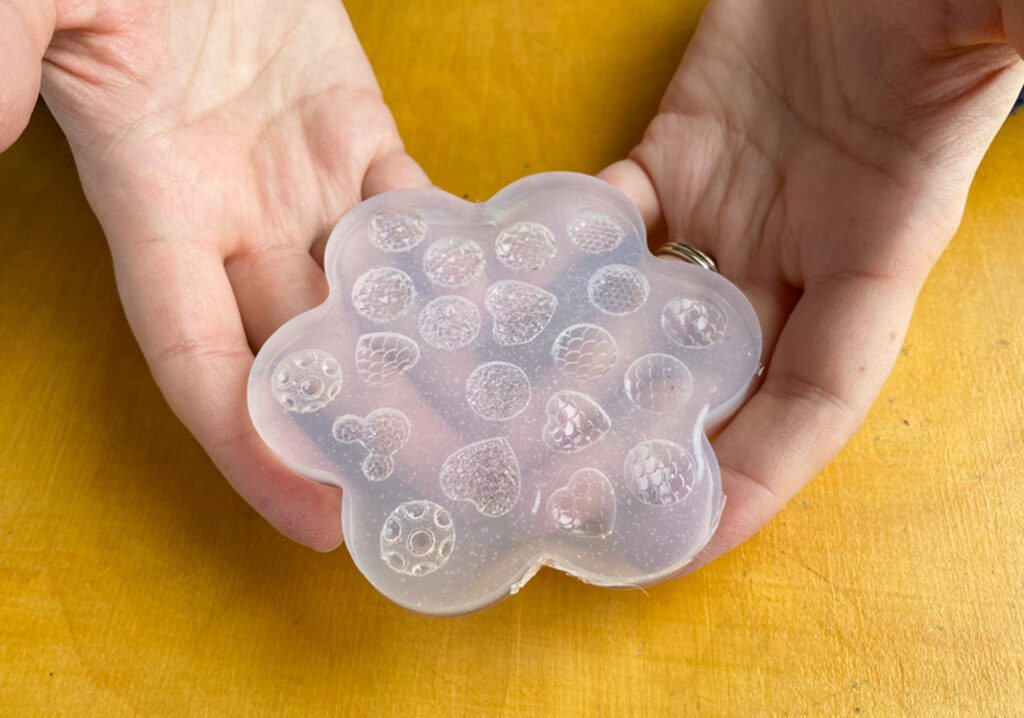
Once it cures into a solid rubber block you can remove it from the container and then remove the master object from the mould.
Learn how I made this silicone mould here
Using your silicone mould
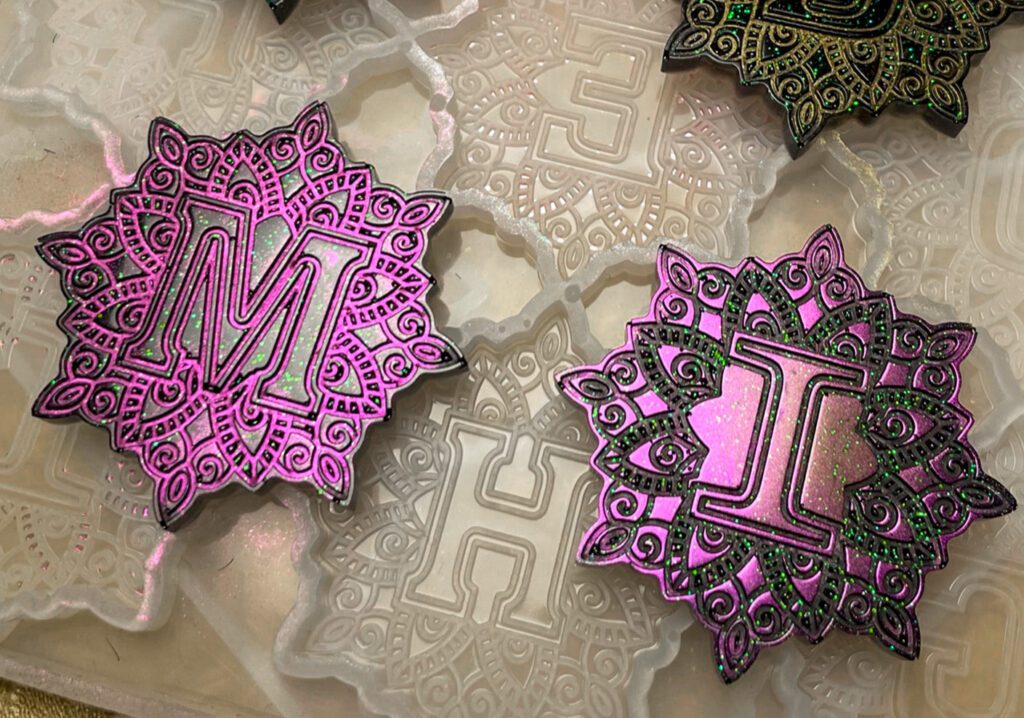
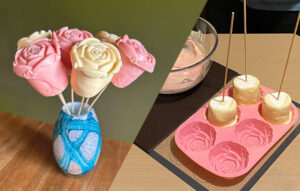
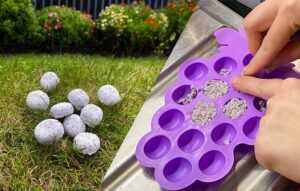
Pour casting material into the mould, this could be resin, wax or even cement for example. Then simply wait for it to cure and then remove your part from the mould. When properly mixed and poured, detail reproduction with silicone rubber is typically flawless.
As silicone rubber doesn’t stick to anything (except more silicone), it means you can cast parts without having to use a mould-release agent that could obscure small details.
Looking after your silicone moulds
No matter what type of moulds you have, sadly they won’t last forever, but after going through the trouble of making moulds, you want to make sure they last as long as possible.
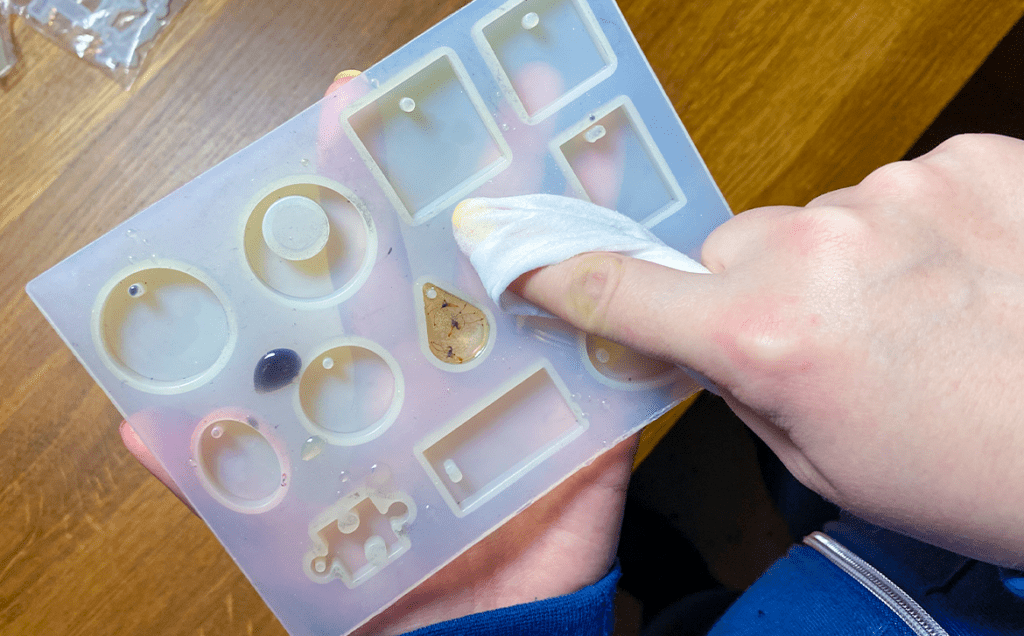
Ultimately caring for your silicone moulds isn’t difficult, so I’ve put together a list of ways to help keep them protected.
If you have any of your own tips to share on this subject, please pop them in the comments below this post, or please come and share them in the silicone mould addicts Facebook group.
If you haven’t already joined, click here and come say hello
