
Silicone moulds are incredibly versatile and can be used for a wide range of DIY projects. From making decorative soaps and resin letters to creating unique resin jewellery, chocolate bars and homemade crayons, the possibilities are endless. With the right type of mould and a little bit of creativity, you can make a variety of beautiful and practical items for your home or to give as gifts. In this post, we’ll provide ideas for seven easy DIY projects that you can make using silicone moulds, along with tips for choosing the right mould for each project. So let’s get started and discover the fun and creative world of silicone mould crafting!
1 | Resin Jewellery Silicone Moulds
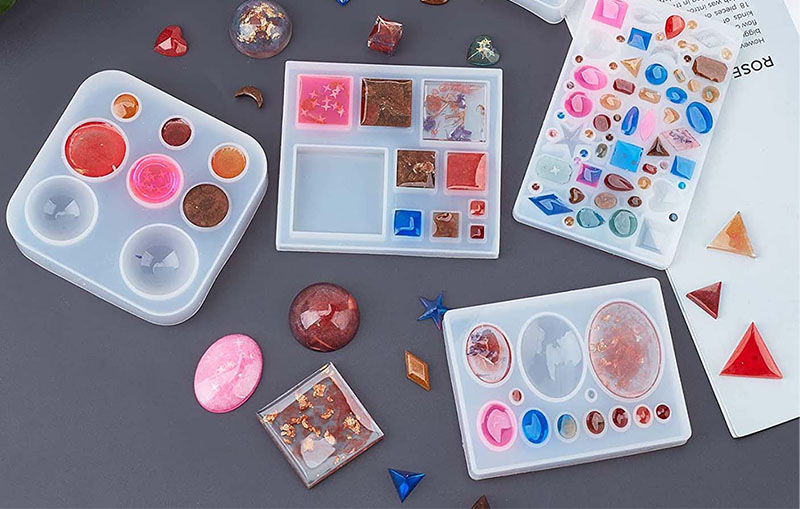
Resin jewellery is a perfect DIY project for beginners. It’s simple to make, and the moulds provide an easy way to create various shapes and sizes of jewellery pieces. Start by mixing equal parts of resin and hardener, and then add your desired colour and any extra additions such as glitter, sequins or small flowers. Once mixed, pour the mixture into your silicone mould and let it cure for at least 24 hours. After curing, remove your jewellery from the mould and add any necessary hardware such as earring posts, jump rings or necklace chains.
When choosing a silicone mould for jewellery-making, look for one that has a smooth surface and a good level of detail. Avoid moulds with deep crevices or intricate designs, as they can be difficult to remove the cured resin from. With the right type of silicone mould and a little bit of practice, you can create stunning resin jewellery pieces that are sure to impress.
>> Basic Shape Silicone Moulds for Resin Jewellery
2 | Homemade Soap
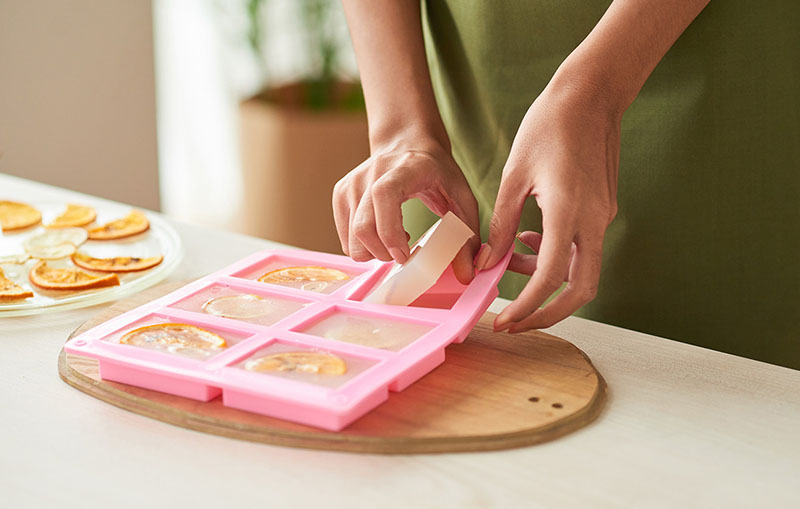
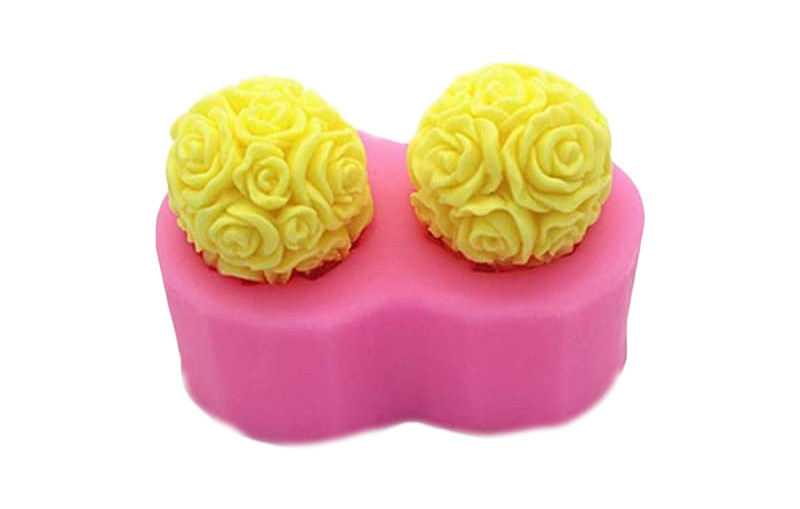
Creating decorative homemade soap using silicone moulds is another simple and fun DIY project. The process involves melting a soap base, adding your favourite scent, colour and any extra ingredients such as oatmeal, lavender or essential oils, and then pouring the mixture into your silicone mould. Let it cool and cure for at least 24 hours, and then remove the soap from the mould.
You can create various shapes and sizes of soap, such as hearts, stars or flowers, using silicone moulds, and customize them to suit your taste.
>> Homemade Soap Silicone Moulds
3 | Resin Letters
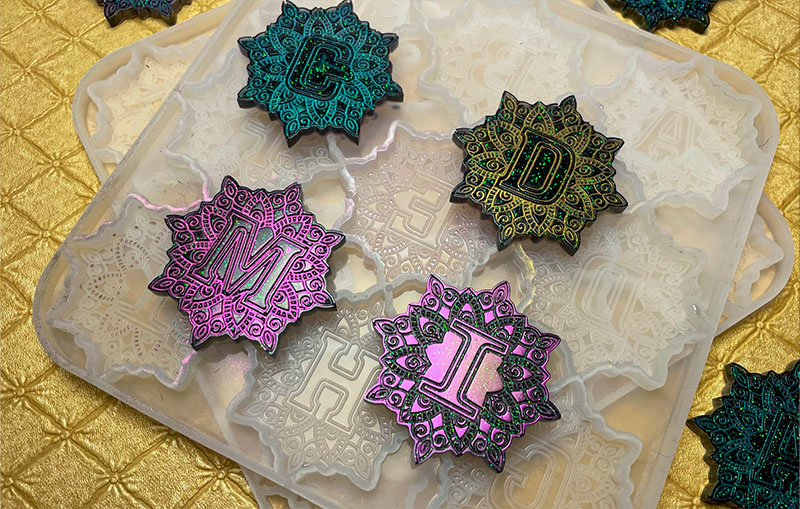
Personalised resin letters are another easy DIY project that can be made using silicone moulds. You can use any moulds to create letters, numbers or shapes, and add resin in different colours and designs to make unique and personalised decorations. To start, mix equal parts of resin and hardener, add your desired colour, and pour the mixture into your silicone mould. Let it cure for at least 24 hours, remove it from the mould, and repeat the process for each letter or shape. You can also add glitter or small objects like seashells or beads to the resin for a customised look.
I’d recommend looking for a mould that has a clean and defined design, so that the final product will be crisp and easy to read. Avoid moulds with intricate designs or deep crevices, as these may be difficult to remove the cured resin from.
>> Resin Letter Decorations Tutorial
4 | Melting Crayons with Silicone Moulds
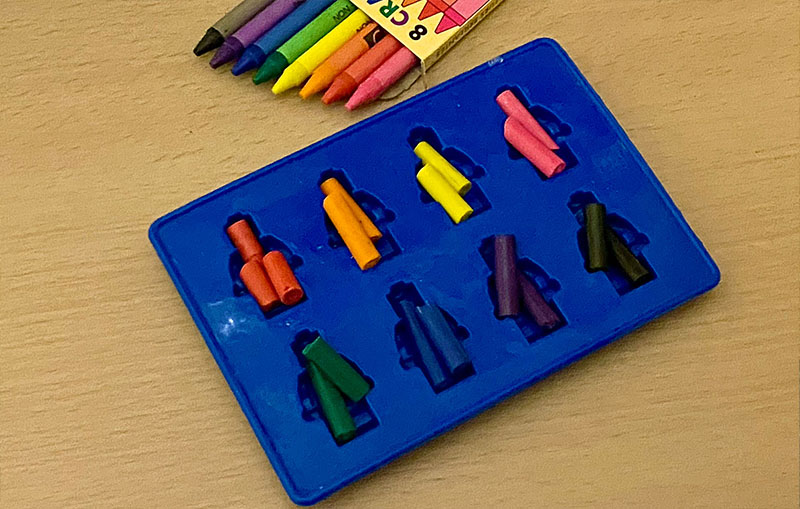
Making crayons at home with silicone moulds is a great way to upcycle old or broken crayons. It’s also fun to get the kids involved with this one. The process is simple: remove the paper from your crayons, chop them up into small pieces, and put them into your silicone mould. Then they’re ready to go into the oven for around 15 minutes. Let the wax cool and cure for at least 30 minutes, and then pop your crayons out of the mould.
You can make crayons in various shapes and sizes using silicone moulds, such as stars, hearts, letters or animals.
>> Lego Mini Figure Homemade Crayons Tutorial
5 | Chocolate Bars & Treats
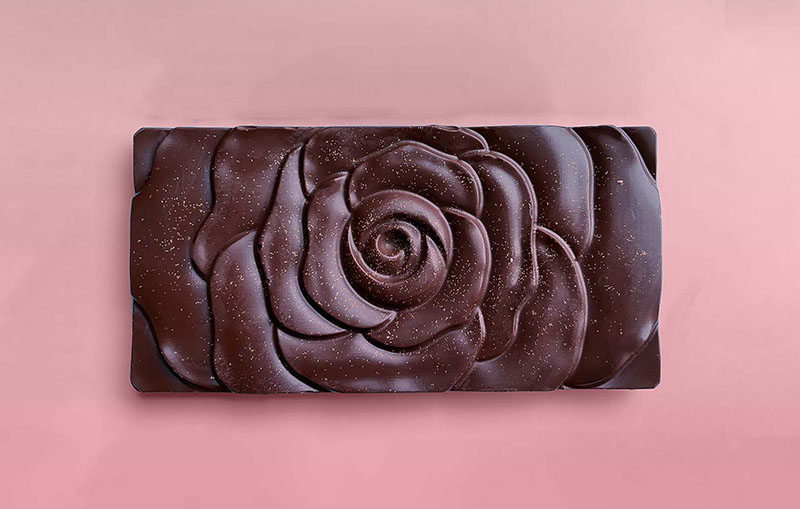
Silicone moulds can also be used to make fun and unique chocolate treats. From chocolate muffins to chocolate bars, silicone moulds offer a way to create beautiful and tasty chocolate creations with ease. We’ve recently been experimenting with chocolate and silicone moulds, making our own unique chocolate bars. They came out really well, so we’re aiming to do more and get more creative.
You can make chocolate treats in various shapes and sizes using silicone moulds, such as animals love hearts, coins or just simple bars. It’s also worth mentioning using silicone moulds in your air fryer. These delicious chocolate muffins came out brilliantly and took no time at all. Great for parties or small family gatherings.
>> Homemade Chocolate Bars Tutorial
6 | Paper Wildflower Seed Bombs
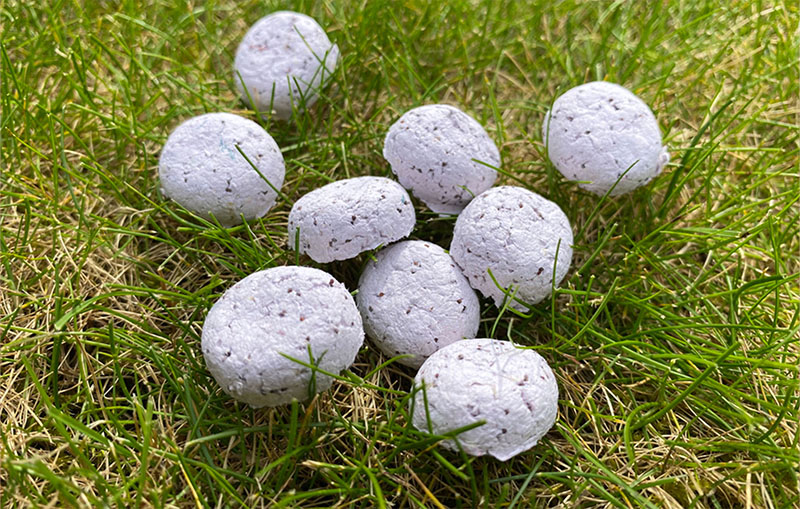
Paper seed bombs are an eco-friendly and fun way to plant wildflowers or herbs. Using silicone moulds, you can make a variety of shapes, fill them with seeds and paper, and then dry them to create beautiful and sustainable seed bombs. Simply start by blending paper scraps into a pulp. Next add your desired seeds and shape the mixture into your silicone mould. Let it dry for at least 24 hours, and then remove the seed bombs from the mould. You can then store them in a dry and cool place until you’re ready to plant them. Simply throw the seed bombs onto soil, and let them germinate and grow into beautiful plants.
>> Wildflower Seed Bombs Tutorial
7 | Homemade Bath Bombs using Silicone Moulds
Bath bombs are a popular and easy DIY project that can be made using silicone moulds. They’re a great way to add some fun and relaxation to your bath time routine. To make bath bombs, mix baking soda, citric acid, and any desired essential oils, colours, or scents. Add water slowly until the mixture starts to hold together, and then press it into your silicone moulds. Let it dry for at least 24 hours, and then remove your bath bombs from the mould. You can add some extra decorations, such as dried flowers or sprinkles, for an extra special touch.
>> Silicone Moulds for Bath Bombs
So, there you have it, from resin jewellery to bath bombs. These seven easy projects offer a fun and creative way to experiment with silicone moulds and create unique and personalised items. So, grab your silicone moulds, and get crafting!


