
Just getting started? Let me reassure you that working with epoxy resin is simple, just as long as you follow some basic steps. I know how overwhelming the world of resin can seem at first. From mixing specific products, to preparing your workspace, and although resin mistakes occur from time to time, they are easily preventable.
I have put together a list below of some of the more common resin mistakes and how you can avoid them.
1. Read and follow instructions
To kick things off, always read the manufacturer’s instructions and then read them again. Maybe read them again just to be sure you understand. This sounds like an obvious one but not every resin brand is the same.
2. Measure accurately
When you’re combining resin and hardener, throwing in varying amounts can mean you’re likely to end up with a runny, tacky or soft texture – which isn’t ideal for pouring. Please don’t just judge your amounts by eye; Measure or weigh them.
Always measure according to the manufacturer’s instructions. I always go for a Resin that is a 1:1 ratio, that way it doesn’t become complicated to measure the right amount, (no maths needed).
3. Mix properly
When you are mixing don’t forget to scrape the sides and bottom of your cup. If you can see any streaks then the resin is not mixed enough. Again you should follow the manufacturer’s instructions.
Try not to over mix or mix too vigorously as this can create bubbles. You will end up with some bubbles regardless of how careful you are but nowhere near the amount you could get.
4. Temperature
Something a lot of people don’t realise is the temperature of your room can make a difference to your resin. Whether it’s already mixed and poured or pre mixed, resin prefers a warmer room to a cold one. Don’t however keep your resin bottles by a heat source or in direct sunlight. If you keep your resin bottles in a cold room just warm them up a little before pouring.
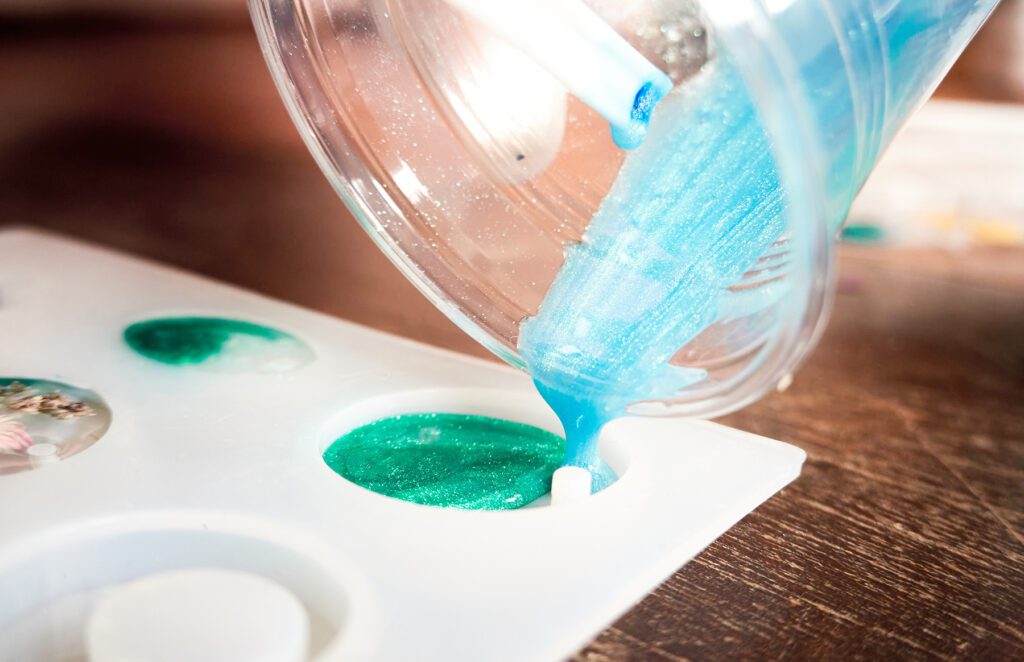
5. Prep your work
Get everything you want or need to use laid out and ready; your moulds, glitters, stirring equipment etc before you mix your resin. You don’t want your mixed resin to be sitting there for too long before you are even ready to pour.
I have done a few panic pours in my time because I couldn’t remember what I was going to do and wasn’t prepared, I then ended up randomly pouring into any mould not wanting to waste my resin, but obviously I was wasting resin by doing this, but now I write it down first.
6. Adding colourant
When colouring your resin try to use a product that is made specifically to do just that. You can use powders and alcohol inks too. I have heard of some people using colourants such as acrylic paint but it can often go very wrong and I wouldn’t recommend it.
What ever you choose to use don’t use too much.

7. Keeping your resin clean
Always aim to use clean tools. If your equipment is clean then dirt or dust won’t be a problem. Also cover your pieces while they cure to protect them.
I recommend cleaning your moulds before you use them, even if its with some sticky tape to remove lint and dust. I have put together a more comprehensive guide to cleaning and looking after silicone moulds.
8. Don’t overheat your resin
Heat tools are often used for bursting those pesky bubbles in our resin pours. I use a heat gun and sometimes a gas lighter, and many other people use a gas torch. The heat from any of these can cause your resin pieces to stick to the mould, damaging them when you try to take them out. They can also warp and burn your moulds.
A top tip when using a heat gun, lighter or torch, is to make sure you keep them moving so your piece doesn’t get too hot.
9. Don’t work on an unlevel surface
Make sure your surfaces are level. You don’t want to do a pour only to discover during or after curing that your pieces are unlevel. You shouldn’t really be moving your moulds around once poured if you can help it. The best way to do this is to use a spirit level.
Thank you for taking the time to read through this list of common resin mistakes. It would be great to see some of your creativity and craftiness in the Silicone Mould Addicts community on Facebook. If you haven’t already joined, click here and come say hello.
To recap:
- Read the manufacturer instructions
- Measure accurately
- Mix thoroughly and scrape as you stir
- Work in a warm environment
- Prep your work space
- Don’t add too much colorant
- Keep your work clean and covered
- Don’t overheat the resin
- Work on a level surface


