
You want to start using resin, that’s great you’ve come to the right place. Getting started can get overwhelming knowing what you’ll need to begin with. So here you’ll find the best tools to get started, including ones I use for my own resin crafts.
What you will need:
- Mask (resin is toxic)
- Goggles/glasses (you don’t want anything getting in your eyes)
- Glove/s
- Bottles of resin (part A and part B)
- Mixing cups
- Lolly pop stick (to mix the resin)
- Silicone moulds
- Silicone Mat or Freezer Paper
Extras
- Kitchen roll/towel
- Sandpaper
- Heat Gun or gas lighter
- Tweezers
- Toothpick
Optional
- Glitter
- Alcohol ink
- Mica powders
- Acrylic paint
- Brush (for paint and powders)
You should always wear a mask, googgles/glasses and gloves when you are dealing with uncured Resin. You dont want to breath in any fumes even if they have no odour and you dont want uncured resin to touch your skin, it isnt easy to wash off and many people’s skin reacts badly to it. As Resin is toxic you also shouldn’t make anything using it that will come into contact with food. However, Jesmonite, a non toxic water based resin can be used.
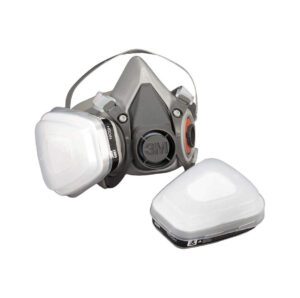
Mask
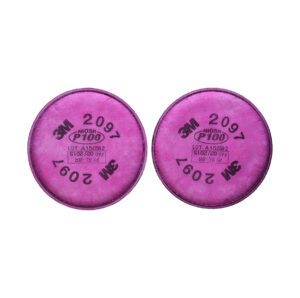
Get a respirator mask that has filters and leaves no gaps for air to get in. You should replace your filters after 6 months of opening even if they haven’t been used. I have this 3M mask and these filters. I find it quite comfortable to wear but it still leaves red marks that soon fade.
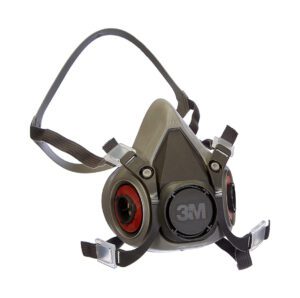
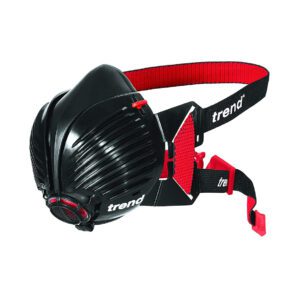
You can get cheaper masks like this one. For this price you would save money buying a mask with a filter than to buy new replacement filters every time.
Goggles/saftey glasses
You can get goggles with an elastic that goes around your head or plastic glasses.
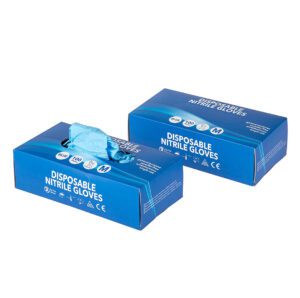
Gloves
Get some nitrile gloves. I used to use washing up gloves but they eneded up melting several times. Get gloves that fit nicely, the looser the gloves the messier you are. You can also get finger protectors rather than wearing a whole glove. I tend to only wear a glove on my left hand now, it works well for me as it makes it easier, I only get resin on my left hand (I’m right handed)
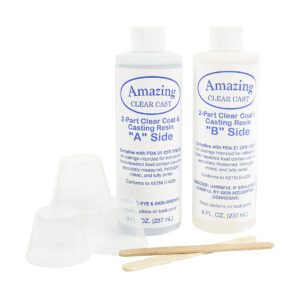
Resin
I use 1:1 ratio resin which comes in 2 bottles (Part ‘A’ bottle and part ‘B’ bottle) You mix equal amounts of both part A and part B. This is by far the easiest resin to use. You may have to try different brands of resin to find the one you like. I have only ever used Alumilite’s Clear Cast Resin, however I have found after time clear resin can turn yellow.
Cups
I have been using small plastic mixing cups (100ml) for years as i never do more than 80ml of resin at a time. After the resin cures it will pop out of the cup so you can reuse it again and again. After years of using the plastic cups i have now purchased a set of silicone cups which are also reusable. One advantage of the silicone cups are their flexibility, which can help to pour.
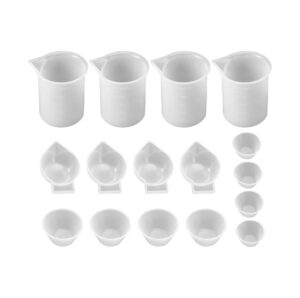
16 pieces silicone measuring cups
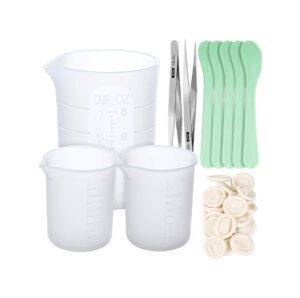
Silicone measuring cups and spoons
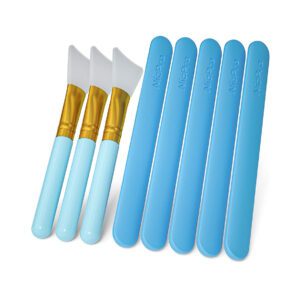
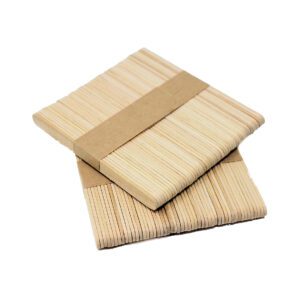
Stirring Sticks
You can use wooden lolly sticks or silicone sticks. I have always used wooden lolly sticks. You can get a big pack of wooden lolly sticks cheaply but you shouldn’t need many. I have used the same lolly sticks for years, as long as i wipe off the resin after each use. If you want silicone sticks they will cost you a little more but i imagine they should also last you a very long time too.
I recently got some silicone brushes and they are fabulous, I didn’t even know how much I needed them until i tried them out, they are excellent for scraping your resin: either scraping your resin into crevices or scraping off any excess
Silicone moulds
There are hundreds of thousands of silicone moulds out there. Make sure to check the measurements before you buy. I have bought many only for them to arrive so much smaller than expected.
To start of with you can buy a kit or some basic shapes. Build your collection as your confidence with using resin grows. Check out some silicone mould ideas here
Silicone Mat or Freezer Paper
You need something to protect your working surface. I use a Silicone mat but i started off using freezer paper which is also reusable and works just as well if you don’t have a mat. Keep your mat only for your resin projects dont use them for food afterwards.
Kitchen roll, paper towel
This will be very useful to wipe up any spilt resin
Sandpaper
You may want or need to sand your resin pieces, either the whole surface or just the edges, any resin you sand will become dull like frosted glass (this can be used to create some clever images and textures) if you don’t want the frosted glass effect you will have to recoat with a layer of resin, or varnish.
WARNING: Wet your sandpaper first, this will avoid creating dust. If you do dry sand it then only do it outside then wear a mask and googles. You do not want to breath in any dust.
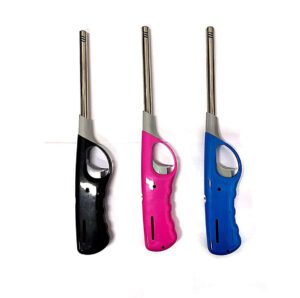
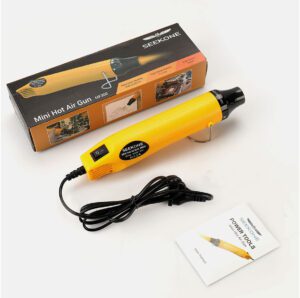
Heat Gun/Gas lighter
People use these for popping bubbles. If used too much on a resin piece it can get too hot and cause it to stick to the mould, this is an easy way to damage your moulds. Some people also use a blow torch but I never had to go that extreme.
You cannot use a anything with a flame when using alcohol inks. (Alcohol and Fire is a very bad mix) your piece can set a light.
When using a heat gun, lighter or torch, make sure to keep them moving so your piece doesn’t get too hot. I used both a heat gun and a gas lighter depending on my mood. I got a pack of 3 gas lighters and I just refill them when I need to. You can get a heat gun from many different craft shops.
Tweezers and cocktail sticks
You will find these useful for moving items around in the resin. They can help pop bubbles and help create clever effects (especially with alcohol inks)
You can get cocktail sticks from any supermarket. Try not to scratch or press down too hard as they can permanently mark your mould.
Everything else is optional, glitter, powders etc are not needed to begin your resin journey but they do make everything so much prettier.
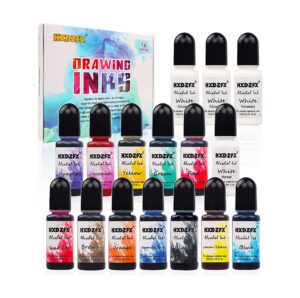
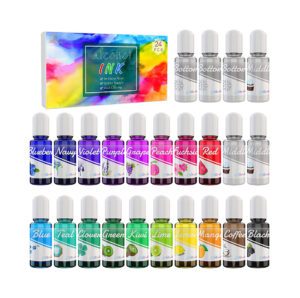
Alcohol Ink
These are the alcohol inks i use. I use them mainly to colour my resin. I have been told that after time alcohol inks fades but I haven’t yet experienced this. You can also create some clever techniques with them.
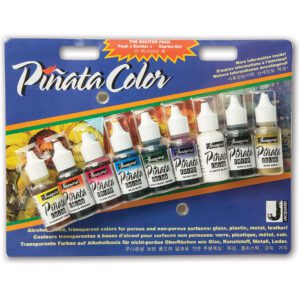
There are cheaper ones, but I have never used them.
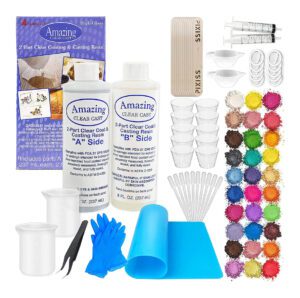
Complete Kits
You could buy a kit that contains most of, if not all of what you need to get started.
So there you go. A complete beginners list off tools for getting started with resin. It would be great to see some of your creativity and craftyness in the Silicone Mould Addicts community on Facebook. If you haven’t already joined, click here and come say hello.


One Response
Great content! Keep up the good work!