I’m always on the lookout for fun and creative projects to explore. One such craft idea that I want to share with you is how to melt and make your own crayons!
This hands-on activity allows you to unleash your imagination and create personalised crayons that are perfect for gifting. Or they’ll be a unique touch to your art supplies. Not to mention it’s great for getting your children involved in the process.
In this article, I’ll guide you through the process, answer some common questions, and provide helpful tips along the way.
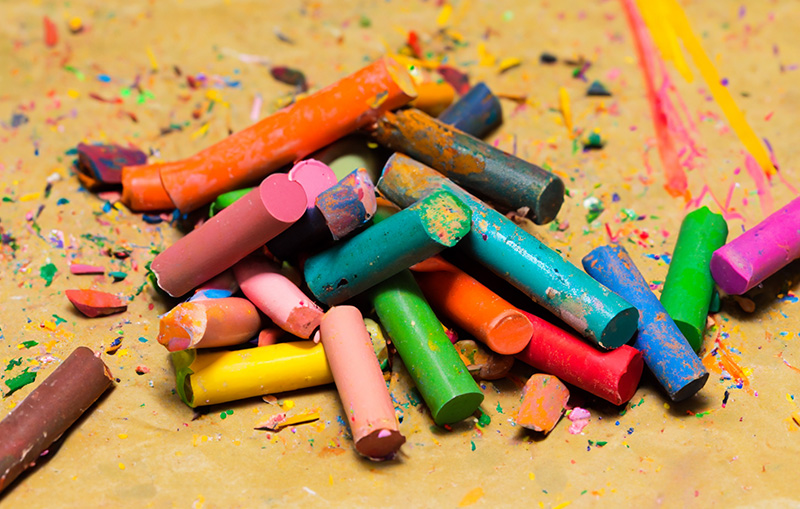
Can You Make Custom Crayons?
Absolutely! Making your own crayons gives you the freedom to customise them according to your preferences.
Whether you desire a particular colour blend, specific shapes, or even crayons with names imprinted on them, the possibilities are endless.
The joy of crafting lies in the ability to bring your imagination to life, and custom crayons are an excellent way to do just that.
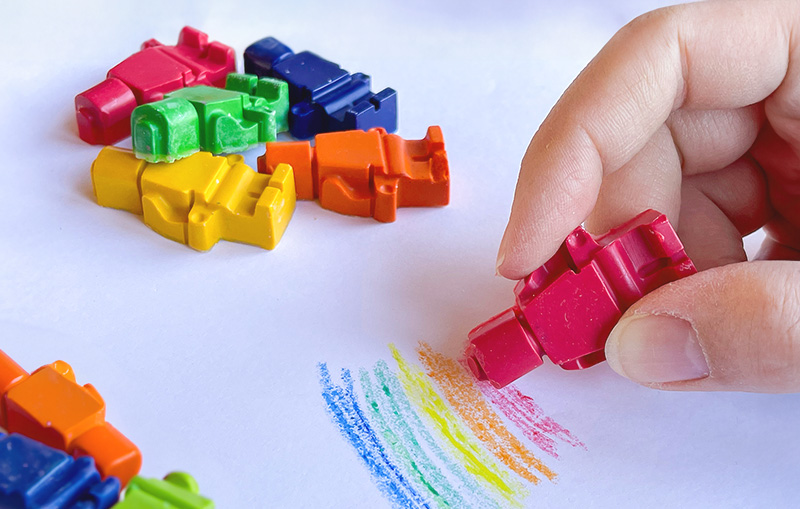
How to Melt Crayons in Silicone Moulds
One of the easiest and most effective methods to melt crayons is by using silicone moulds. You can use any mould you desire allowing you to create crayons in charming shapes and designs.
Here’s a step-by-step guide to melting crayons with a lego mini figure shaped silicone mould:
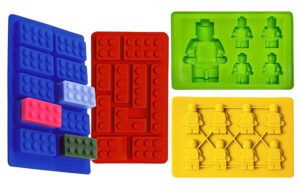
- Buy now from Amazon ($11.45)
1. Gather your Crayons
Start by collecting old or broken crayons of different colours. You can even use a newer set if you don’t have any old ones to hand. Remove any paper wrapping for a smoother melting process.
2. Break the Crayons
To speed up the melting process, break the crayons into small pieces.
Tip: Get creative and mix and match colours to create exciting new shades.
3. Prepare the Mould
Place the silicone mould on a flat surface. If needed, you can lightly grease the moulds with a cooking spray to ease the removal of the crayons once they’ve cooled.
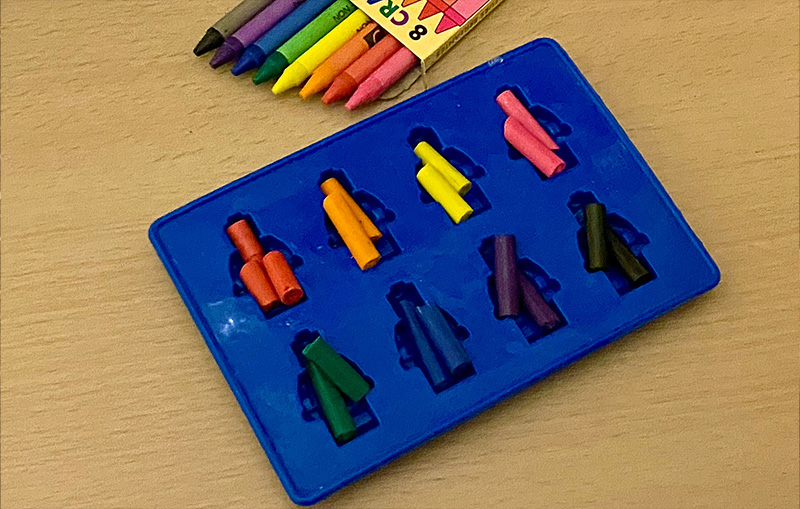
4. Melting the Crayons in the Oven
Preheat your oven to a low temperature, around 150°C (300°F). Fill each mould cavity with the crayon pieces of your choice. Place the mould on a baking tray and put it in the oven.
5. Monitor the Melting
Keep a close eye on the crayons as they melt to ensure they don’t overheat or burn. It should take about 10-15 minutes for them to completely liquify.
6. Cool and Set
Once melted, carefully remove the mould from the oven and let it cool for about 20-30 minutes or until the crayons solidify.
7. De-mould Your Crayons
Gently pop the crayons out of the silicone mould. Your unique and vibrant homemade crayons are now ready for artistic adventures!
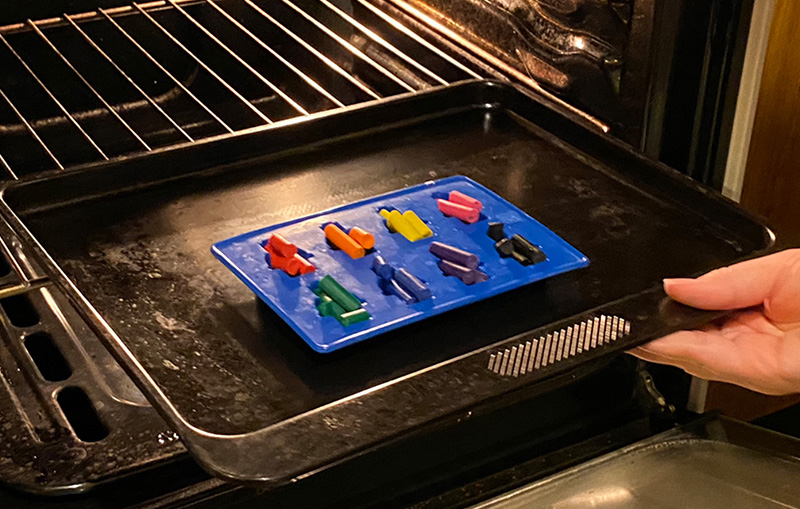
How to Melt Crayons in the Oven
Firstly, melting crayons in the oven is safe if done properly. Using low heat and closely monitoring the melting process will help prevent any accidents. It’s important to note that adult supervision is essential, especially if you’re involving young crafters in the project.
Additionally, ensure that the oven is thoroughly cleaned after melting crayons to avoid any residue affecting future cooking.
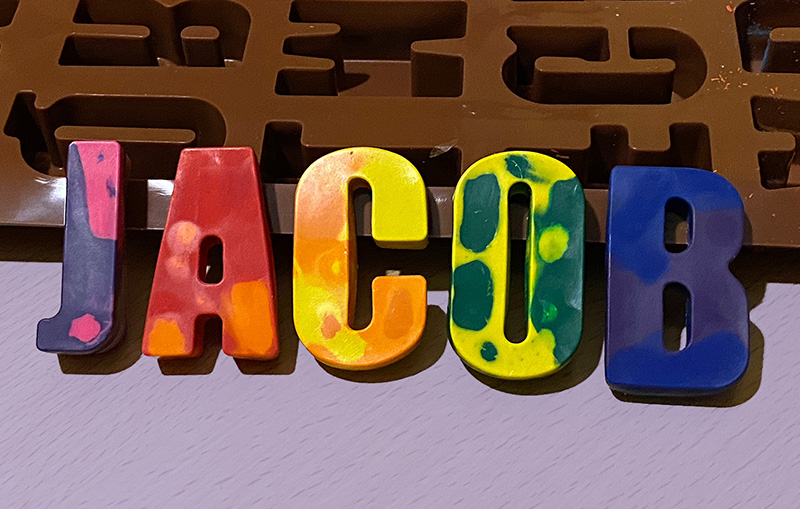
How to Make Personalised Name Crayons
Creating personalised name crayons can be a great homemade gift idea. Here’s how to make them:
1. Silicone Letter Mould
You’ll need letter-shaped moulds to spell out the names or initials. These moulds are readily available in craft stores or online.
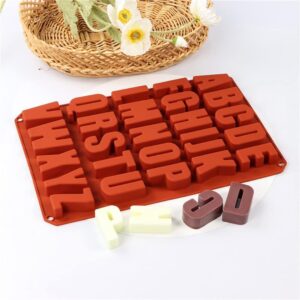
- Buy now from Amazon ($9.99)
2. Follow the Melting Process
Use the same melting process with silicone moulds as mentioned earlier, but this time, place the crayon pieces in the letter-shaped cavities.
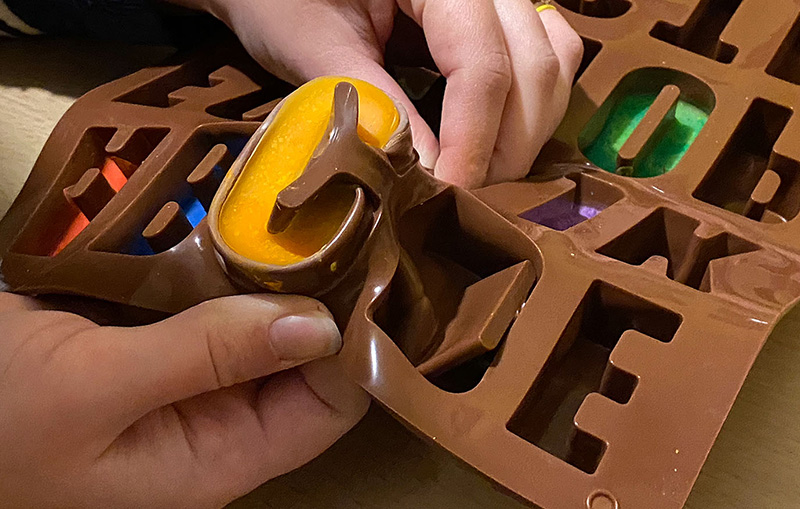
3. De-mould with Care
Once the crayons cool and solidify, carefully remove the letter-shaped crayons from the moulds.
4. Arrange the Name
Arrange the crayon letters to spell out the desired names. You can place them in a box or tie them together with a ribbon for a charming presentation.
These personalised name crayons make fantastic gifts for birthdays, holidays, or any special occasion.
Melting and making your own crayons is an enjoyable craft hobby that brings out the artist in everyone. With the help of silicone moulds and a dash of creativity, you can produce unique crayons that reflect your personality or make heartwarming gifts for your loved ones.
Remember to have fun throughout the process and explore various combinations of colours and shapes.
Happy crayon crafting!

