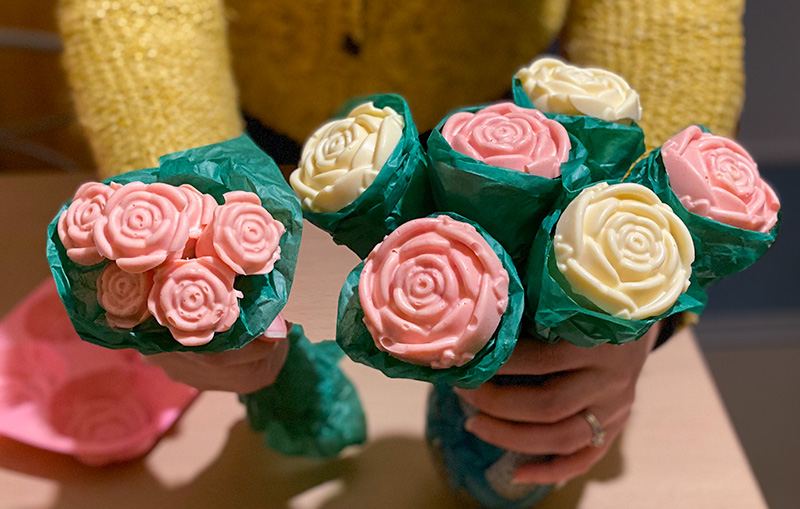
Indulge me for a moment as I present one of life’s sweetest pleasures – chocolate roses. These edible works of art symbolise so much more than a tasty treat. They are tokens of affection, symbols of creativity, and works of art all rolled into one bite-sized bundle.
And the best part? You can craft these delicious chocolate and marshmallow delights with your own two hands.
The beauty of this recipe lies in its simplicity and versatility. You can choose your favourite type of chocolate – dark, milk, or white – and add personal touches like food colouring or flavoured extracts.
I’ve used a variety of chocolate silicone molds recently, making personalised chocolate bars and experimenting with themed chocolate treats. However making shapes and treats with chocolate is something I really enjoy.
It’s nice to now feature a project using this rose silicone mold, something I have been wanting to use for ages.
No products found.
Chocolate Roses Recipe Instructions
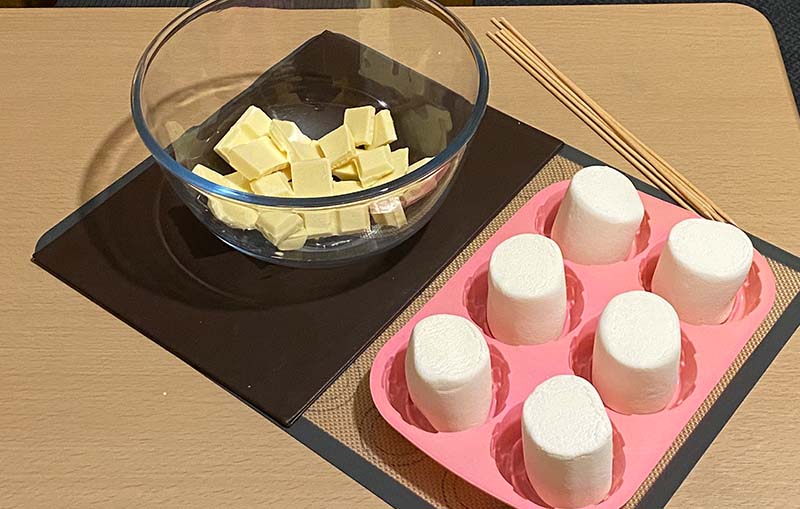
For this recipe, you’ll need a rose silicone mould, marshmallows, skewers, and 300g of chocolate. I used white chocolate, but feel free to experiment with your favourite kind.
What You’ll Need:
- Saucepan and Glass Bowl
- 300g of White Chocolate
- Large Marshmallows
- Skewers
- Rose Shaped Silicone Mold
Chocolate Roses Instructions
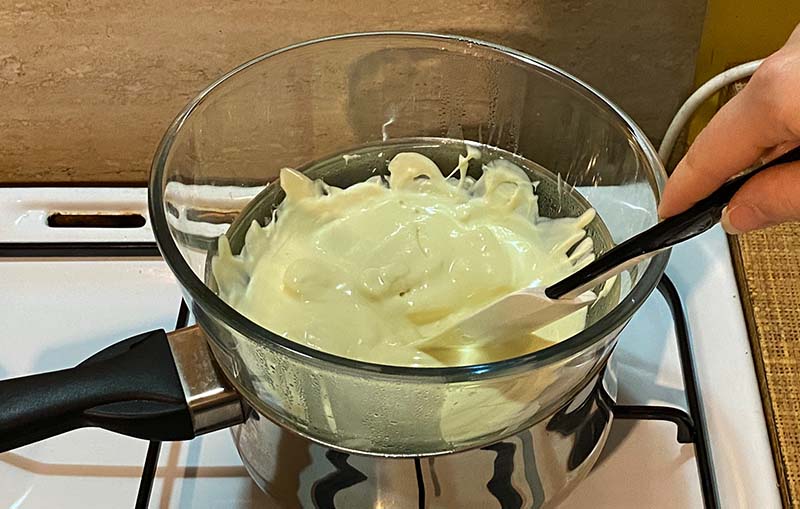
Step 1: Melting the Chocolate
Begin by melting the chocolate. You can use a glass bowl over a pan of boiling water for a gentle melt, or a microwave for convenience.
If using a microwave, remember to melt slowly in short bursts to prevent any burning.
Step 2: Preparing the Mold
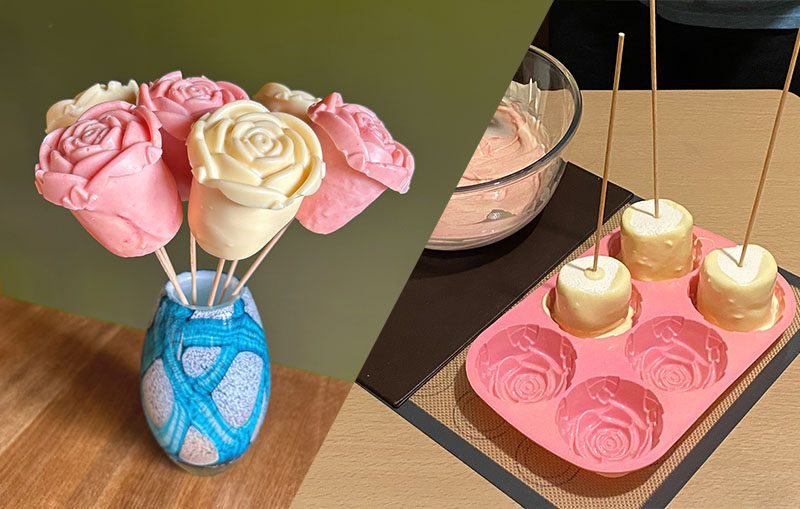
Spoon a small amount of melted chocolate into the centre of each rose cavity in the mold. This forms the base for your marshmallows.

Step 3: Coating the Marshmallows
Skewer a marshmallow, dip it into the chocolate, rotating to cover all sides. The top part where the skewer is can be left uncovered, or use a spoon for a neat finish.
Step 4: Assembling the Chocolate Roses
Place the chocolate-coated marshmallow into the mold, face down. Press gently to secure it to the base chocolate layer. Repeat for each rose.

Step 5: Adding Variety
After making a few roses, I choose to add some red food colouring to the chocolate for a vibrant touch.
Here’s where you can get creative with your colours and flavours too.

Step 6: Finishing Touches
Leave your Roses to set in the chocolate mold for around 2 hours in a cold room or a fridge.
Once your chocolate roses are set and are de-molded, wrap them in pretty paper for a special touch.

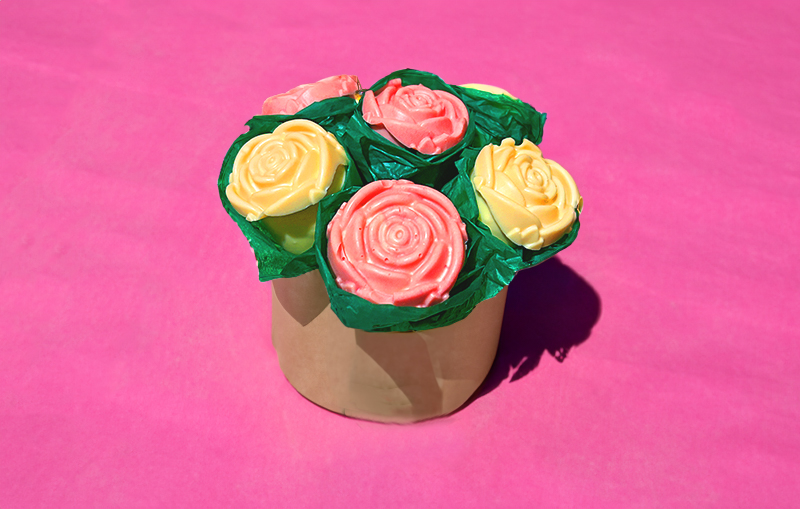
Whether you’re gifting them to someone dear or indulging yourself, these chocolate roses are a testament to the joy of creating something beautiful and delicious.
If you have any left over chocolate, you can use smaller marshmallows to create even more cuter looking roses.
I hope you enjoy making these as much as I did!
